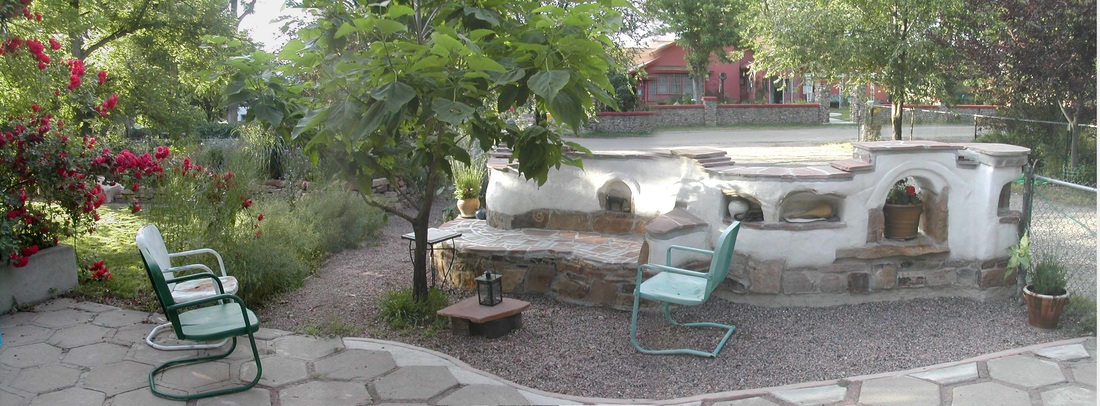
Cob wall and bench
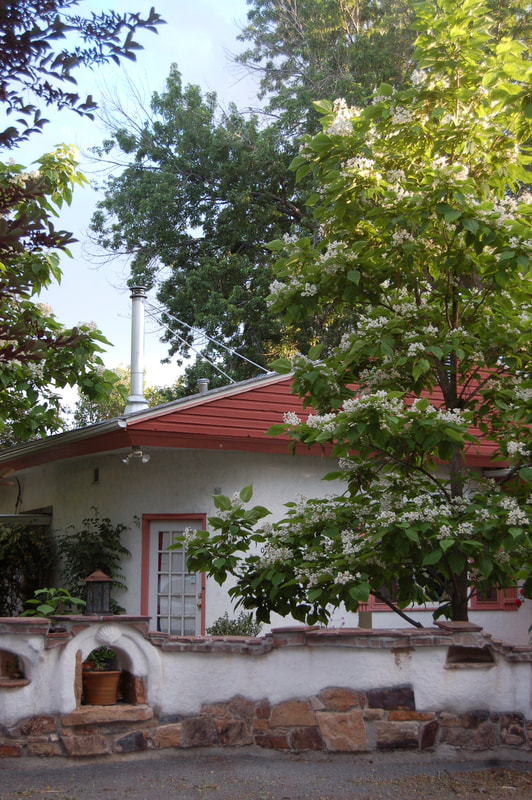
I live in a house just outside the city limits where I have half an acre and irrigation water from the Bessemer Irrigation Ditch built by Spaniards in 1895. When I moved here there was an unattractive brick wall in front of the house which was listing to one side.
2005: After my first cob workshop in 2003, I followed advice to start small with one's first cob project, so I planned for a curving 20' long wall. The foundation is 2' deep, perhaps in retrospect being over-engineered. I used cob as a form to pour it above ground a few inches. I hauled moss rock from BLM site @ $15/ton and learned stone masonry for the first foot or so which prevents backsplash from eroding the wall. Bricks from the old wall were used to displace concrete in the foundation and the bench.
This was my first cob project, my first masonry, my first mosaic, my first stone-cutting of flagstone for the "hat" to protect from rain, my first stucco and my first arch. Calculating square footage at 90# per square foot, the wall, with foundation, weighs 22,000 pounds. I did it all at age 53, one stone and shovelfull at a time.
Tip: do not stomp cob from outside a tarp which can hyperextend your Achilles. I partially tore mine and it took a few years to heal. I can cob now, but I always stand on TOP of the cob pile.
Foundation and stone.

You can see the last of the old brick wall to the left of top photo. This top left image is after the pour, stones were laid directly on wet concrete.
Stone begins to go up. You need something at the base of a cob wall to protect from the backsplash fo rain.
Old bricks and fence t-post fill what will be a bench. I did use six bags of Quickcrete because this bench is not under a roof and is subject to rain, hail, and snow.
Stone begins to go up. You need something at the base of a cob wall to protect from the backsplash fo rain.
Old bricks and fence t-post fill what will be a bench. I did use six bags of Quickcrete because this bench is not under a roof and is subject to rain, hail, and snow.
|
The form in place, shimmed up and covered with both cardboard and tarp for easy removal.
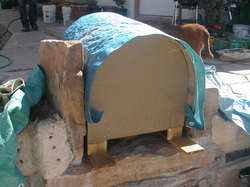
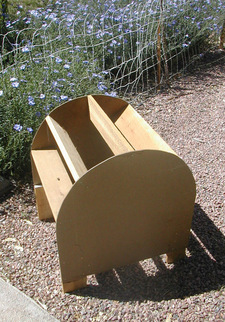
How to make an arch?
|
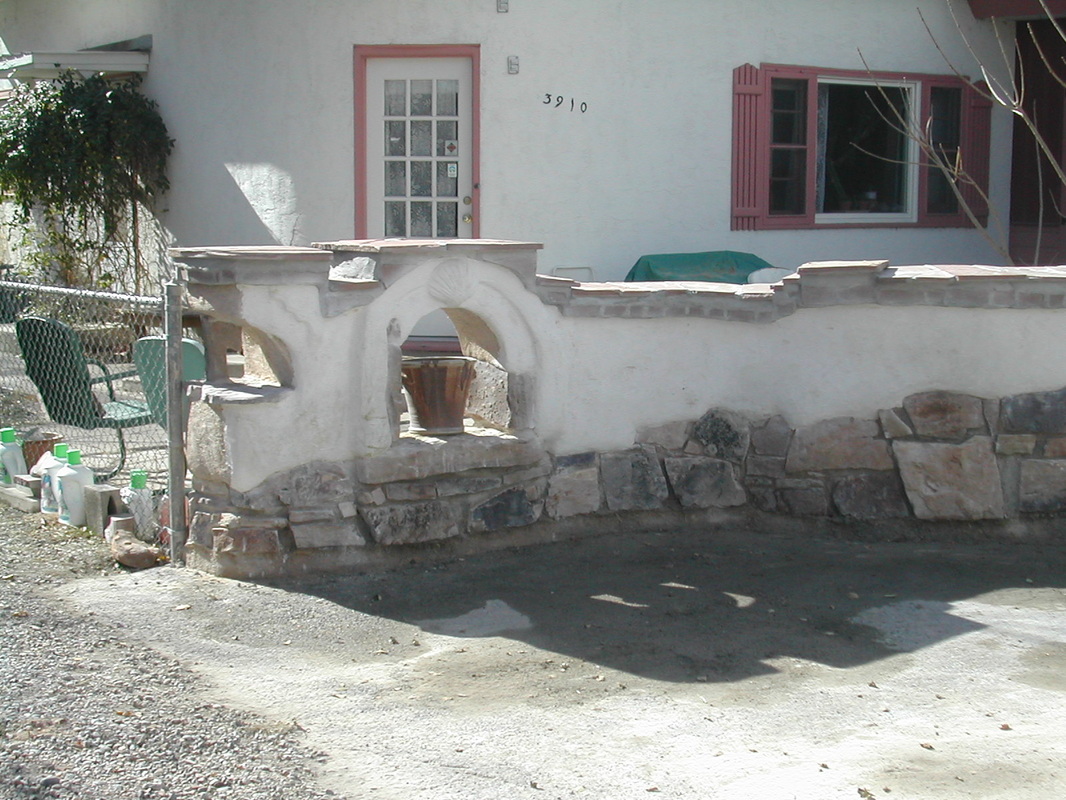
The wall is 14 years old now.
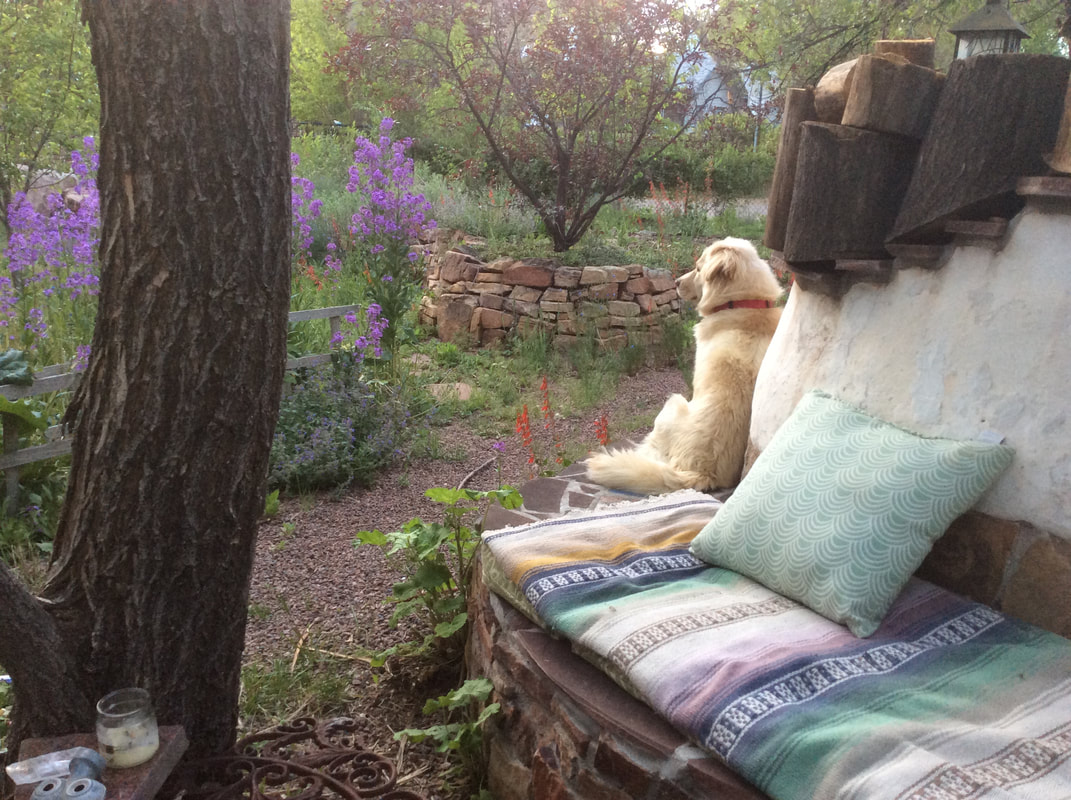
Such a nice place to sit and enjoy the xeriscape garden. The end nearest the garden is a favorite perch for my pooch to oversee what's coming down the road. Logs were put on top of the wall when I first got her to keep her from jumping over and they've just stayed.
Note the bench was built next to the Catalpa tree so it would provide shade in the summer. It was as thick as my thumb when I built the bench. Such a nice friend! |
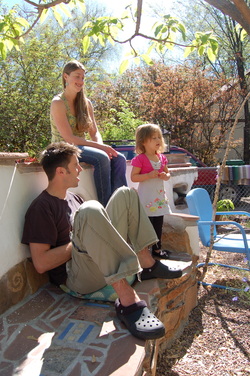
My son and his cousins.
|
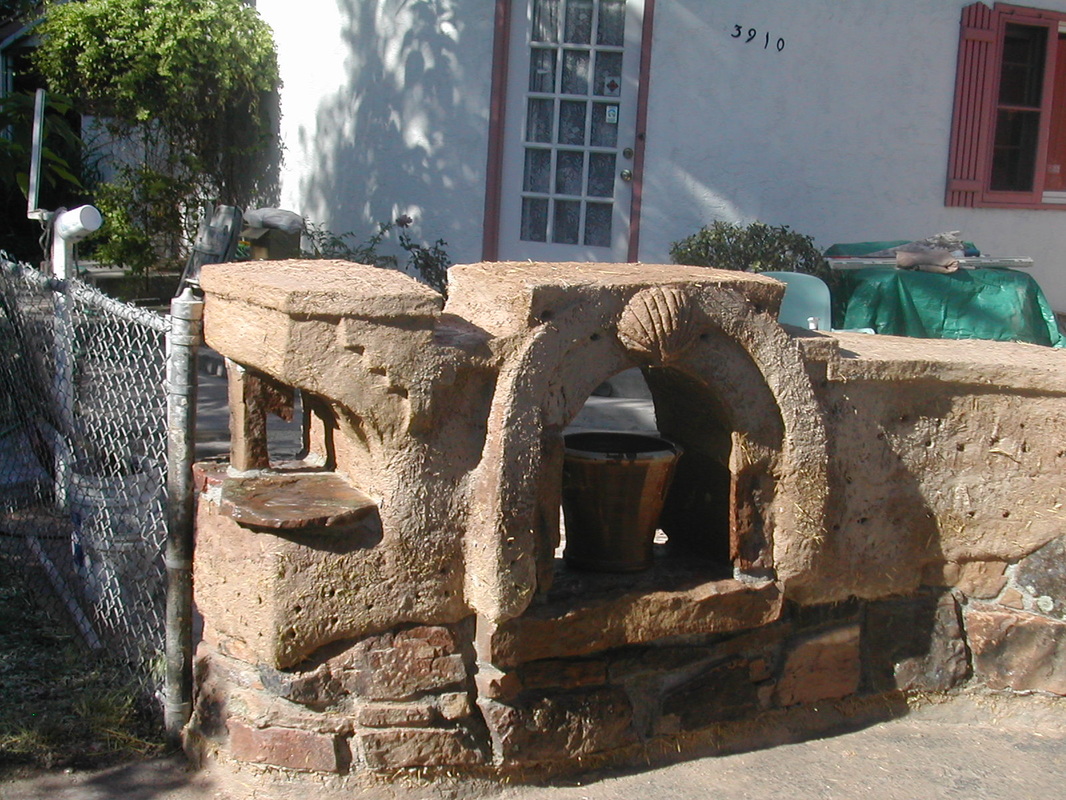
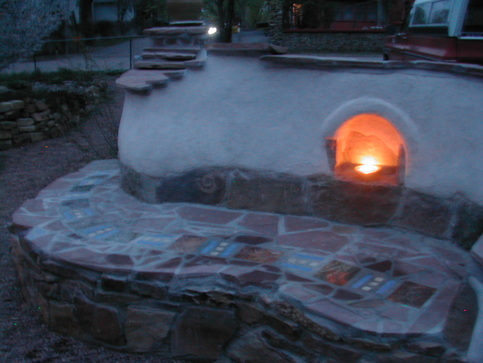
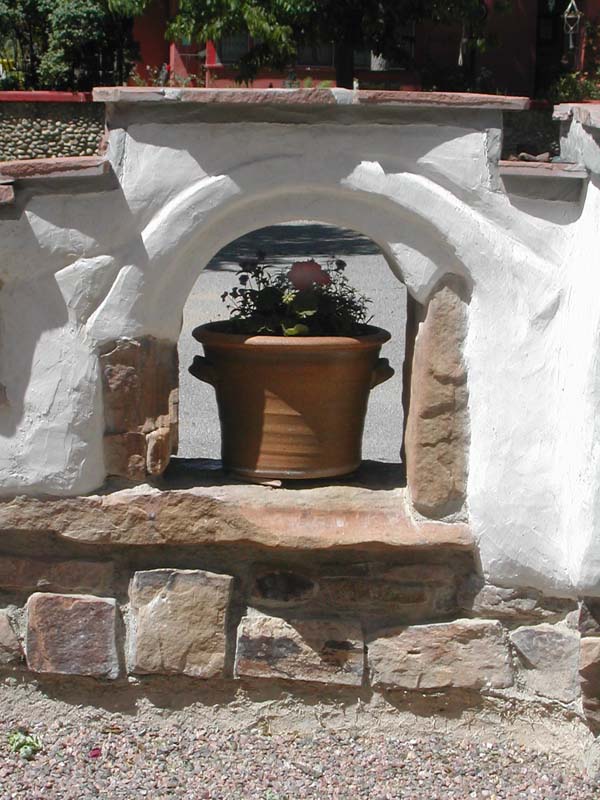
A cob wall needs a "hat" to protect it from weather. Many in Oregon have shingles. I cut flagstone for the wall. The trimmings were used for mosaic for the bench, a challenge because all the scraps were different thicknesses. The little arch, designed to put your tea cup on, is one of my favorite things about the design.
OBSERVATION & WEATHERING
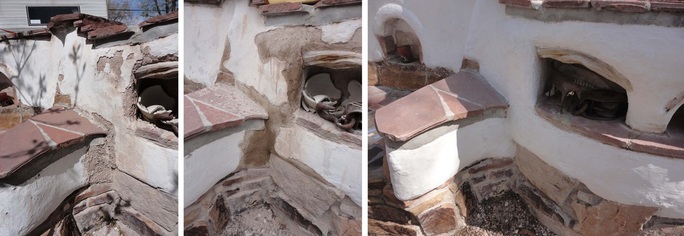
In "The Hand Sculpted House" Ianto talks about leaving cob exposed to the weather so you can observe how it holds up in your region. I did this with the protruding chaise arm of my wall. It held up pretty well.
However, to generally maintain the lime stucco, minor repairs are made in the fall. We had hail last summer so there were a lot of dings in the wall, and when I went to do fall repairs, I discovered, much to my dismay, that I'd my lime putty had dried out, ruining it.
So the wall weathered all winter. On the left is the corner that weathers most due to minimal overhang of flagstone "hat". After brushing loose material off and breaking off adjacent loose stucco, it was plastered with a mix of 3 parts sand, one part clay, half part manure and lime putty: about 2 tsp. per quart of the mix. The lime helps the final lime stucco adhere to earthen material because of like-to-like.
The final stucco is 3 parts sifted sand to one part lime putty. After stucco, a milky lime wash of about half water and half lime putty is brushed on the entire wall to seal hairline cracks. Remember lime is so alkaline it is caustic and one must use gloves and wear glasses when working with it.
All this needs to be done when the weather isn't too hot, nor is it freezing. Last weekend and yesterday cooperated perfectly and the wall is repaired and ready to face the weather protected.

