2017!!!!
Spring
In order to finish the building I was awarded a sabbatical from teaching. Because of this I got in several extra weeks of work fall 2016 and was able to start cobbing in April ...until we got a late BIG snowstorm! And then...a LOT of rain which completely filled the clay pit, all 8' to the TOP! And as of this writing, a week later, it hasn't drained, after all, clay is what reservoirs and stock ponds are lined with so that they hold water. Actually, this was the initial plan, that it be a well. But not quite yet! This means I have no source for clay. I anticipated there may be a need for a new clay pit, for truth be told, the first one was getting quite deep and one wall slumped some, making it a little scary to climb into. So I began a new clay pit and used the topsoil to cover the porch which was clay that got sticky when wet, so had to be covered with tarps. Below are images of cobbing, the clay pit in late April, and weather report for snow, and use of topsoil from the new pit site.
There has been so much moisture, I haven't been driving up to the site, but walking up the hill...except for one day it was almost dry enough and I delivered sand.
There has been so much moisture, I haven't been driving up to the site, but walking up the hill...except for one day it was almost dry enough and I delivered sand.
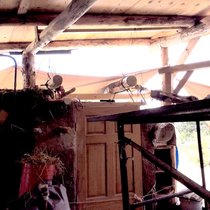
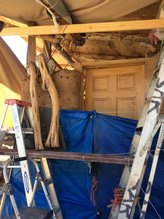
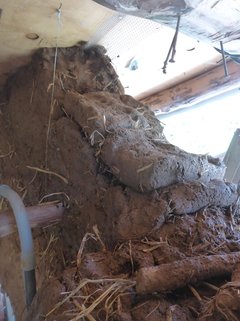
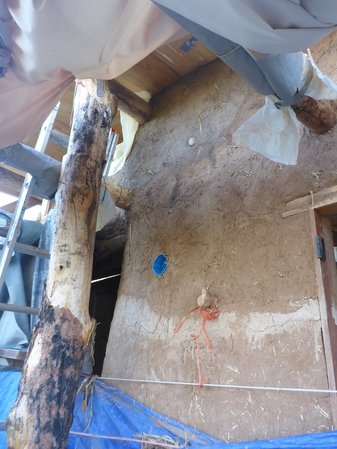
East wall that must be cobbed before wall can be stuccoed outside which must be done before porch roof is put on. Porch rafters are seen suspended above the door awaiting cob.
|
|
And then....SNOW! Thankfully, the cob dried enough and the weather didn't get to a deep freeze, so the work done was fine, but wet cob must not freeze! It destroys the stickiness of the clay.

In town, I periodically went out in the night with a long stick and knocked as much snow off of trees as I could which saved a lot of branches. Huge branches came down in everyone's yard all over the city and an entire old mulberry tree at the back of my property line fell into one of the goat paddocks. Other than that, I only had a dozen or so smallish branches fall. I think all the snow banging helped. For those of you from warmer climates, once trees leaf out, snow is too heavy. To the right behind the car is a burdened chokecherry tree.
|
|
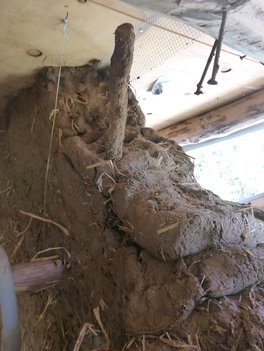
Cob over door lintel: May 5, 2017
Juniper lintels–prepared by my cousin Kevin on my birthday last year–sitting on scaffolding waiting to be put over door
|
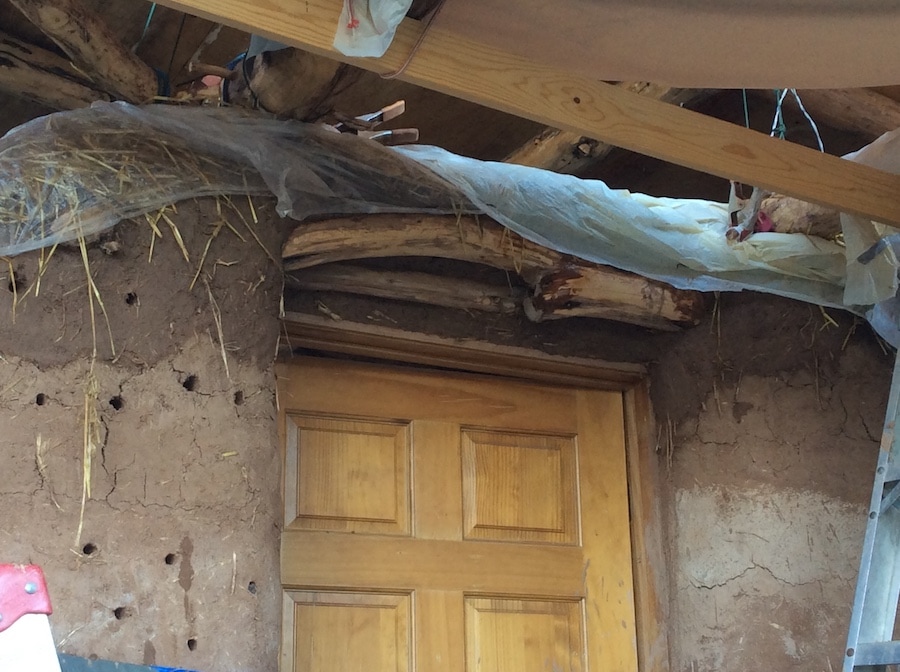
Lintels cobbed in
|
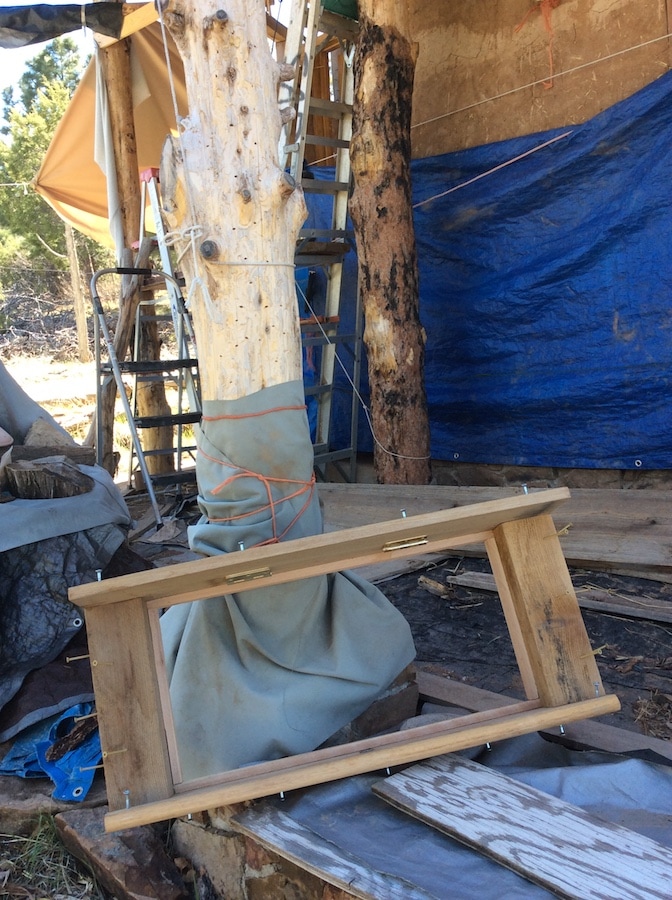
Frame for transom window–built at home– ready to put in.
|
May 13: We had some rains that gave pause for a few days, but then niches and window were set in cob.
This image shows the window set. However, before this, I spent a day setting it to the left, tearing it out, and re-cobbing it in.
I had one other experience like this when doing the stone foundation, where I did a day's work then realized it wasn't right, tore it all out and re-did it.
Why, in this case? Well, the window has to be above the porch roof, of course, but I made an error figuring out where the interior ceiling would be (used girders instead of rafters). But this incorrect lower mark for the ceiling made the window flush with the exterior porch roof, a problem for blowing snow. So once I realized my error, I re-did it all. My hands were sore.
Note the plastic wrapping wet cob. This is one of the best discoveries I've made for cobbers in an arid climate. I've mentioned it before (2014 setting big windows), but will again as it is so useful: I use baling wire to make giant "staples" which pins the plastic snuggly to the new cob with wet straw under it (on the cob). Lastly, I throw a cloth over it to hold plastic down and limit air circulation. Cob stayed wet for four days.
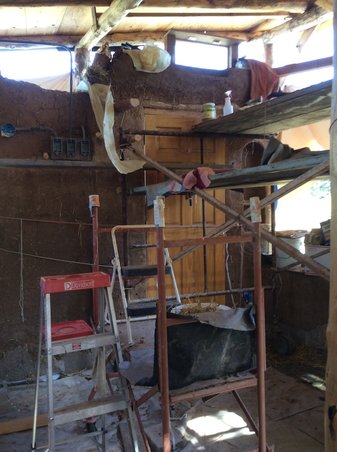
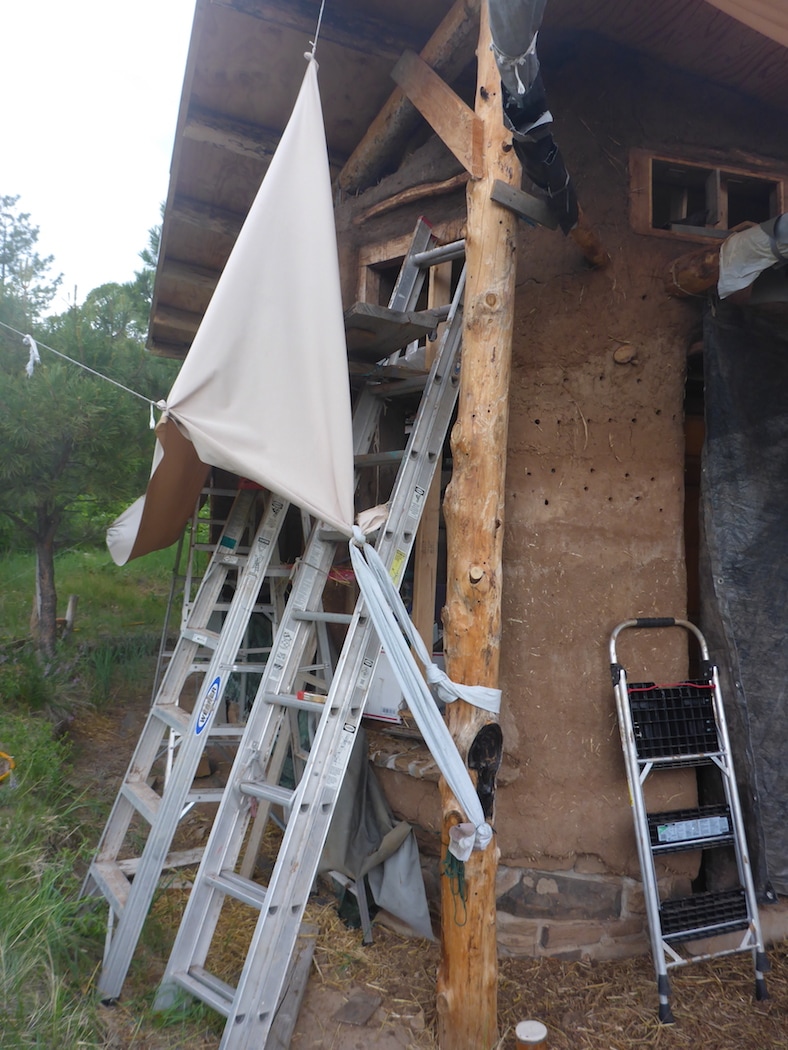
SCAFFOLDING: This setup ROCKS! The large scaffolding I bought on Craig's list for $60. I set it up with two tiers. To get up I first use the little to a "landing" of Mindy's small scaffolding, then go up step ladder to climb onto lower tier of big scaffolding. It's all very stable and secure. Cobs come in the wheelbarrow; I put them on the lower tier of the large scaffolding, then climb up and move them to the top tier.
I had one other experience like this when doing the stone foundation, where I did a day's work then realized it wasn't right, tore it all out and re-did it.
Why, in this case? Well, the window has to be above the porch roof, of course, but I made an error figuring out where the interior ceiling would be (used girders instead of rafters). But this incorrect lower mark for the ceiling made the window flush with the exterior porch roof, a problem for blowing snow. So once I realized my error, I re-did it all. My hands were sore.
Note the plastic wrapping wet cob. This is one of the best discoveries I've made for cobbers in an arid climate. I've mentioned it before (2014 setting big windows), but will again as it is so useful: I use baling wire to make giant "staples" which pins the plastic snuggly to the new cob with wet straw under it (on the cob). Lastly, I throw a cloth over it to hold plastic down and limit air circulation. Cob stayed wet for four days.
SCAFFOLDING: This setup ROCKS! The large scaffolding I bought on Craig's list for $60. I set it up with two tiers. To get up I first use the little to a "landing" of Mindy's small scaffolding, then go up step ladder to climb onto lower tier of big scaffolding. It's all very stable and secure. Cobs come in the wheelbarrow; I put them on the lower tier of the large scaffolding, then climb up and move them to the top tier.
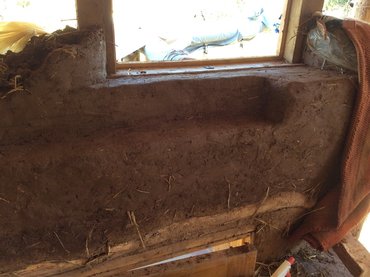
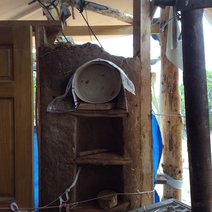
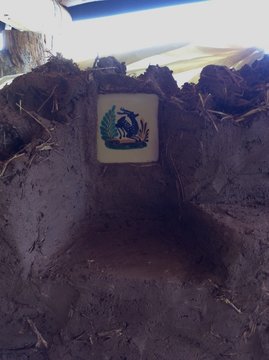
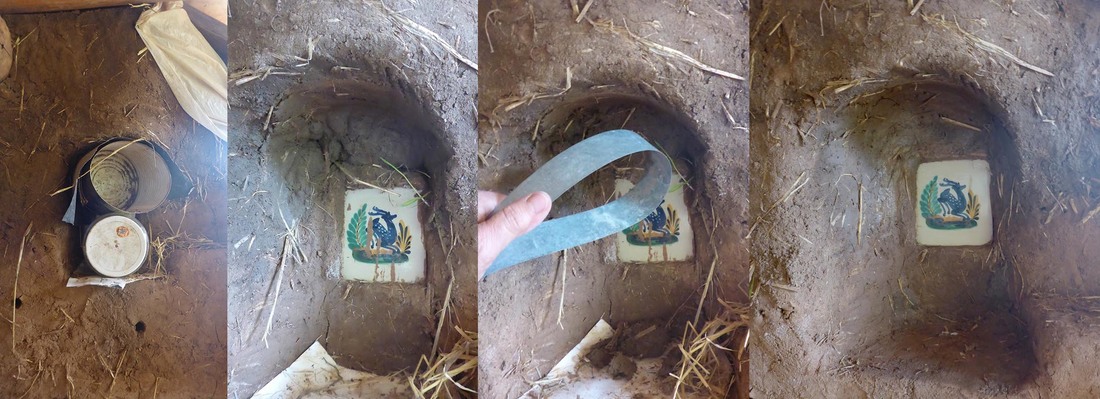
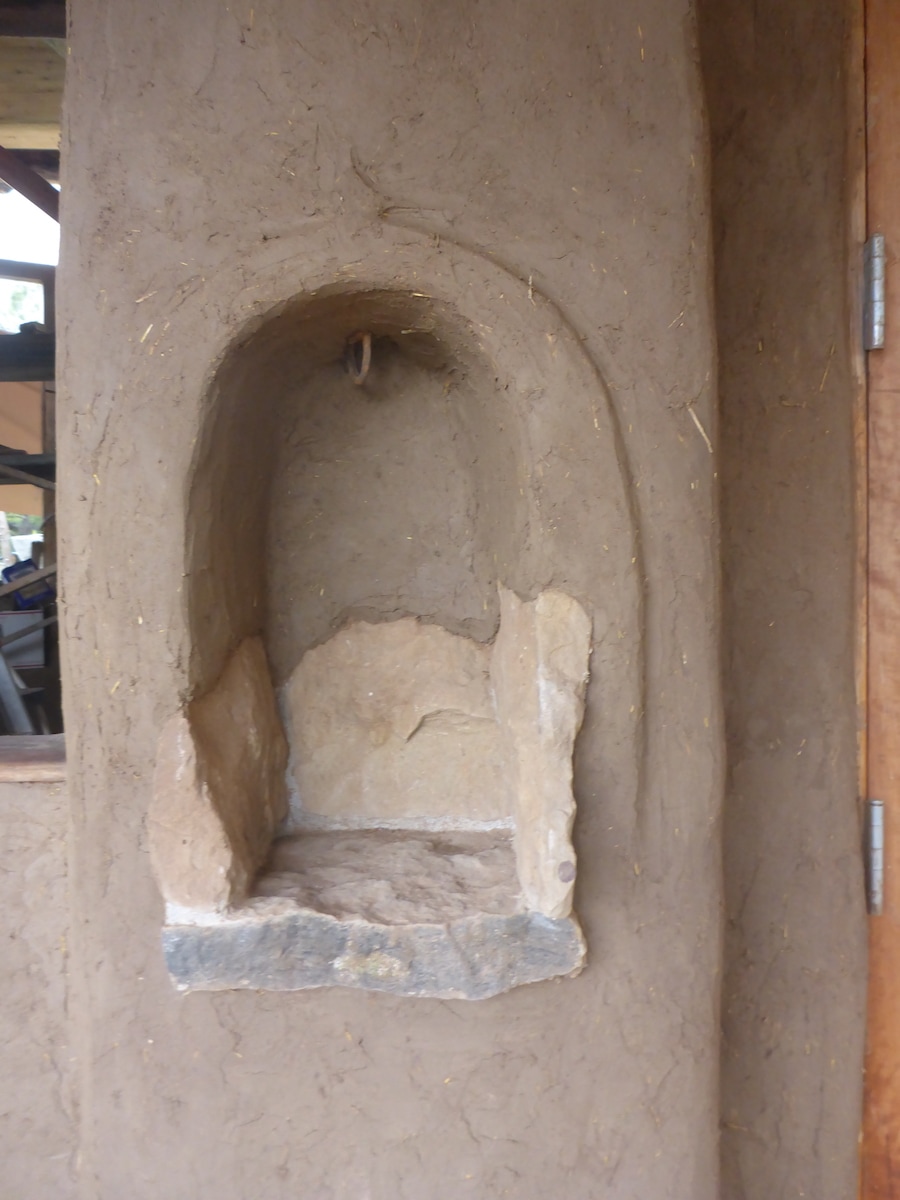
Above: Ledge inside window. It doesn't go all the way to the right because a porch rafter is embedded there and I wanted the cob to be very solid.
That large mass also forms the thick corner section of cob in the building between door and big south windows. Right: Tile from NM artist in niche to the left of window. |
|
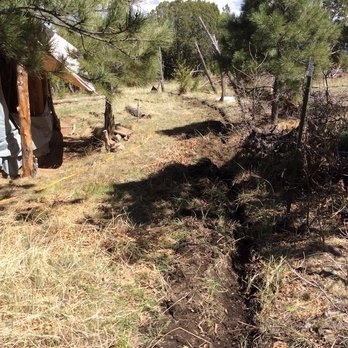
And then....BIG RAIN! Thankfully I had re-dug a swale (little trench) above the building site, below left
I am going to show you the clay pit and site. It completely filled with rainwater! ...and it hasn't drained.
|

|
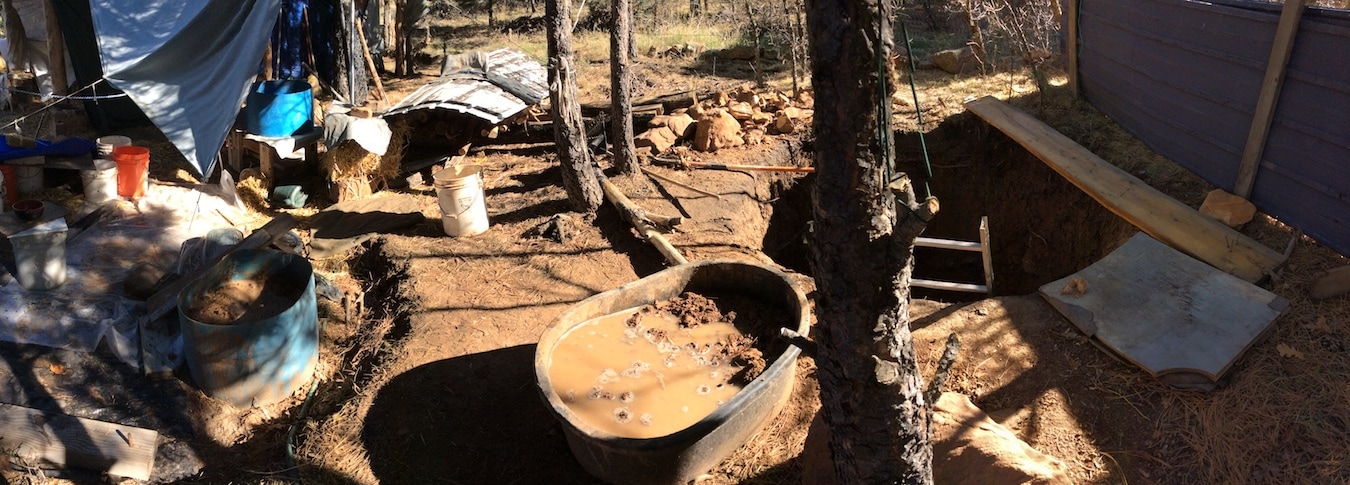
Photo directly above: clay pit to the right with tin panel that can be lowered over it (it was covered during rains). There are two troughs for clay next to the pit, an oval one and a round blue one. Next to the blue trough is the cob stomping area (started using this area last summer). The building is just to the left of all of this.
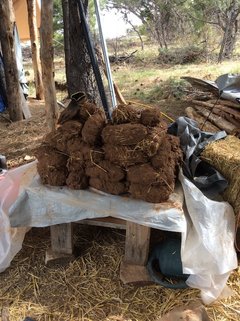
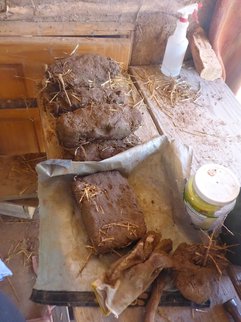
Below: Cob made from clay dug before the clay pit filled with water.
I have found it works well for me physically to make cob one day and build with it the next.
Below: Cob made from clay dug before the clay pit filled with water.
I have found it works well for me physically to make cob one day and build with it the next.
|
|
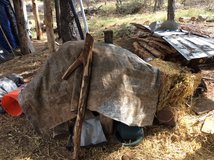
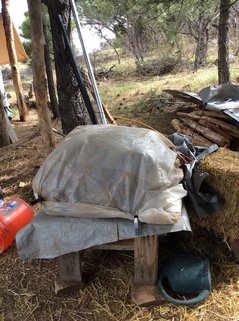
Here, I show you how wrapping it up with a non-porous plastic then putting a tarp over it to keep sun off of it keeps it wet for the next day's work. The sturdy table was the very first thing I made when I started this entire project.
|
Using this last bit of cob, I cobbed more of the east wall. (Ha! Yes, cob is both a noun and a verb.)
Below left: East wall before a day's cobbing and to the right, after (right). Wet cob is the darker part at the top the wall (tarp block view of where it meets the roof).
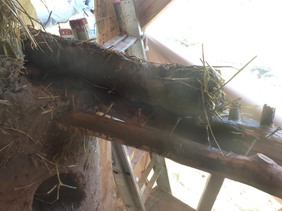
Note the little round butt end of a thick branch of Juniper embedded in the wall; it's purpose being to secure flashing on the porch roof.
I don't much care for this scaffolding. It squeeked all day and was difficult to get onto from step ladder (I have short legs!) But it worked...
LADDERS AND STEP LADDERS ARE ALWAYS TIED TO THE WALL OR STEP LADDER TO LADDER FOR SAFETY.
Below left: East wall before a day's cobbing and to the right, after (right). Wet cob is the darker part at the top the wall (tarp block view of where it meets the roof).
Note the little round butt end of a thick branch of Juniper embedded in the wall; it's purpose being to secure flashing on the porch roof.
I don't much care for this scaffolding. It squeeked all day and was difficult to get onto from step ladder (I have short legs!) But it worked...
LADDERS AND STEP LADDERS ARE ALWAYS TIED TO THE WALL OR STEP LADDER TO LADDER FOR SAFETY.

|
|
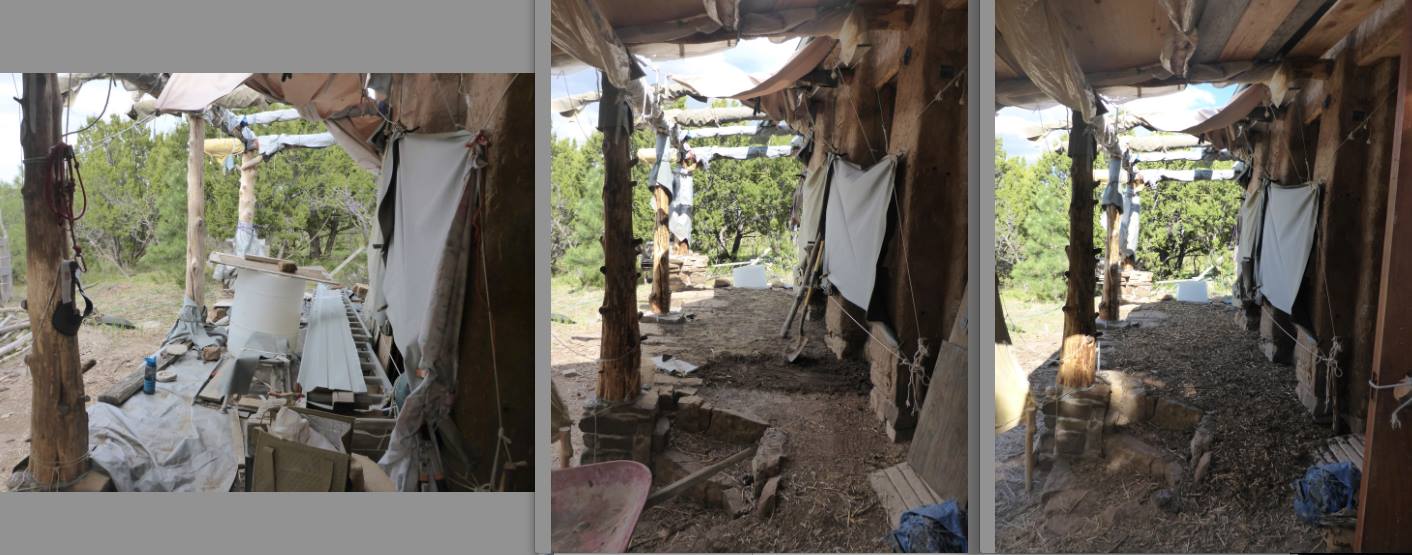
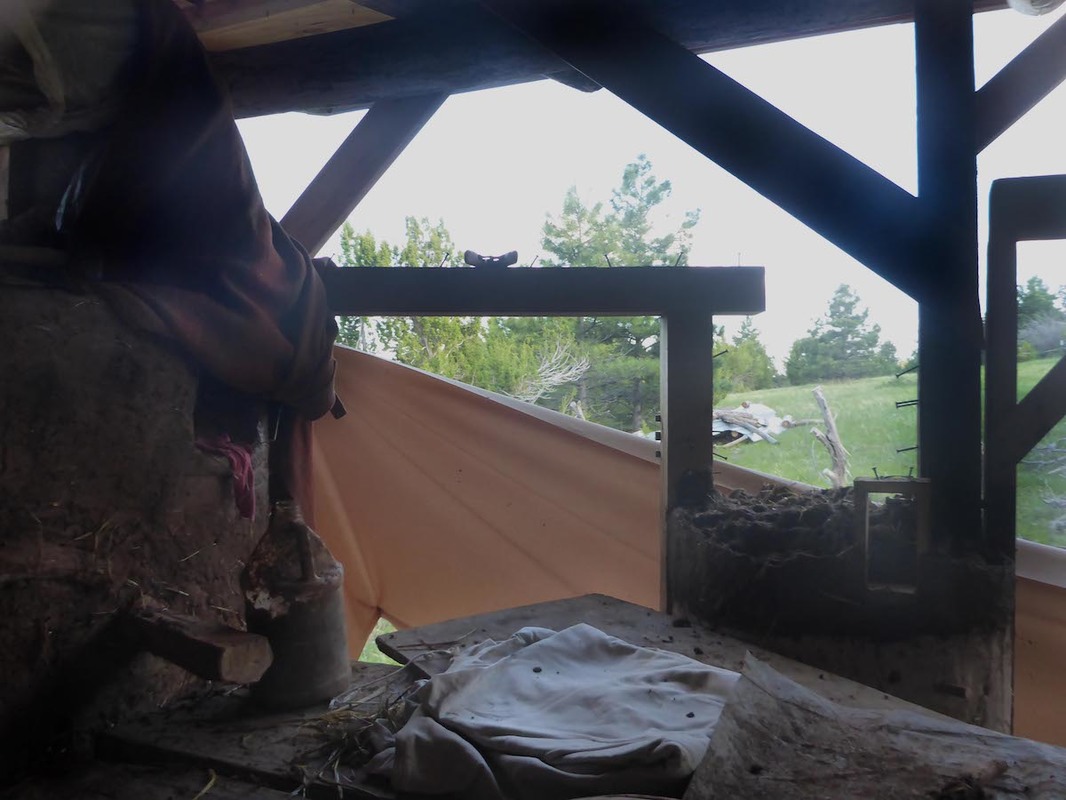
So, with unsure weather and a tired bod after four straight days working, I spent a day linseed-oiling the porch posts. Meanwhile, I figured out the site for a new clay pit and am very happy to have a source for some local topsoil. I've needed topsoil since backfilling the porch with soil that was mainly clay. Clay soil is very sticky when wet, so for years since backfilling, the irregularly-surfaced porch walkways have had to be covered with tarps...and the tarps have to be held down on their edges by boards. Add to this the temporary rain gutter sitting on an extension ladder and the occasional water-catchment buckets, and the end result was literally an obstacle course to negotiate.
May 17: I began moving topsoil to the porch. First, I raised the gutter to sit on the porch rafters. I'd also gathered wood chips from the roadside on the way up. Each shovel of soil with grasses intact is put down after extra soil from the bottom is removed with a garden claw until it was the correct thickness, about 3" to make the porch surface the right height to drain runoff. Then the newly laid soil is tamped with a length of small log.
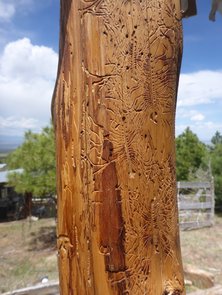
WALAH!!! At the end of the day the north porch is clear, flat and wonderful! And the bark beetle-decorated oiled posts are beautiful! And soon I will have clay from the new pit so as to proceed with cobbing; then stucco of east and north walls; then porch roof. After that, the north and east exterior will be DONE and all tarps will be GONE! Well, except for windows...they are the very last thing that will be done, even after the interior receives adobe floor, walls and ceiling receive insulation, and rocket stove and built-in cob furniture are sculpted...all of this which I am hoping to finish by summer's end.
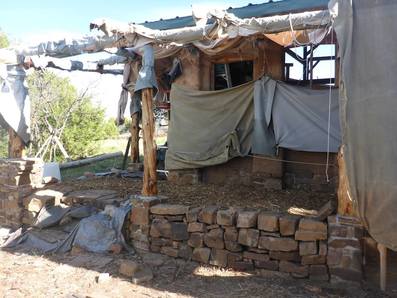
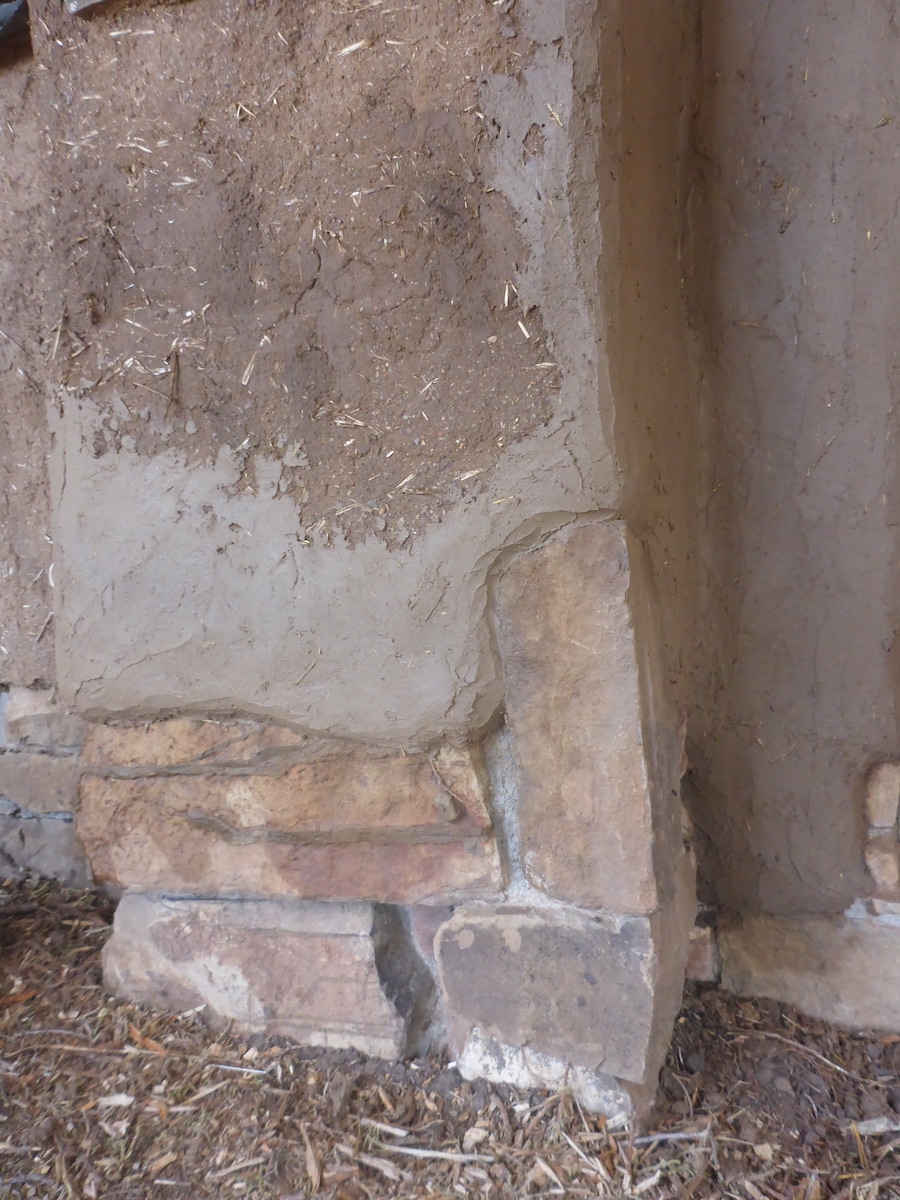
While working on this, tarps were removed from stone wall, so I'll include a photo of that for a little preview.
Below left to right: before porch is cleared, adding topsoil, and after wood chips are laid.
May 17: I began moving topsoil to the porch. First, I raised the gutter to sit on the porch rafters. I'd also gathered wood chips from the roadside on the way up. Each shovel of soil with grasses intact is put down after extra soil from the bottom is removed with a garden claw until it was the correct thickness, about 3" to make the porch surface the right height to drain runoff. Then the newly laid soil is tamped with a length of small log.
WALAH!!! At the end of the day the north porch is clear, flat and wonderful! And the bark beetle-decorated oiled posts are beautiful! And soon I will have clay from the new pit so as to proceed with cobbing; then stucco of east and north walls; then porch roof. After that, the north and east exterior will be DONE and all tarps will be GONE! Well, except for windows...they are the very last thing that will be done, even after the interior receives adobe floor, walls and ceiling receive insulation, and rocket stove and built-in cob furniture are sculpted...all of this which I am hoping to finish by summer's end.
While working on this, tarps were removed from stone wall, so I'll include a photo of that for a little preview.
Below left to right: before porch is cleared, adding topsoil, and after wood chips are laid.
|
|
May 23: method for cobbing to the top of the wall
Took May 22 off due to a loss in the family followed by raccoons killing my chickens. But on May 21st I had made five batches of cob and wrapped them very well in plastic so they were still very workable even skipping one day.
I'm at the top of the wall which is not super easy to cob so I started forming the cobs to the width of the wall and it made it much easier. Here's a sequence of photos to demonstrate.
I'm at the top of the wall which is not super easy to cob so I started forming the cobs to the width of the wall and it made it much easier. Here's a sequence of photos to demonstrate.
1. Squish cob a little flatter making it about as wide as the wall. Then pick it up and drop it gently on each side to flatten. Squish and shape again if needed.
|
2. You can see two flatter cobs laid on the wall. It's difficult to use the cobbers thumb with the roof above, so thinner cobs make it easier.
|
3. The cobbers thumb is shoved through new cob into wall below. (Make sure it has a blunt end so it pushes straw.)
|
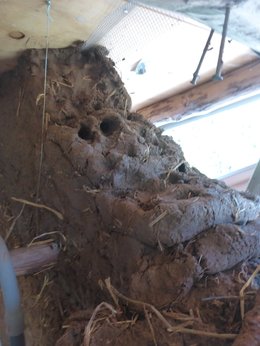
4. Cobbers thumb has gone through all the new material.
|
5. The holes from the cobbers thumb are pushed closed and the new cobs are integrated into the wall.
Smooth the sides and there it is! BTW: the blue string going to the ceiling was buried in the cob then screwed to the ceiling using the level to guide the wall straight up. This was so I could cob mainly from the outside of the building because I didn't like the scaffolding setup for that part of the wall inside. (All ladders were in use so I didn't have any other options.) |
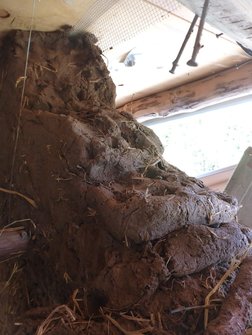
Above: The days work is the grayish top of the wall made with cobs made that used clay from the new clay pit.
The color is a little different. It will be covered with stucco. |
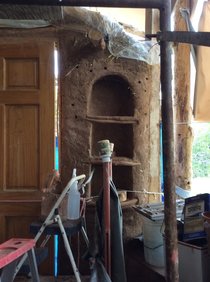
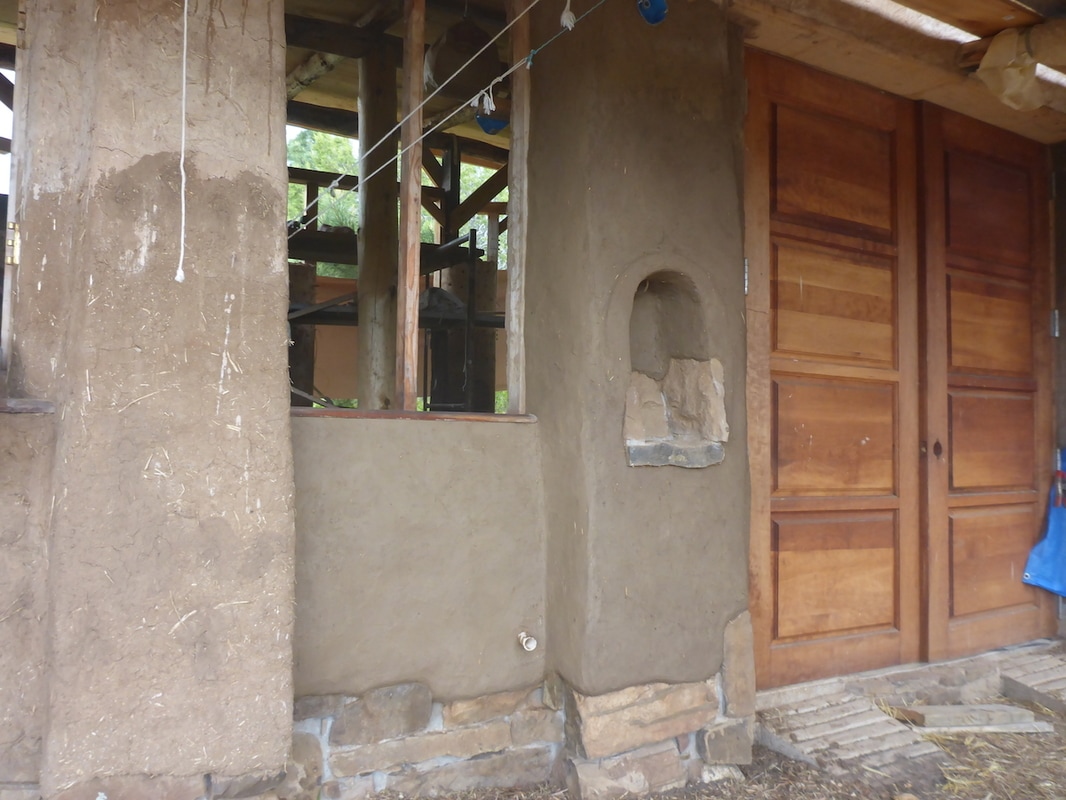
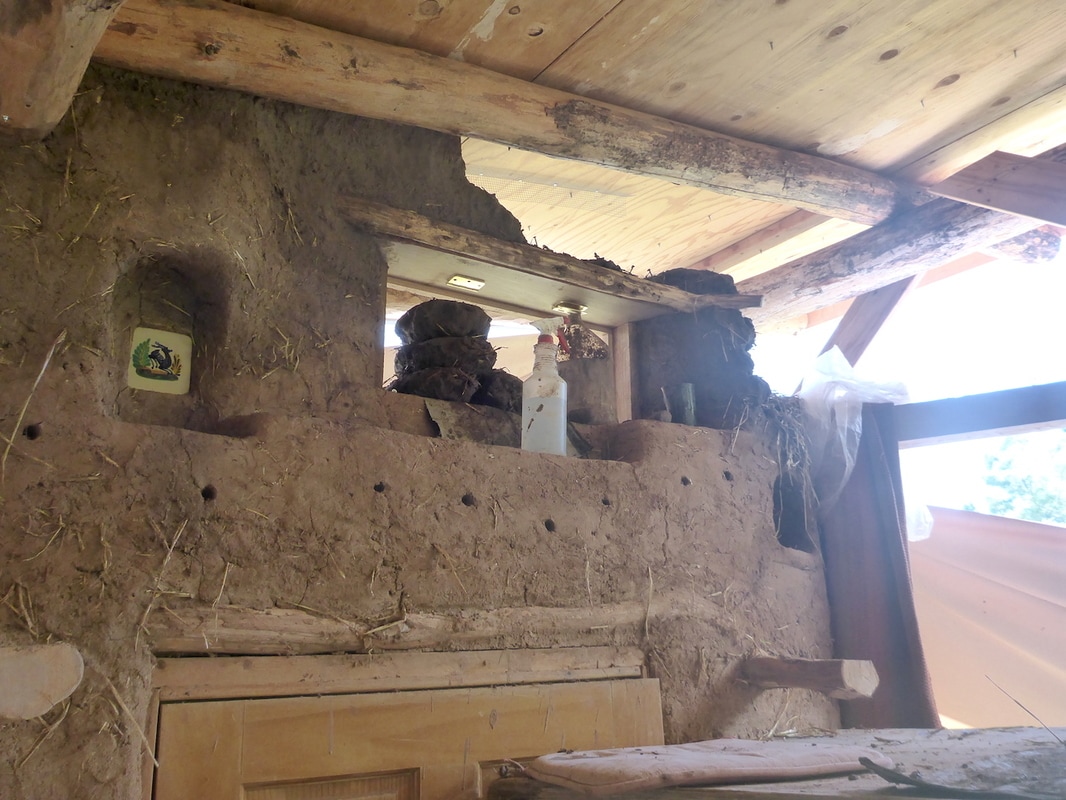
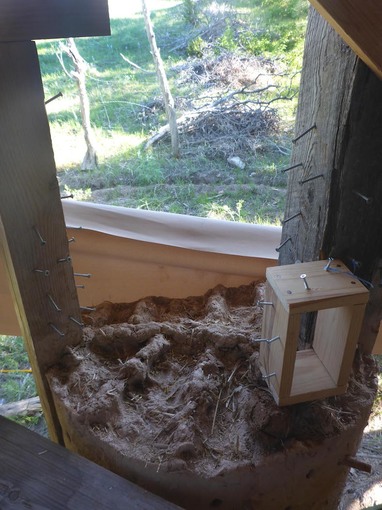
Loft: niches & gringo block:
It's not my term, but an old name for wood embedded in adobe (or cob) for the purpose of attaching things like doors or windows: gringo block. The little box sitting on the cob is for the outer horizontal loft support to go into; a fortified notch in the cob. Serendipitously, though this pillar was cobbed the summer before last, it is at EXACTLY the right height for the gringo block.

Important realization: This is the corner, which shouldn't be done is small segments that dry before adding the next. A continuously cobbed wall is stronger and more cohesive, very important at the corner. But due to rain forecast and motivation issues, I am a little overwhelmed at probably fifteen batches of cob needed. I spend a day preparing lintels for above the big window, getting porch tarps hung so there should be very little rain on the porch and other small tasks like removing niche support and cleaning up the inside surface. A homemade hurricane strap is perfect for carving interior arch of niche that had some bulges and gaps behind supports. Just enough cob is removed to fill little gaps.
May 28, 29, Exterior stucco:
|
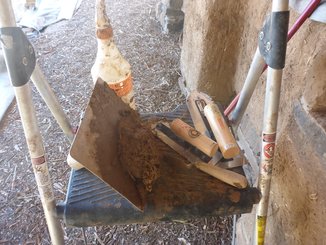
Not a lot of tools are needed, but having ones that work well is great.
• The hawk is a mortarboard with a handle for material. • The tiny trowel in the front I bought at a flea market before my first cob project. I couldn't do without it. • The two Japanese trowels I purchased at the International Straw Bale Conference a couple of years ago and they are finally seeing service. They are FANTASTIC! • Spray bottle (and nitrile-palmed gloves) • If doing lime stucco, gloves and goggles are also essential. In the next images you will surely see that stuccoing corners, the bottom of cob walls and niches requires tools with finesse. |
|
|
Earthen stucco will covered with lime stucco for weather resistance, but as a transition between earth and lime it serves to even the irregular cob surface so the lime stucco can be even thickness. A wee bit of lime putty is added to the earthen stucco so it marries well to both the cob under it and the lime stucco that will go over it.
I had somehow posted and used the wrong proportions last fall with more clay than sand in stucco. No, no! Always more sand than clay. This stucco mixes and adheres beautifully to both the trowel and the sprayed wall:
Mix well: 5 bowls of clay / 6 bowls of sifted sand /half a bowl fresh cow dug / a little water
Add: two handfuls of chopped straw and a little more water.
Lastly: a little bit (like 1/4 c.) lime putty (I have a big barrel at home I slaked a few years ago)
Easiest to mix with a hoe in a flat-bottomed large square pan or trough. It should be a little too wet before adding the lime as it will stiffen the mixture up.
Again, spray the wall several times before applying stucco.
Back to cobbing with newfound strategy: make a lot of cob beforehand for important transits.
Yeah, had to put it in the title because it is kind of a new strategy. Make a lot of cob beforehand. I had friends visit two days ago and I made 3 batches, day before yesterday I made five batches including one of corbels. Wrapped as air tight as possible in plastic they don't dry out. If one or two get firm, just pour a little water on them.
So with all that cob, I went at it today, not having to stomp, headed around the window wanting to cob it all in a solid mass. I'm pondering the curved Juniper near the top like a bond beam around the corner. We shall see...
So with all that cob, I went at it today, not having to stomp, headed around the window wanting to cob it all in a solid mass. I'm pondering the curved Juniper near the top like a bond beam around the corner. We shall see...
Below left: two lintels over transom window, one in front. Below right: temporary extra supports until cob dries.
|
|
Below, cobbing over transom window. Cobs in window waiting to be put above. Note posts protruding from the wall on both sides of the door. These will support one side of the loft.
|
Right: This is so worth observing! This cob is between two giant windows on the south side. It was made two years ago and covered with straw and a tight tarp (mice never inhabited).
The guys stood on this when they were doing the roof! Maybe a few crumbs came off, but the spines and ribs stayed intact. Remember, they give "tooth" to the wall for new passage of cob. Also note the edge of the wall is nearly a 90˚ angle. This is called the shoulder and important that it be a flat surface to receive cob, not a slope cob will want to slide off of. This will be sprayed, slurried with clay slip then cobbed. (below). Below: This doesn't look particularly pretty, but it is important. It is the corner of the building. So I am working hard to go from transom window on the left, around the corner and over the big window lintel with cob and Juniper lintels. Also note the gringo block on the right is being embedded in cob. Tomorrow, up and over left to right. |
|
June 8: Corbels around the corner
Last Sunday I made corbels and then made another batch on Tuesday. They go around the corner to make sure the cob there is very strong.
To the left: you can see the first one laid on Sunday. On top of corbels today I laid two more medium sized lintels and a curved one in front to continue the curved mass of the corner of the building below the window. By the end of the day today there were five very strong corbels around the corner.
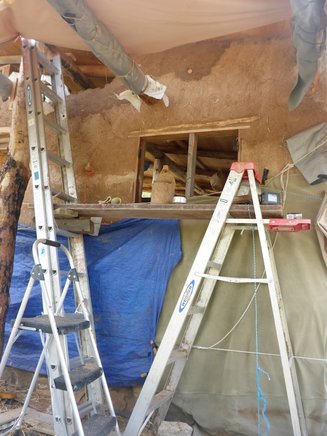
I re-did scaffolding after lying in bed thinking about it. Previous setup (above) the board I stood on was too close to building and a little too narrow. I felt like when pushing on cobs I was going to push myself off of the scaffolding so I had to hang on with one arm while trying to cob with the other.
For this new setup below, the extension ladder leans against window frame & supports a board that goes through the window and rests on inside scaffolding (also clamped). Then, an 11" wide plank (that I stole from cover over deep clay pit) rests on it (the board that goes inside) also on far tall step ladder. All ladders are tied to the wall. The middle ladder is for climbing up.
(The post in the foreground and angle brace will eventually be removed.)
To the left: you can see the first one laid on Sunday. On top of corbels today I laid two more medium sized lintels and a curved one in front to continue the curved mass of the corner of the building below the window. By the end of the day today there were five very strong corbels around the corner.
I re-did scaffolding after lying in bed thinking about it. Previous setup (above) the board I stood on was too close to building and a little too narrow. I felt like when pushing on cobs I was going to push myself off of the scaffolding so I had to hang on with one arm while trying to cob with the other.
For this new setup below, the extension ladder leans against window frame & supports a board that goes through the window and rests on inside scaffolding (also clamped). Then, an 11" wide plank (that I stole from cover over deep clay pit) rests on it (the board that goes inside) also on far tall step ladder. All ladders are tied to the wall. The middle ladder is for climbing up.
(The post in the foreground and angle brace will eventually be removed.)
|
So I get tired of climbing down outside scaffolding to go inside & climb inside scaffolding, so I decide to see if I fit height-wise on hands & knees through top of window to crawl in (wouldn't try going from inside out). But it's not tall enough so I drop to my belly & shimmy in onto inside scaffolding...but it pulls my pants off & they get hung up on the window hinge. Then I start to get a cramp in my leg. Oy!!! Yeah, I was laughing.
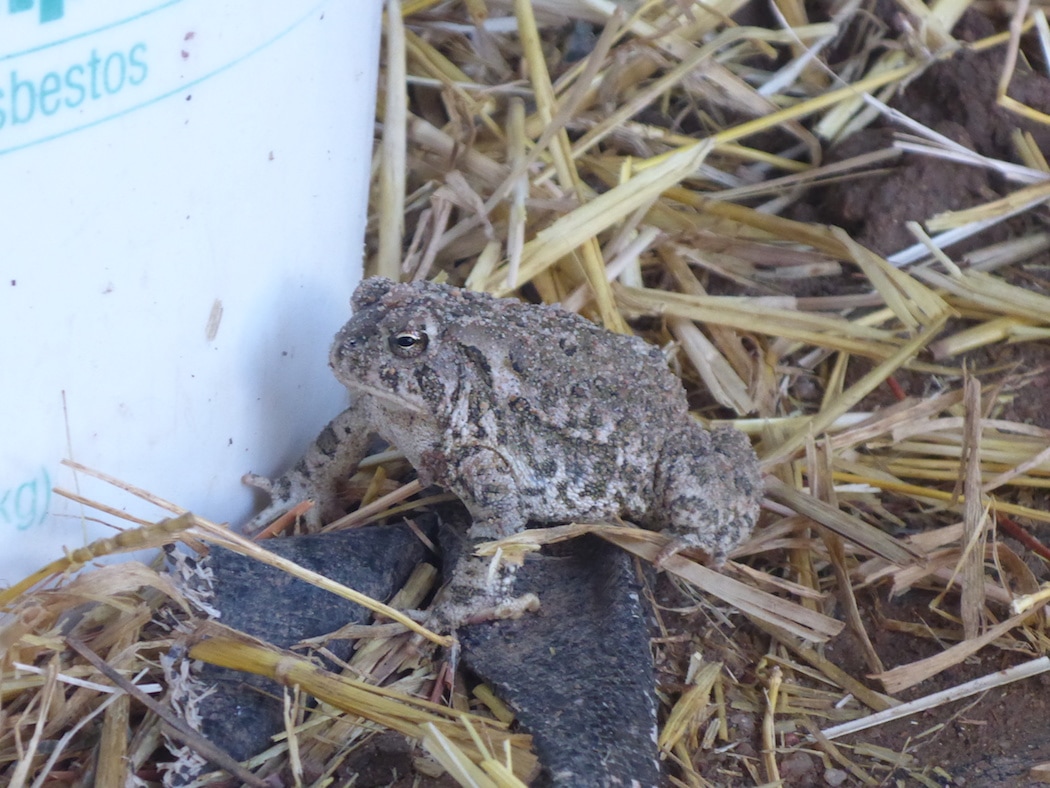
Today put in two more medium size lintels over big window and five large corbels around the corner along with two batches of cob I stomped. Right: First toad visit...he was hangin' in the sandpile. |
|
Below: for some reason when I posted 2014 it thereafter comes up on all pages, so unless you're interested in that summer and haven't seen the page for it, please ignore the following...
