Southeast pier is a bench
The building has a porch that wraps around two sides. It is a raised platform facing north. Because of the slope of the hill, a lot of soil was backfilled (and tamped) to build up the downhill side. Stone piers and a drystack wall serve to hold up all that soil.
A separate page will show building of the biggest corner pier on the most down hill NE corner.
I spent this past summer 2011 building drystack wall to pemanently hold the soil.
A separate page will show building of the biggest corner pier on the most down hill NE corner.
I spent this past summer 2011 building drystack wall to pemanently hold the soil.
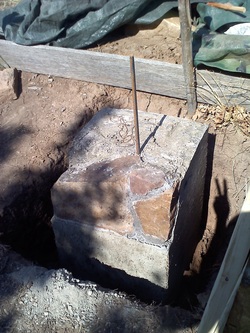
First pier
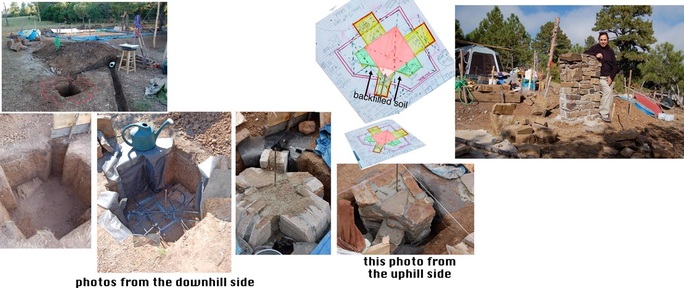
Clockwise from top left: This hole was dug by visitor, smaller than I'd planned which made me rethink the whole design. Drawing: I wanted it more substantial, so I added underground butresses and made the uphill side flat because it holds the soil uphill. The pink in the drawing would be a normal pier. I added the green which are also cantilevered on top to make eventual seats within the porch. Top right, me with finished pier late summer '08. Bottom left: As mentioned elsewhere, in all foundation work, only the stone seen in the bottom here was uncovered; it is a good anchor for the foundation. the next 3 photos show rebar upon which the footer was poured (red outline in the drawing). From there was was urbanite, broken concrete, infilled with Quickcrete. At ground level, local stone began. Again, topped with cantilevered wings.
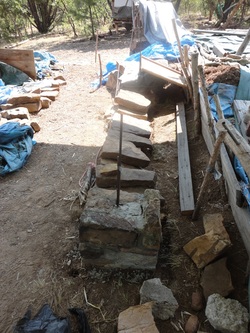
Stone steps
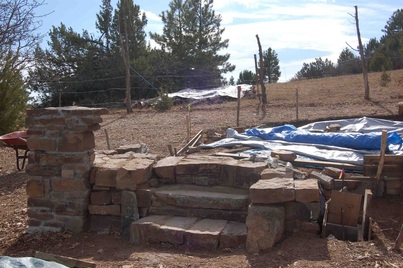
Drystack stone steps followed the first pier.
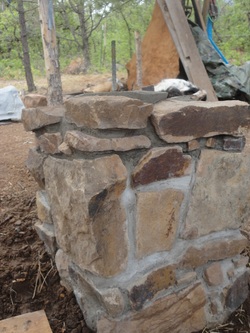
Other side of NE corner pier
Completed very last thing before snow fall '09.
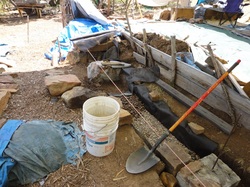
Summer '10 was the chicken coop, so this summer Jen came for a month. She helped with digging more pier foundation holes and the concrete pours: first a footer (w/rebar and urbanite to displace concrete, the up inside of forms i'd made seen to the left here. Two sides fit inside the phlange and then wood clamps held the tops. Stones wedged in the bottom kept the bottoms of phlanged sides from bulging out (phlanges held other two sides).
I'd saved an old bottle of olive oil that had gone rancid and used that to oil the board.
Worked beautifully.
I'd saved an old bottle of olive oil that had gone rancid and used that to oil the board.
Worked beautifully.
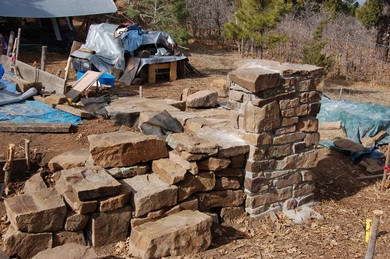
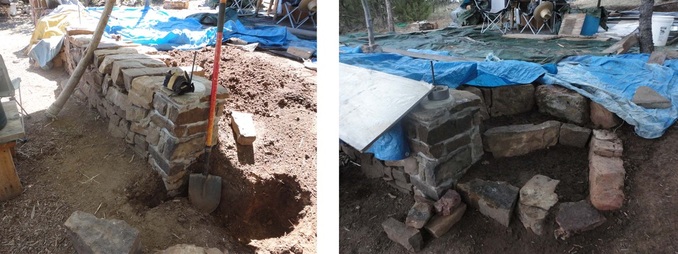
East pier goes up.
This will have a cob top.
East side of bldg.
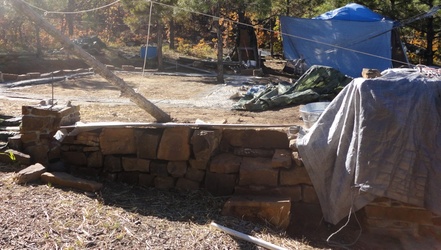
From the pier above, to the big corner pier, there is a small section of drystack wall. The lizard bench is to the left, in the southeast corner, but I'll show that last on this page so I can show sequence of construction. (I took this shot while disassembling tarps, so the site looks pretty messy).
Drystack on east side, another pier, steps and cob bench.
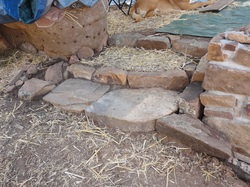
To the left of the wall above are another set of steps. The stones that look narrow for the second step and top are actually very large flat stones buried about 16" in the ground. You can see a piece of the cob bench to the left.
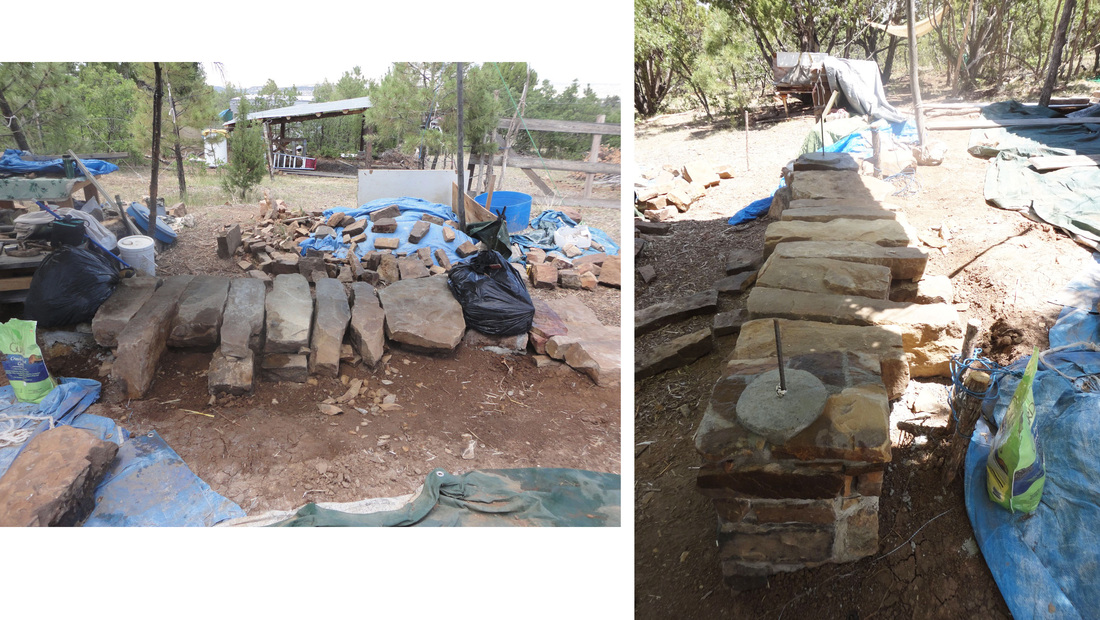
North side: Drystack wall and two masonry piers about ten feet long.
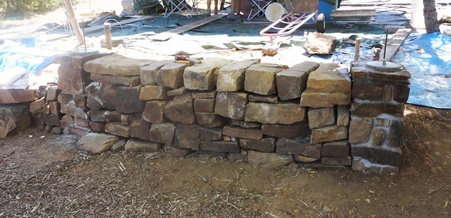
Here's the completed drystack wall. I'll show you sequence photos below.
Charles McRaven explains for drystack, start with a 12" deep stone. Each stone gets deeper even though the front remains flat and vertical. By the time it gets to the top, they are what we call BFR's.
Charles McRaven explains for drystack, start with a 12" deep stone. Each stone gets deeper even though the front remains flat and vertical. By the time it gets to the top, they are what we call BFR's.
First course of stone between piers
Landscape cloth to keep soil from infilling gravel...then a bit of gravel under stones. McRaven doesn't call for this, but it just felt right.
Stones start going up. The piers on the side weren't done yet.
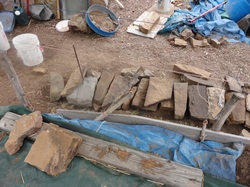
Side view shows stones getting deeper.
Hauling the last load of stones for the top. Showing scale of the big ones.
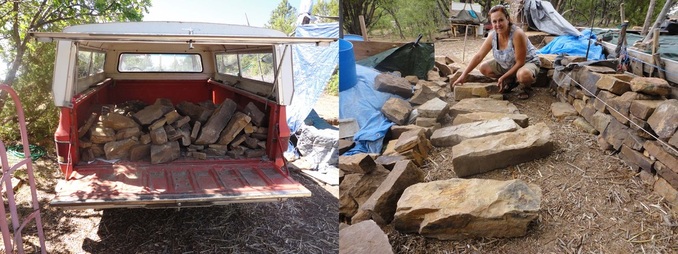
Less than 1,000 feet away, m neighbor has a hillside covered with these great building stones. I'd paid him well when he helped with fire mitigation, so when I asked if he wanted to sell stone, he said he'd trade a bag of wildland grass seed for all that a man and woman could carry for a designated area. I use the dolly, roll them up a ramp, drive up my hill, push them off the truck, dolly them to the stone pile, dolly them to where they will be used, then "walk" them on end any last distance. I'll lift stones the size of a shoebox, but much bigger, I use the dolly, leverage and walking them. My son Shay got one load of stone, but I've done about a dozen myself.
The last course of big stones, two views. Soil backfills to make flat porch.
Added steep steps to the right of drystack wall, monsters go deep...a day's work.
Northwest pier.
Cob Lizard Bench!!!
My daughter Jen came from mid-May to early June. We worked on piers, but she wanted to learn to cob. I'd hauled sand, clay, rubble and planned for the location. I wanted her to have a great experience and she's already a mud person (ceramicist), so I we started the bench. I gave her the basics and she designed it.
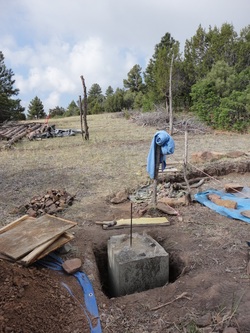
Foundation
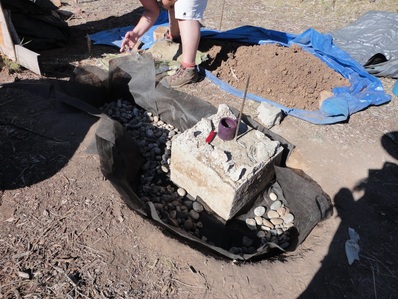
The 2' deep pier to support porch post is seen in the middle. The surrounding foundation for the bench is not very deep because it will be under a porch.
1. Landscape cloth to keep soil out of rubble
2. rubble
1. Landscape cloth to keep soil out of rubble
2. rubble
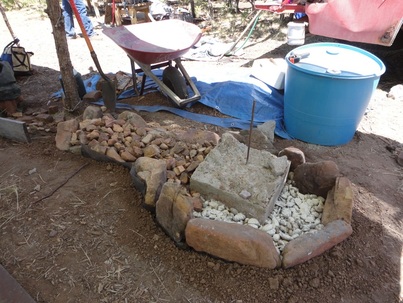
Jen gathered all the big stones from the forest choosing stones that were too round for masonry. We ran out of rubble that had been hauled so we used little stone piles I'd made excavating for bigger stones. The white powder is diatamaceous earth (made from diatoms, minute shellfish). It's purpose is to discourage habitation by insects, in particular, scorpions.
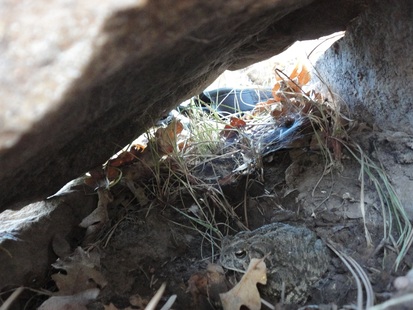
Woodhouse toads sometimes appear in moist construction sites. This guy was in a pier foundation hole we dug. We have a "toadhouse" to put them in when found so they'll be safe. I put the camera at the toadhouse door and got this picture of our little friend.
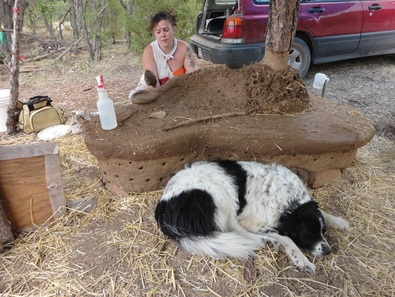
Maybe fifteen batches of cob later, the bench is well on it's way with the porch post sitting solidly on the underground pier.
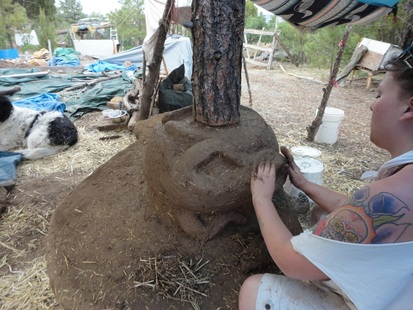
Lizard head
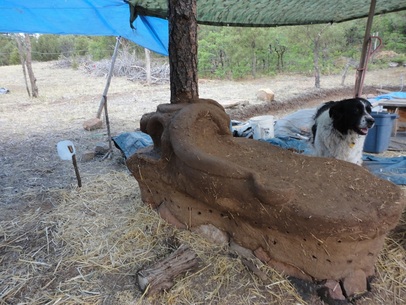
Bench is a chaise lounge by the front door. The front end will be in the sun in the winter, a nice place to sit just outside the front door. The chaise arm has a cup holder.
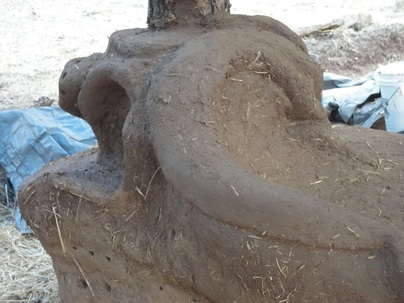
Beautiful job, Jennifer!
Next season it will get a coat of lime stucco to protect it.
Next season it will get a coat of lime stucco to protect it.
Winterizing
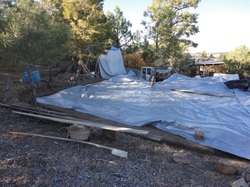
A huge tarp will protect the foundation, lizard bench, drystack walls and steps until next summer when the walls will rise.
