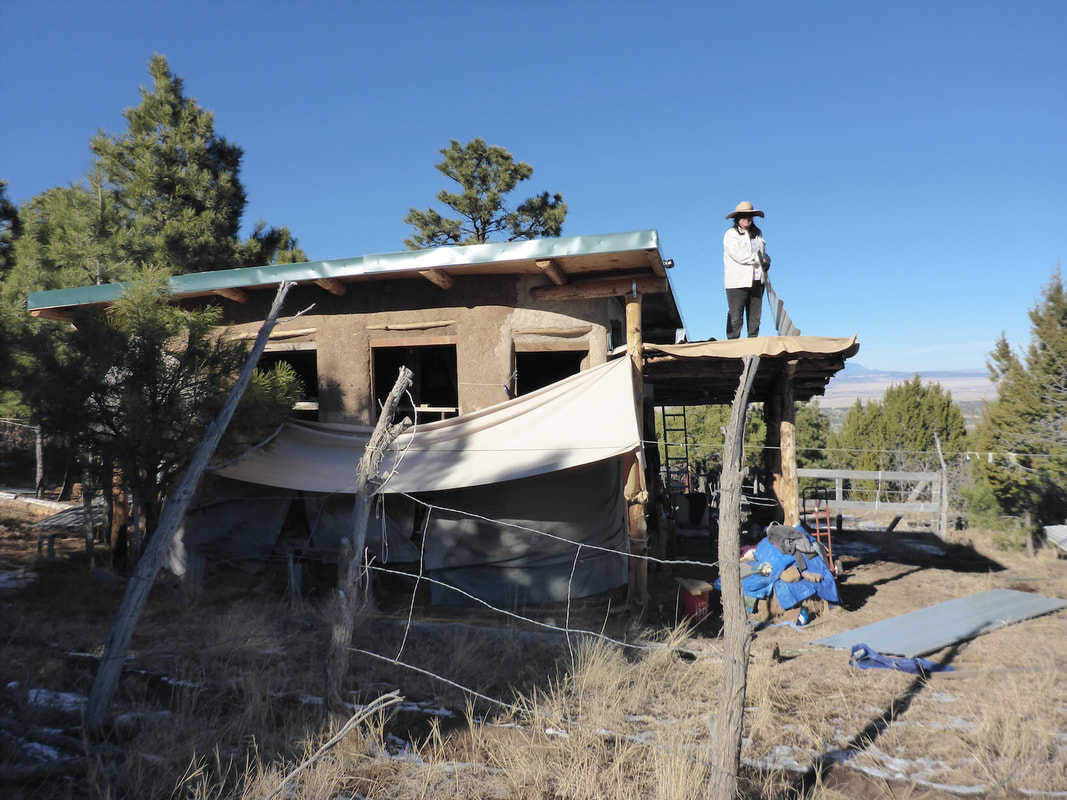
WALLS DONE!
As the end of my sabbatical year was coming to an end, I figured I needed several dozen batches of cob to finish the wall in a few weeks. My dearest friend Jana came from Oregon for a bit and my daughter came from N. Calif. for about a week. This gave me just the headway I needed to finish the walls after they left. They were completed on August 7th. It was pretty epic, though there is no exterior image that does it justice with tarps and scaffolding.
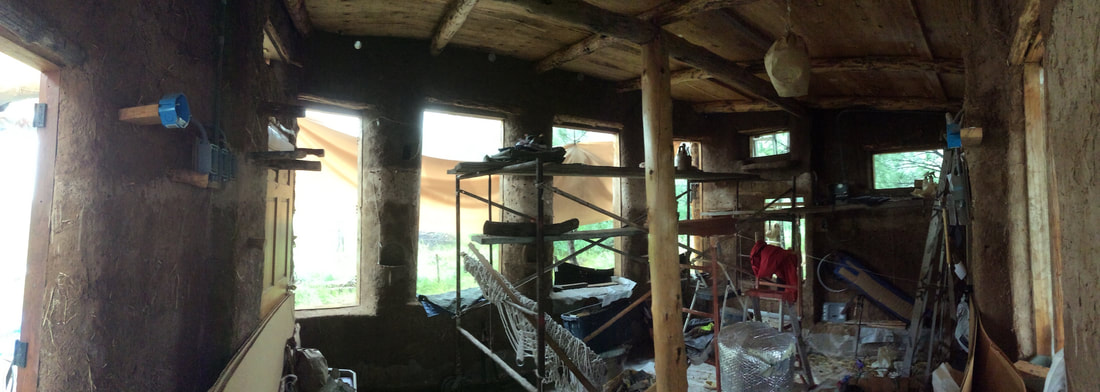
Below: On day of wall completion, pic of the interior
Below: On day of wall completion, pic of the interior
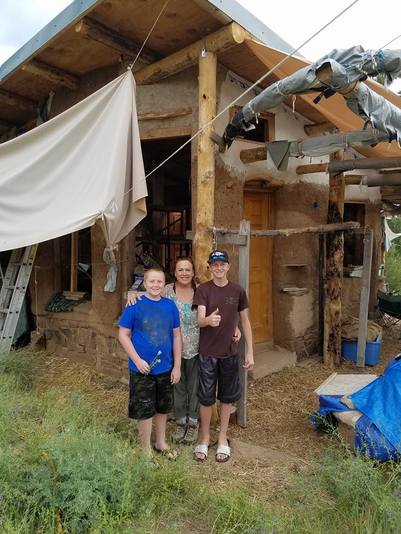
Below: Me with Ezra and Carson who were little ones when they helped with the chicken coop in 2010. This shows the scale of the south walls.
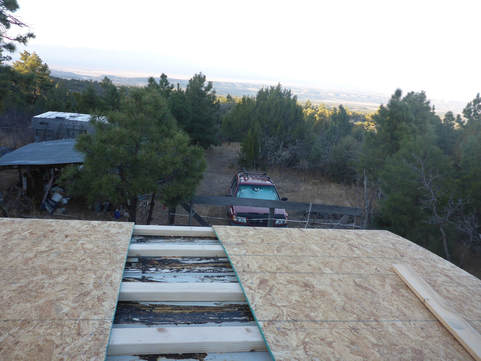
Roofing the porch
Though school began in August, I knew I needed to get the porch roof and had planned for this by completing stucco to below level of porch rafters.
It took a while to figure out how to do it since I hadn't done this detailing prior (!). Finally I opted to use repurposed roofing on the under layer to give the best support to roofing on top of the four foot rafter span. The photos below show the sequence.
I'd prefer to cob, but roofs are necessary! Nights are also getting to cold, so winter work will move forward.
Oh, in October I went to Oslo for a week to be present and my son's PhD defense on protonic fuel cells.
|
1) Repurposed roofing first layer to give the best support for roofing. Wood will always end up sagging unless large timbers. When I built the porch I had limited timber. It wouldn't have hurt for them to be bigger... so I wanted to keep the additional roofing weight down.
However, this roofing had tar on one side that tranferred to clean side when stacked, so I had to clean with turpentine...not very fun. |
|
|
2). Here you see the tar side up of the first layer of re-purposed roofing tin.
On top of it is 2x4 framing which is lag-bolted to the rafters. Then on top is chip board. Wish I'd used plywood as I did on the main roof. I have no faith in chip board. However, it's main purpose is to give a little more support to final roofing steel. Sometimes that's all people put on it the steel. |
|
|
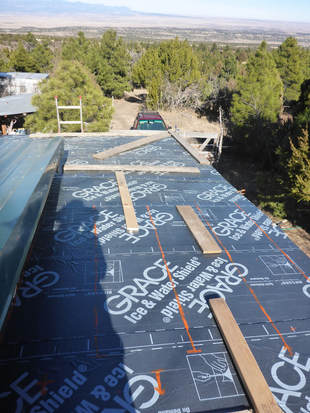
3). Moisture shield was recommended under final roofing so I used the same stuff Niko used on the main roof. It's not cheap but it seems like an excellent product, though a little tricky to use as it will stick to itself and be ruined if you're not careful.
Orange lines I painted so I'd know where framing is to screw roofing down to the strongest wood. Decent plywood would have made this less crucial. |
|
|
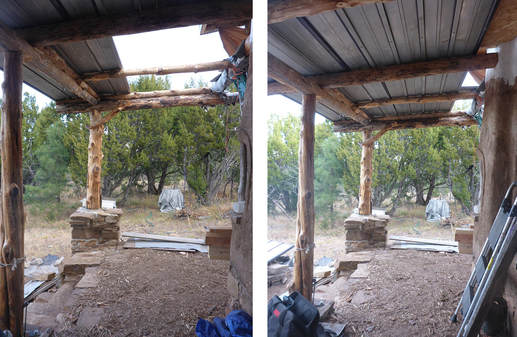
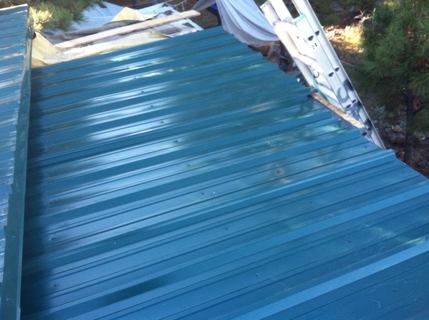
4). North porch I got the final steel on (Colorado-made).
The sheathing and water shield in image 3 above I got on on Sunday Nov. 26th and the waterproofing on Monday before school (!) on the 27th before snow was forecast for the 28th. We had a week of weather in the 60's and 70's though. Porch roofing is almost done! Somewhat difficult to work on weekends only but I'm happy to have made consistent progress. |
|
December 16th: Porch roofing done!
Since school began I put in twenty two days on weekends doing all of the above. I had help on three days. But being gifted with warm weather that allowed me to work, the roof on the porch is done except for fascia. The walls are done, the whole thing is protected. Well, I will keep tarps up on the south side until it has stucco, but another major phase is completed.