November 13, 2016
Work came to a halt mid-October so I could prepare and leave for a trip abroad to see my son. He has been in Oslo, Norway for three and a half years, but given my short span to work during the summer, I haven't been to see him until now. He suggested I should see other parts of Europe, so after we rendezvoused on Mallorca, my cousin and I traveled Spain. Of course I swam in the architecture, buildings that have lasted hundreds of years, made by hundreds of hands.
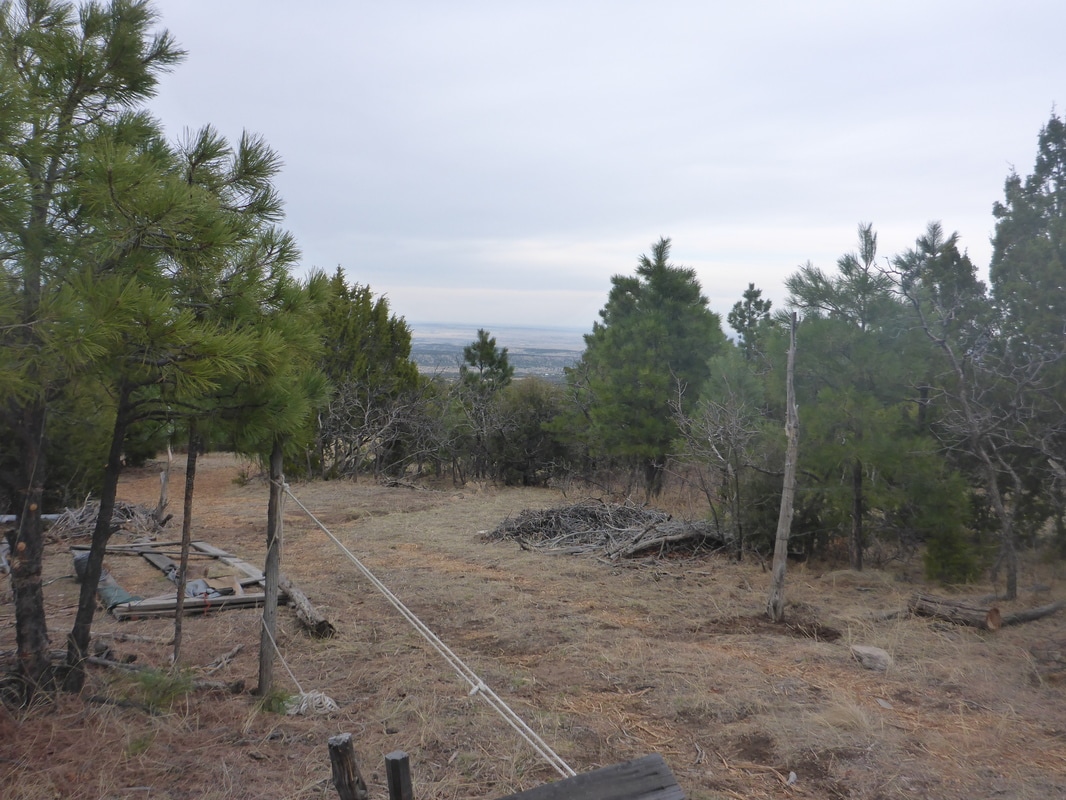
Before I left I had made an attempt to get the north wall stuccoed but ran out of time. I did manage to get all of the materials ready, though. It's a week after my return and I'm nearly over jet lag, so with a little window of time to work with night temperatures above freezing for a few days and day temperatures very pleasant (somewhat unusual this time of the year), I decided to go up. Things went very smoothly (no pun intended).
The last thing I'd done before putting everything away for the winter was gather all the materials needed for stuccoing, so everything was ready to go. Stucco must come before porch roofing as it would be very awkward to do above the roofing once it's in place. But I realized just today that I don't have to do below porch rafters until later! This will make the job go much faster.
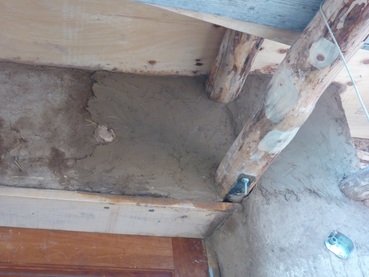
Stucco on the wall above double doors and between rafters.
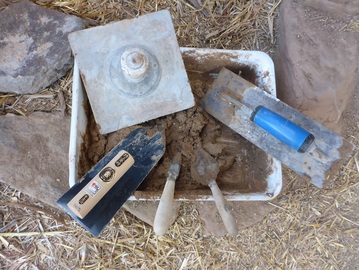
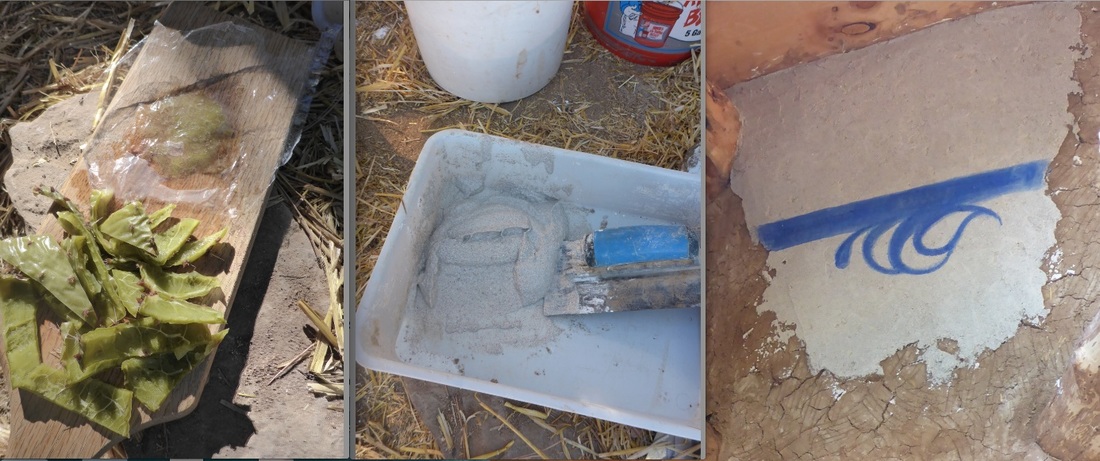
Above: Hawk and trowels. Very happy with new Japanese trowel bottom left of image. A stiffer trowel is used for underlayers. A more flexible trowel is used for finish layer. The hawk and tiny trowels have been purchased at flea markets and garage sales. |

There are many mixtures for stucco but this is:
• half a bowl of still-wet cow manure • six bowls of sand sifted through a screen • five bowls of clay • two handfuls of chopped straw • a wee bit of lime putty . . . putty added to a little bit at a time to small the smaller tray seen in the photo to the left |
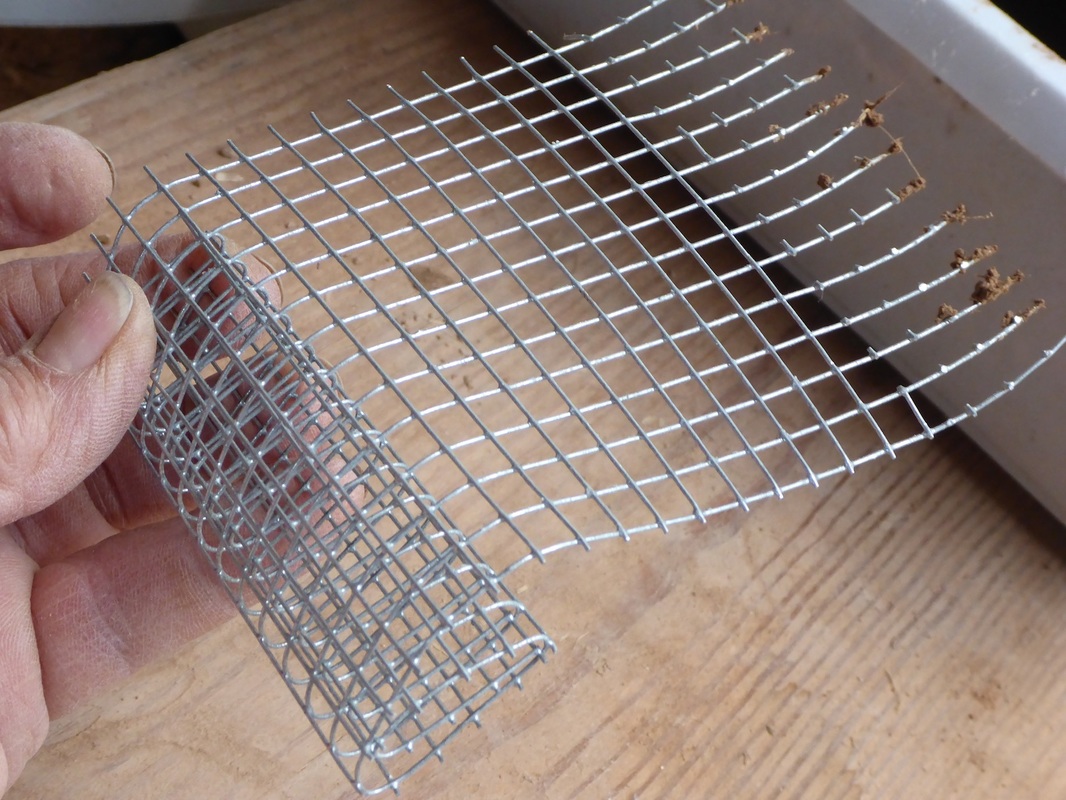
Adding texture:
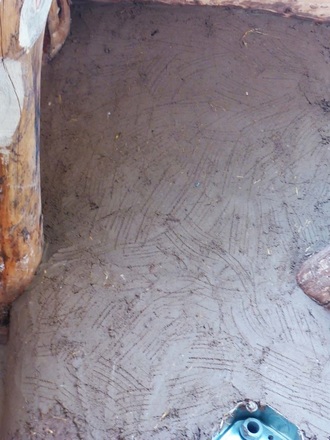
After a coat of earthen stucco, there will be another layer of lime stucco (which is water resistant but breathable). It's best if there's some "tooth" on the earthen stucco's surface for the lime stucco to adhere to . . . but I didn't have a "comb". . . so I made one with a piece of hardware cloth. It worked great. To the right you see the scratched wall. |
|
Last day of work on the building for the season:
Though I was all geared up to do some stucco – and I realized I only needed to do from the roof to below porch rafters to be able to get the porch on the north side – very cold nights are coming with Thursday night to be in the teens. Because stucco needs to be kept moist for several days and shouldn't be done in cold weather, alas, I decided not to proceed.
However, I couldn't resist doing a little test strip. I've always heard that nopal cactus is a good additive, so I read up on it in The Natural Plaster Book by Cedar Rose Guelberth and Dan Chiras. We do have nopal – prickly pear – on the mountain, and there's even one that I planted years ago from a section that had fallen off a nearby plant. So I went to that very plant and harvested one leaf/section. I cooked it as directed, and very carefully scraped off the mucilage and added it to my lime stucco.
At the International Straw Bale Conference a couple of years ago I purchased three beautiful Japanese trowels that are being put to service now. They are wonderful!!!
Lastly, I experimented with a fresco design. I hadn't been able to decided on a motif, but as I worked, an idea came to me. As I applied it, it morphed into another design. After it was finished, I realized it is much like the decoration on tile and ceramics in Spain and Mexico too: my giant Mexican coil pot! This is so exciting, it will keep me fueled...until spring...

After winter solstice: winter chores
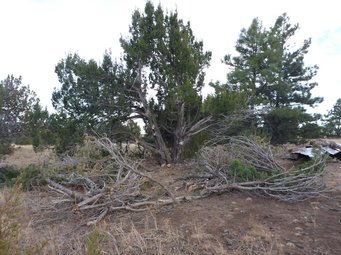
In February we had some 80˚ weather! I did some trimming of a Western Juniper just above the building site which provided wood for a cob oven we built in town in the barrio at a non-profit music house. Then in April we got a lot of snow. Here are some over-winter photos.
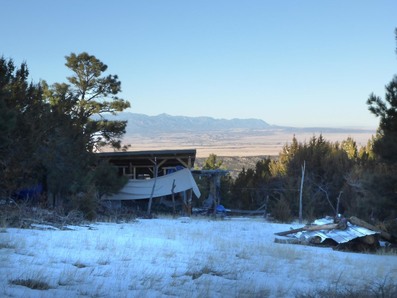
Above: The sun goes behind the hill around 3:30 p.m. on the solstice.
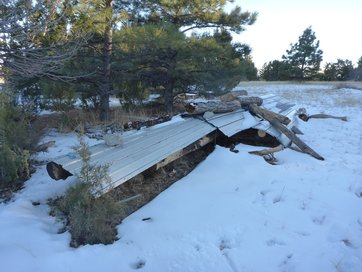
Even though one cannot cob in the winter, visiting the site is important to check on things. The wind blows things around. Below: Repurposed tin from friends re-roofing keeps timber protected. Rope tied around all keeps it from blowing it away. Log scrap weights add a little more security. |

Above: Roofing scrap as rain/snow gutter.
Below: Clay pit covered to keep wildlife from falling in and getting trapped. |
|

|
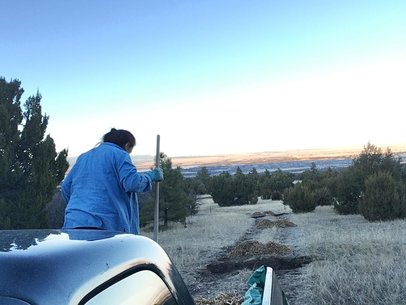
Above: Important work is care for the "road path". On the county road route up to the land they trimmed Junipers along the side of the road and left piles of wood chips for the taking. My daughter Jen and I hauled three truckloads up and spread them on the path. As I write this I can tell you that in early May there was so much rainfall in one day that there was total washouts of roads. This path was fine! All I had to do was re-spread chips in a few spots.
Below: Western Juniper branches often break under weight of snow. This tree just above the building site needed a lot of work. My cousin, Kevin, started on it on my birthday in August and I continued in the late winter. It provided wood for the cob oven to the right. |
Above: The large drive-through gate had started falling over, apart and warping, so I took it down, put wet rags on it to re-bend the wood, re-bolted everything, re-set the post it hung on (originally not dug deep enough), and re-hung the gate.
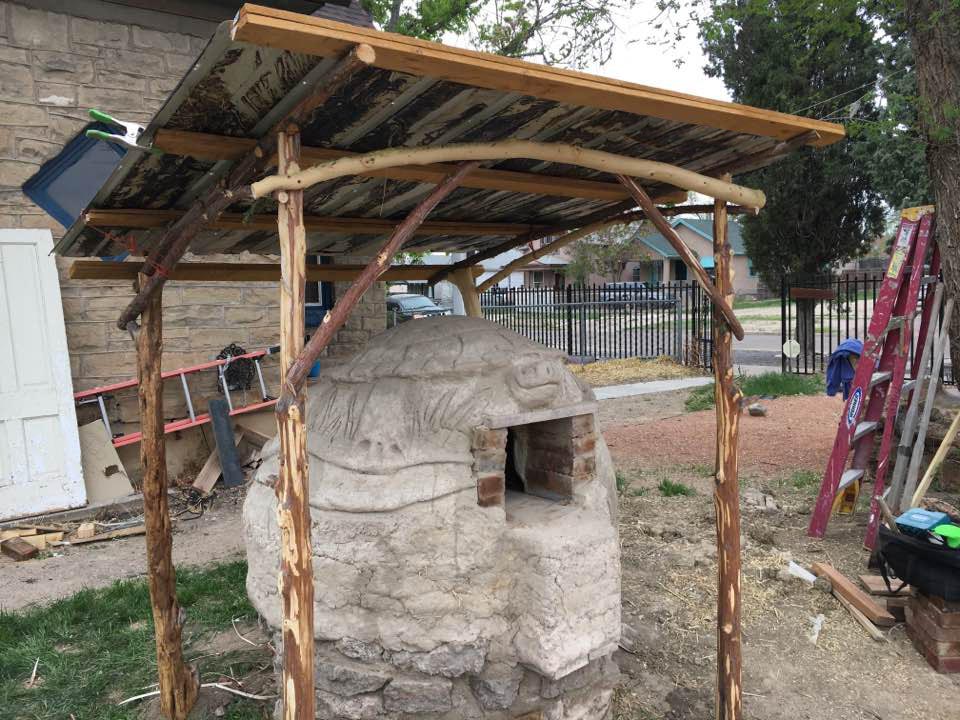
Below: My first cob oven built with some helping hands at a non-profit music house in Pueblo's east side. Kiko Denzer's book on cob ovens was the guide. I will have another page for the oven-making, but I wanted to show the use of Juniper from the land for the roof. |
Below and right:
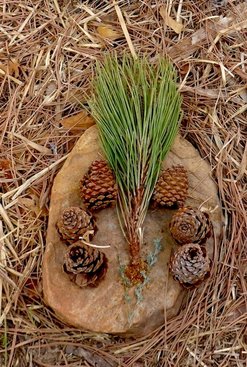
A beautiful drive home and a little offering. 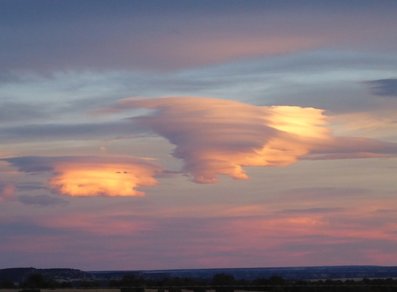
|
|
