Earth Art: Mud Mural Workshop with Kiko Denzer April 2012

As you read this and see the materials required, you might think that a commercial paint product would be an easier material with which to work. I have done painted public murals, but why do natural plaster/stucco murals? Quite simply, because this ancient method uses local materials and is profound in its beautiful simplicity. There is no long-distance transport, no toxic ingredients, no off-gassing, and the satisfying tactile earthiness of the finished art. The latter is particularly satisfying in many institutional settings.
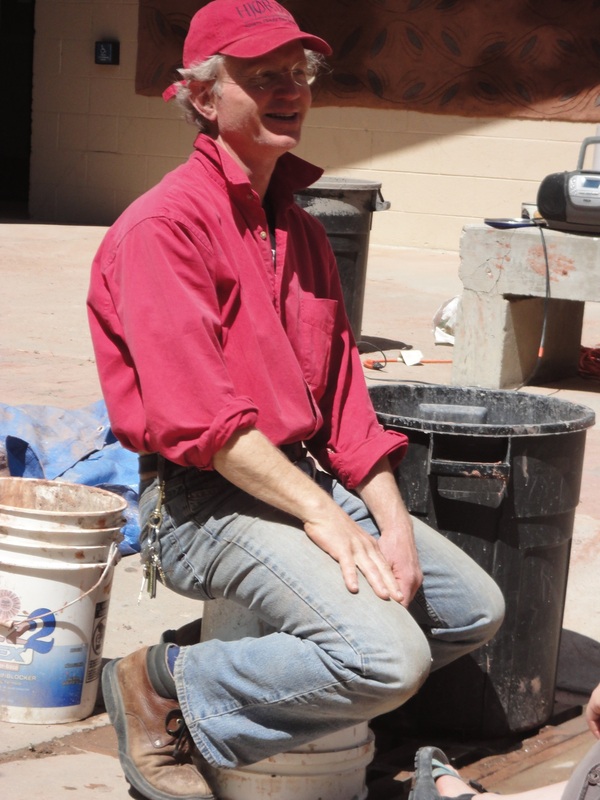
I met Kiko when he instructed a workshop I took at O.U.R. Ecovillage in Canada a few years back. I think it's a great insight that both the university and Art Department at CSU-Pueblo, where I teach, support my research in natural building.
The Art Department has a visiting artist program in which we host artists for one-credit weekend workshop, and though it is a teaching overload for faculty, we do get to feature artists in our areas of interest for the benefit of students and to enhance our own experience as well. The workshop was great fun and received outstanding student evaluations.
Preparation
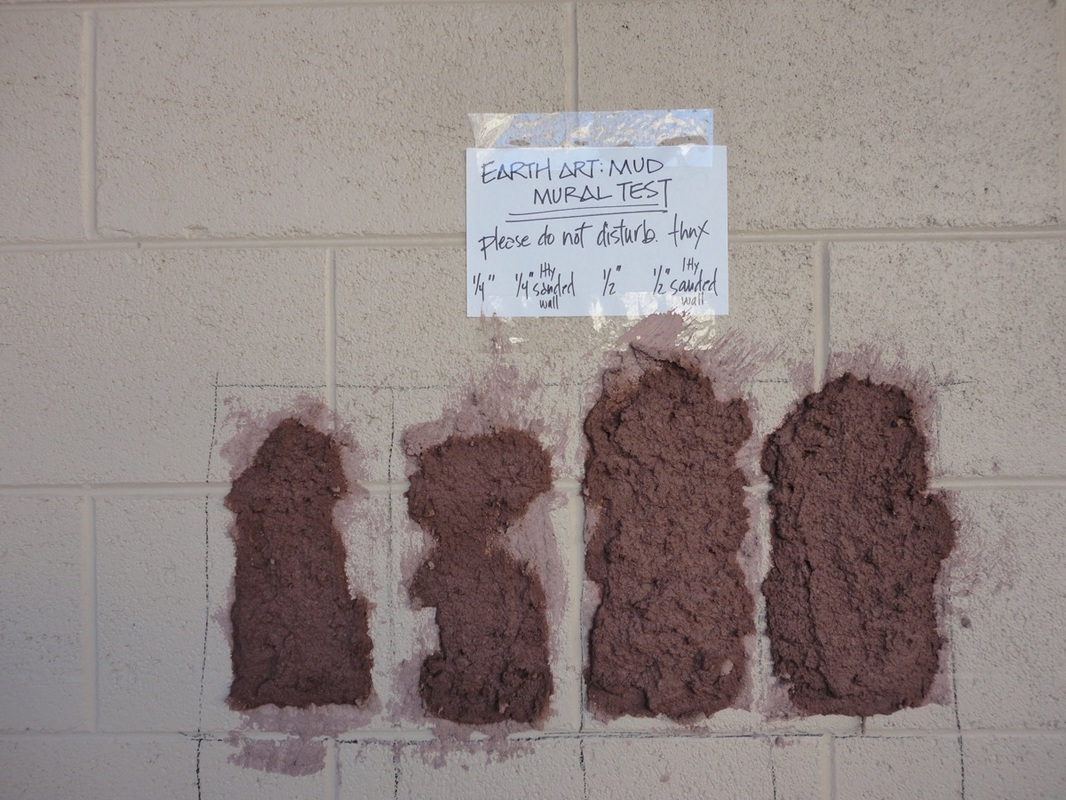
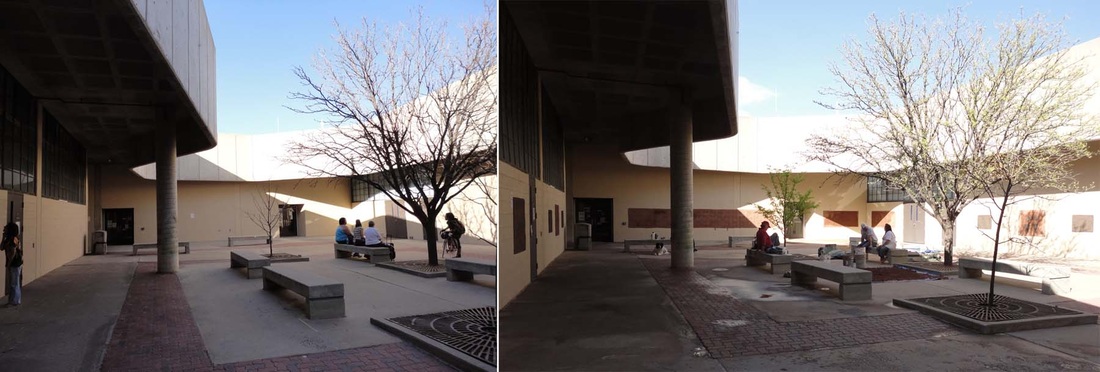
The walls we were to work on had been painted with latex as efforts had begun to improve our art courtyard, so I had to do tests prior to make sure the plaster would adhere. The facilities folks saw my tests and said, "We didn't think this would be permanent. We thought it would be on panels." I replied, "Panels would require hardware, which would be 'permanent'. This can be washed off."
However, there is an overhang in the architecture that will mostly protect the murals from rain, so unless there is an intentional effort to remove the final works, they should last for quite some time.
However, there is an overhang in the architecture that will mostly protect the murals from rain, so unless there is an intentional effort to remove the final works, they should last for quite some time.
Materials and preparation
It was necessary to begin talks with Kiko months prior as there were many things that needed to be in place. Besides making a test mix as seen above, I ordered 2.5 tons of sand, arranged for delivery of a cubic yard or so of clay (2 colors delivered by Shane Jarrett from the brick yard after their bins were cleaned), and I collected 10 buckets of horse manure from my neighbors.
A sampling of other items I brought, arranged for and purchased prior: tarps, buckets, spoons, drawing tools, paper, shovels, hoses, drill, brushes, tables, ladder, sifting screen, jars and towels.
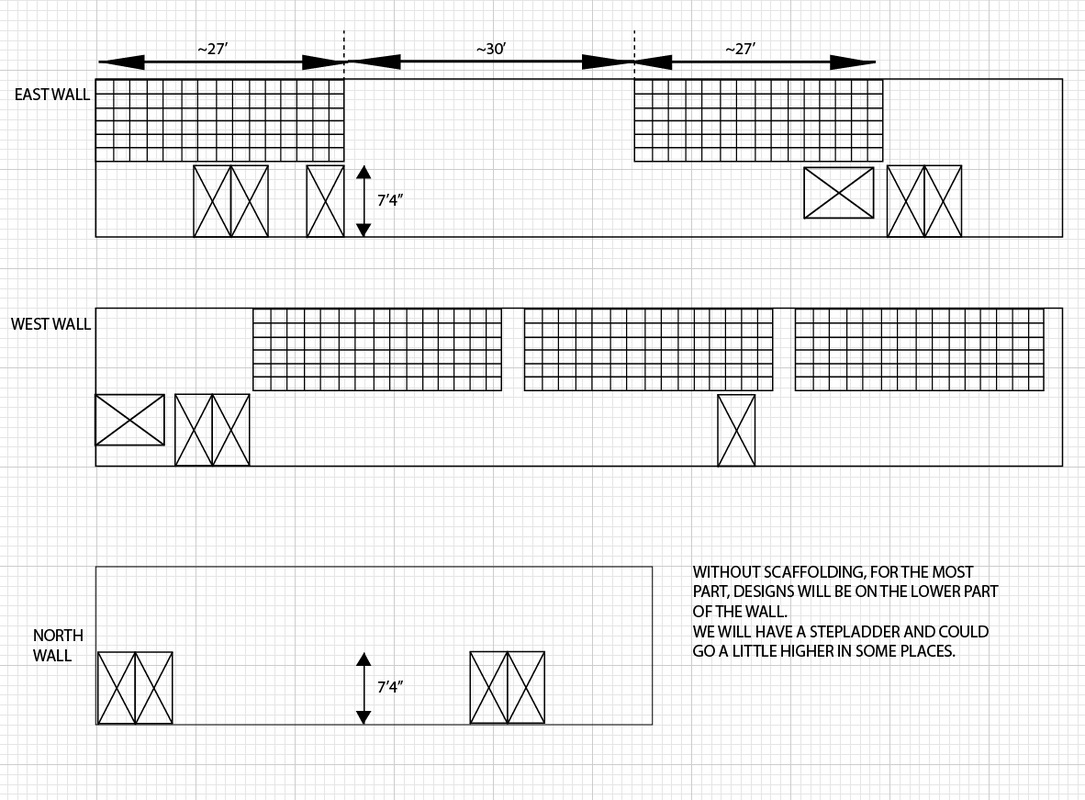
I prepared a schematic of the courtyard walls to post for students prior and purchased African Painted Houses which was put on reserve in the library. It's a beautiful book which I highly recommend. The pattern design work is the basis for the way Kiko works in schools with groups.
A sampling of other items I brought, arranged for and purchased prior: tarps, buckets, spoons, drawing tools, paper, shovels, hoses, drill, brushes, tables, ladder, sifting screen, jars and towels.
I prepared a schematic of the courtyard walls to post for students prior and purchased African Painted Houses which was put on reserve in the library. It's a beautiful book which I highly recommend. The pattern design work is the basis for the way Kiko works in schools with groups.
Designing

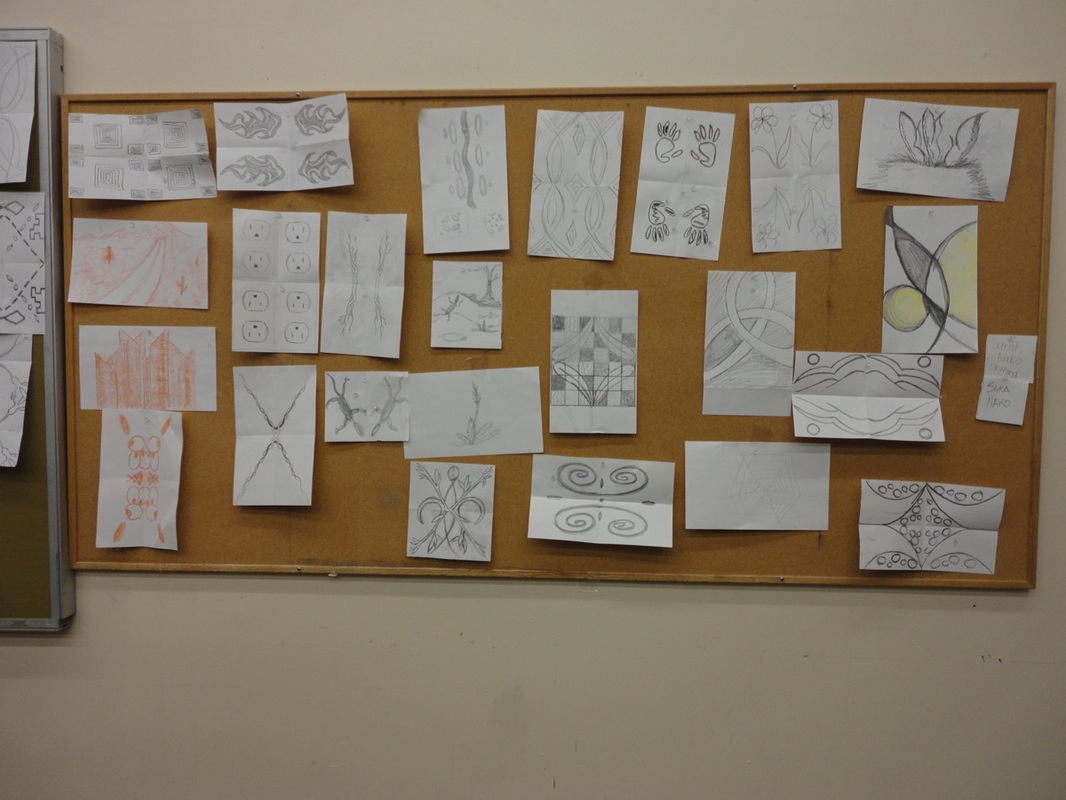
After a Friday evening lecture, Kiko began Saturday by having students create designs inspired by nature or something they'd seen recently that impressed them deeply; they folded their drawings to make mirror images, then folded them again. Designs were put up on the wall (below left) and everyone voted on them with thumb tacks.
Kiko and I then photocopied them in repetition (below right). These were the designs for our murals.
Kiko and I then photocopied them in repetition (below right). These were the designs for our murals.
|

|
Let the stomping begin!
The mud mix we used was 3 parts sand, 1 part clay and a half part manure. The mix will vary depending on the kind of clay you have. The clay we used from the brickyard already had a lot of "grog" in it (ground up bricks in this case). If using a clay that has less grog and is more pure clay, one would use less clay in the mix.
Why add manure? (Once on the wall, it smells like a sweet hay field.) Manure has been used in natural building stuccos for millennia because it:
1) adds "pre-processed" fiber already broken into short segments
2) makes the mix stickier
3) adds to water resistance once dried, and
4) is a natural readily available material.
To see Kiko do a demo on mixing, go to: http://youtu.be/q5LGbKH5F2s
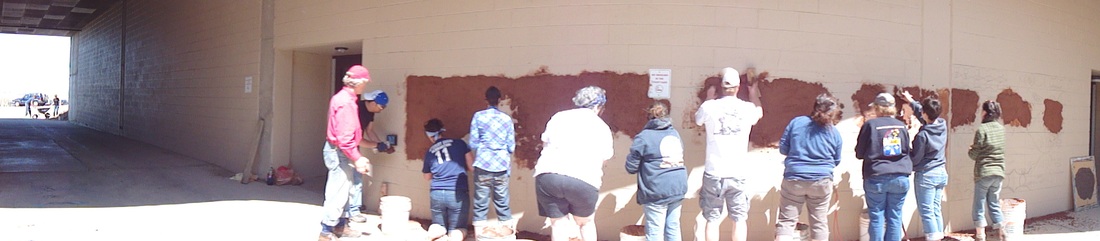
Applying the mud to the wall
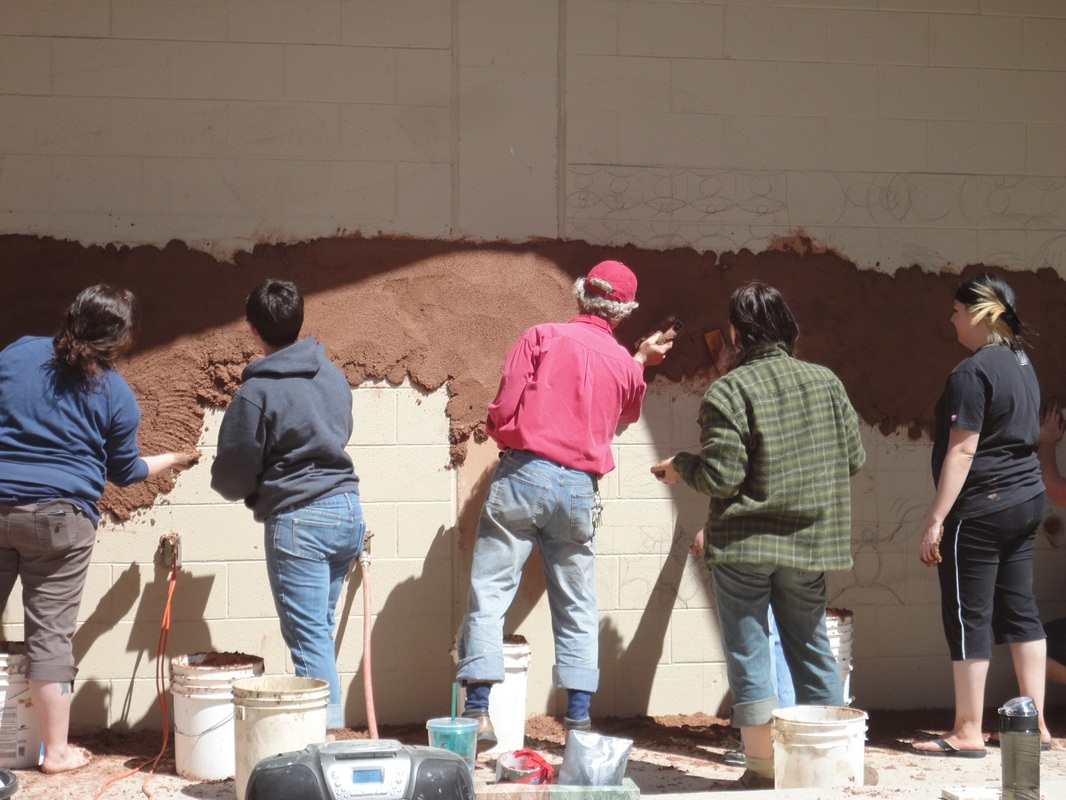
Small tangerine-size balls of the mud mix are made and thrown onto the wall from a short distance then smoothed by hand or with a wooden "float" (a short board or wooden trowel used by plasterers).
On a bare brick wall, one would spray the wall with water first, but I'd forgotten to do this with my test on the latex paint and we realized this was probably good as the mud would likely slide off if the painted wall had been sprayed.
Sometimes the thrown ball doesn't stick and falls to the ground, but if the ground isn't too dirty it can be picked up and re-used. (If it dries out some water can be added.)
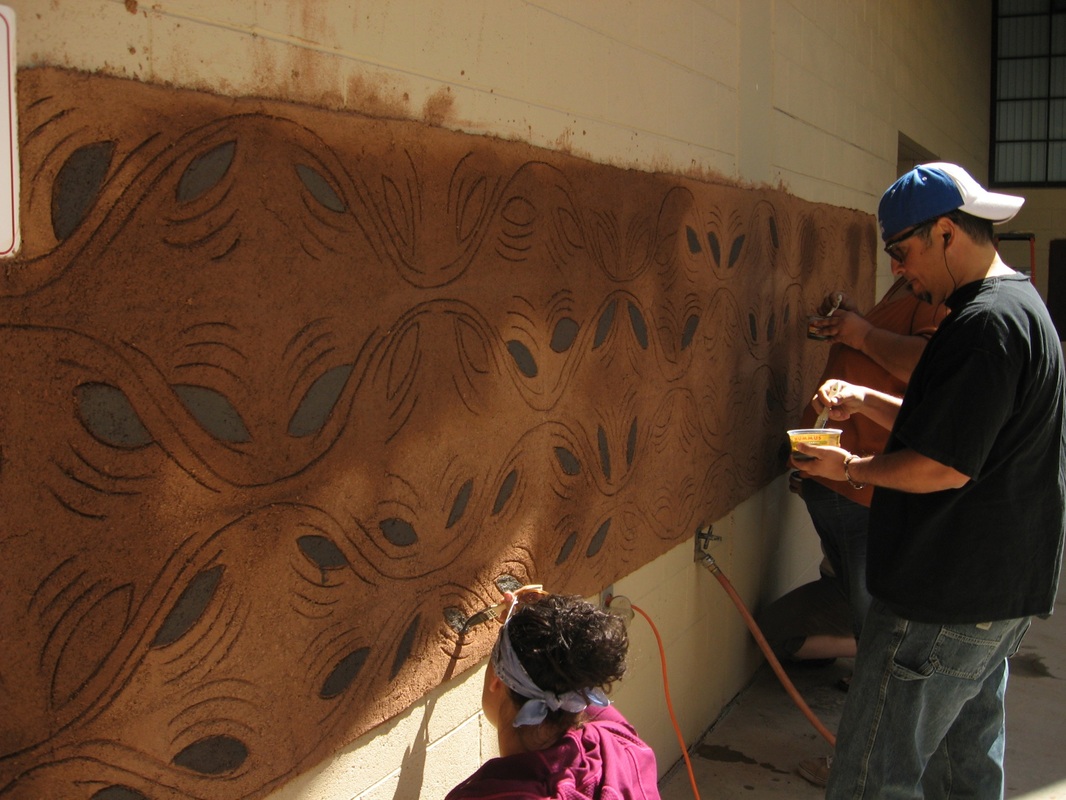
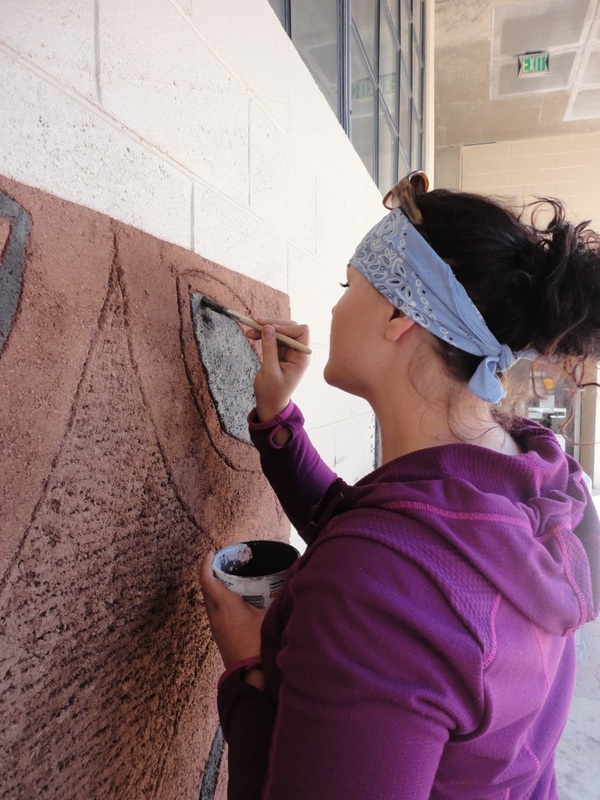
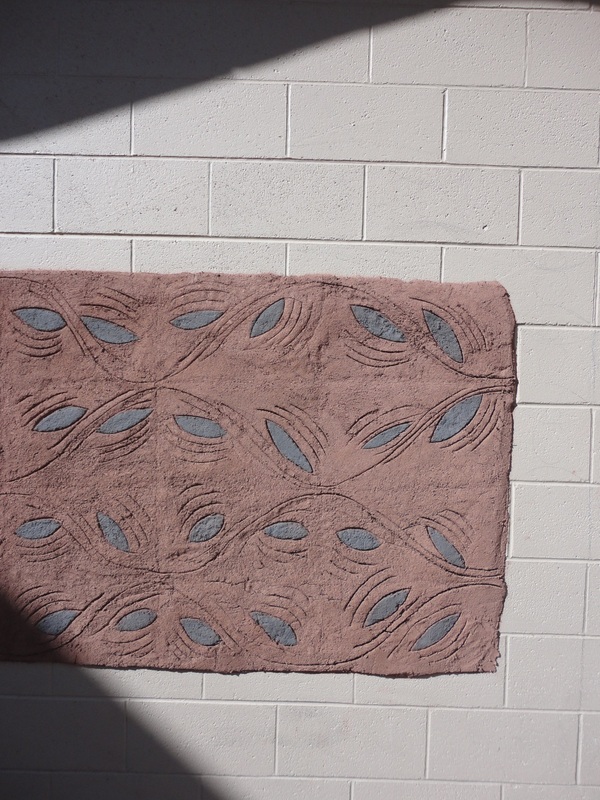
A light grid was inscribed into the mud and the pattern transferred onto the wall with the handle of a spoon. We were careful not to cut too deeply or it would cause a crack in the mural.
Two buckets of a powdered black clay had been given to us; this was mixed with water and painted in accent areas.
Two buckets of a powdered black clay had been given to us; this was mixed with water and painted in accent areas.
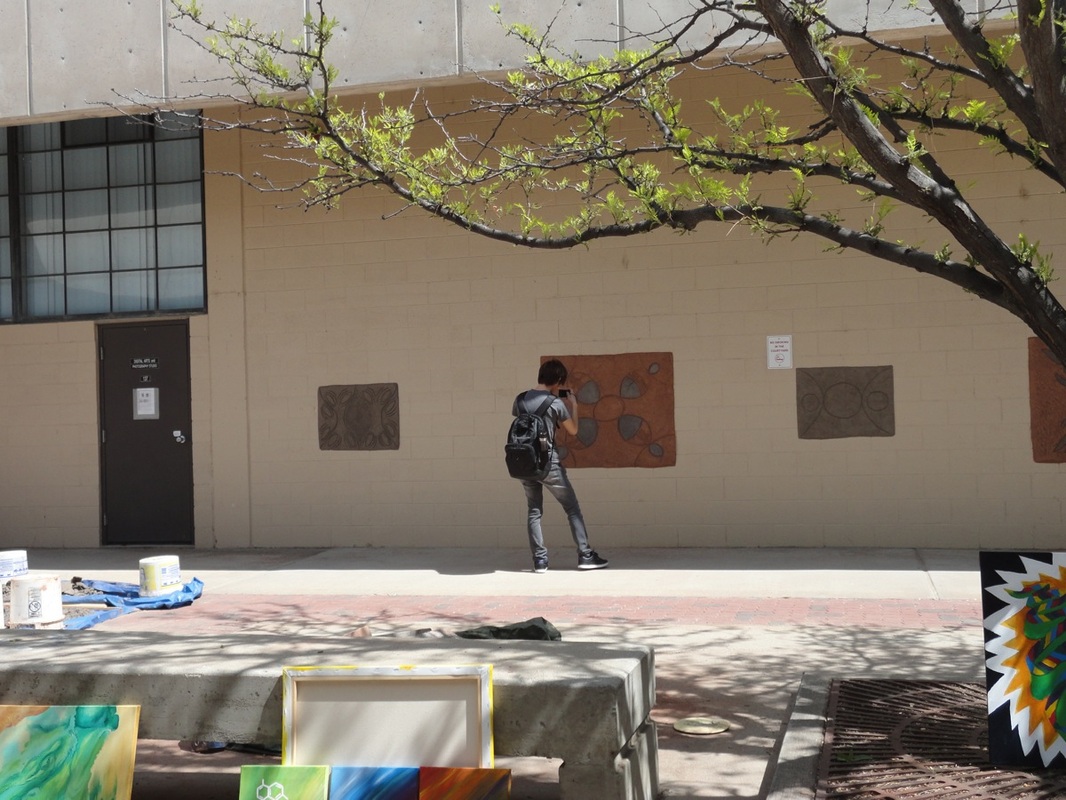
Work site
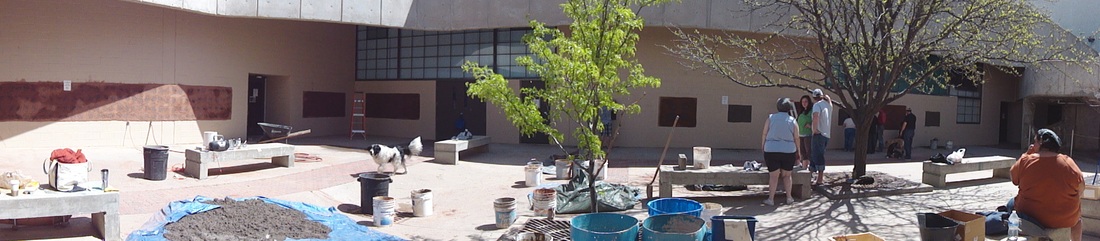
Here you seen the work site in progress with all of the materials and tarps...but we left it immaculate afterwards.
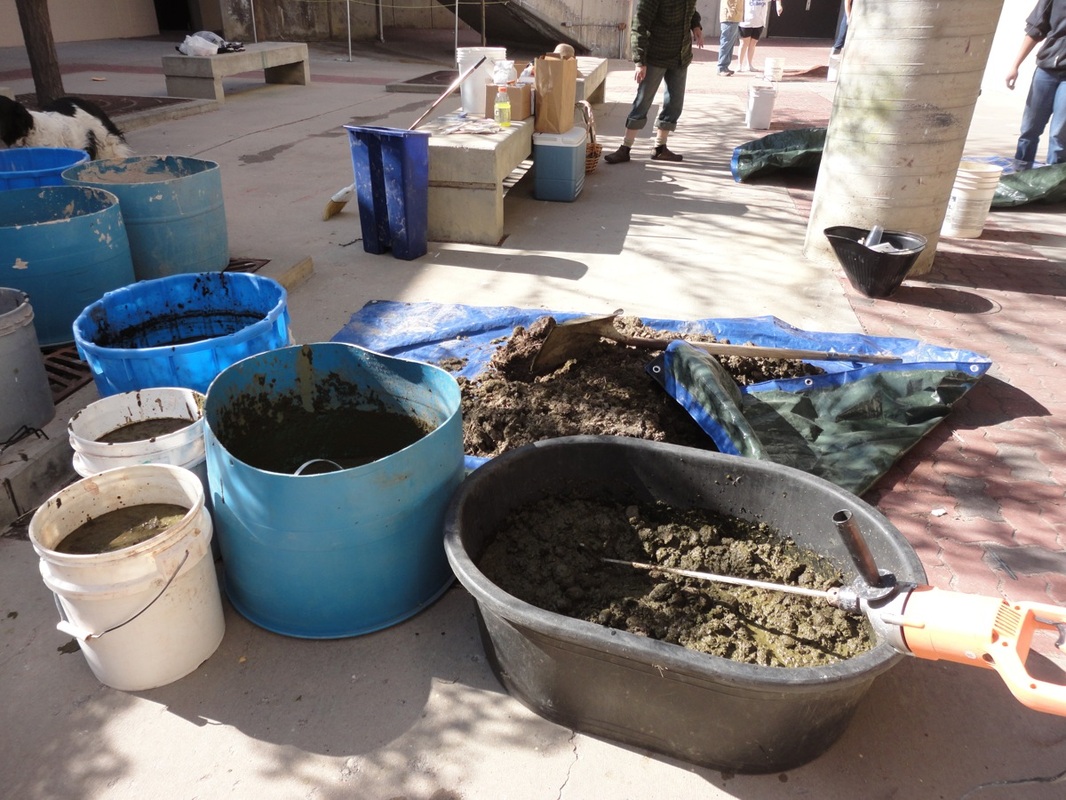
Detail shot of the manure...
My big drill came in handy to chop it up.
My big drill came in handy to chop it up.
Earth Art: Mud Murals!
|
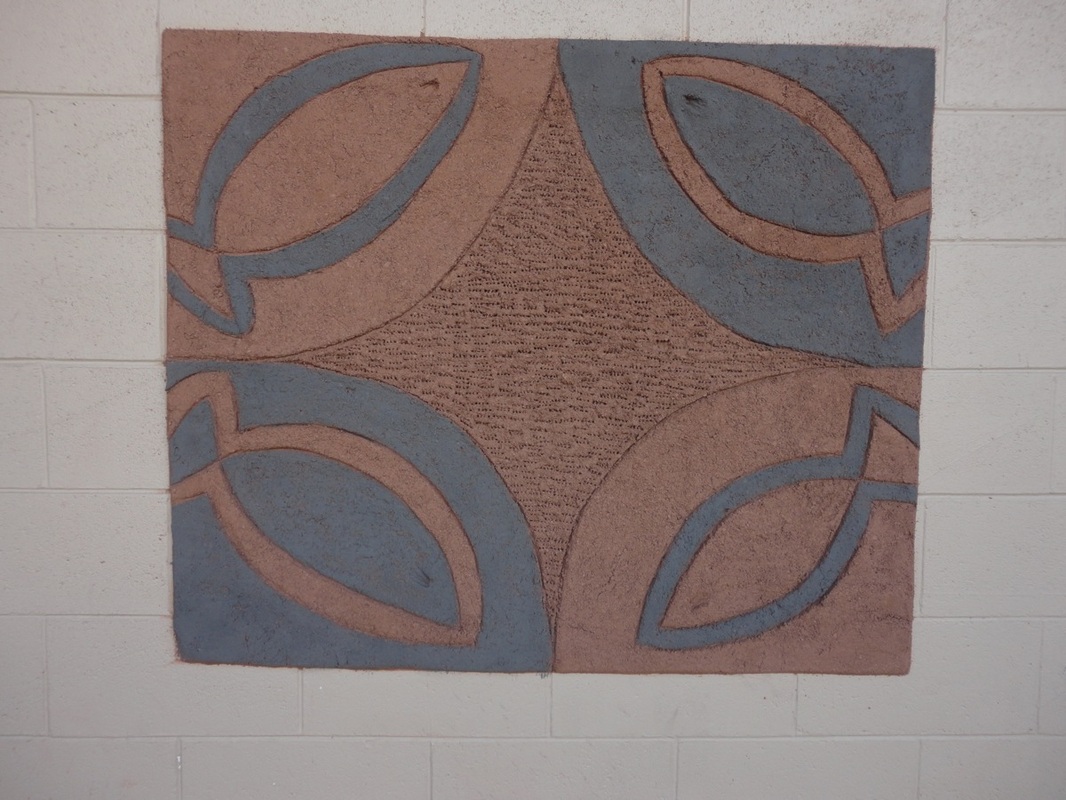
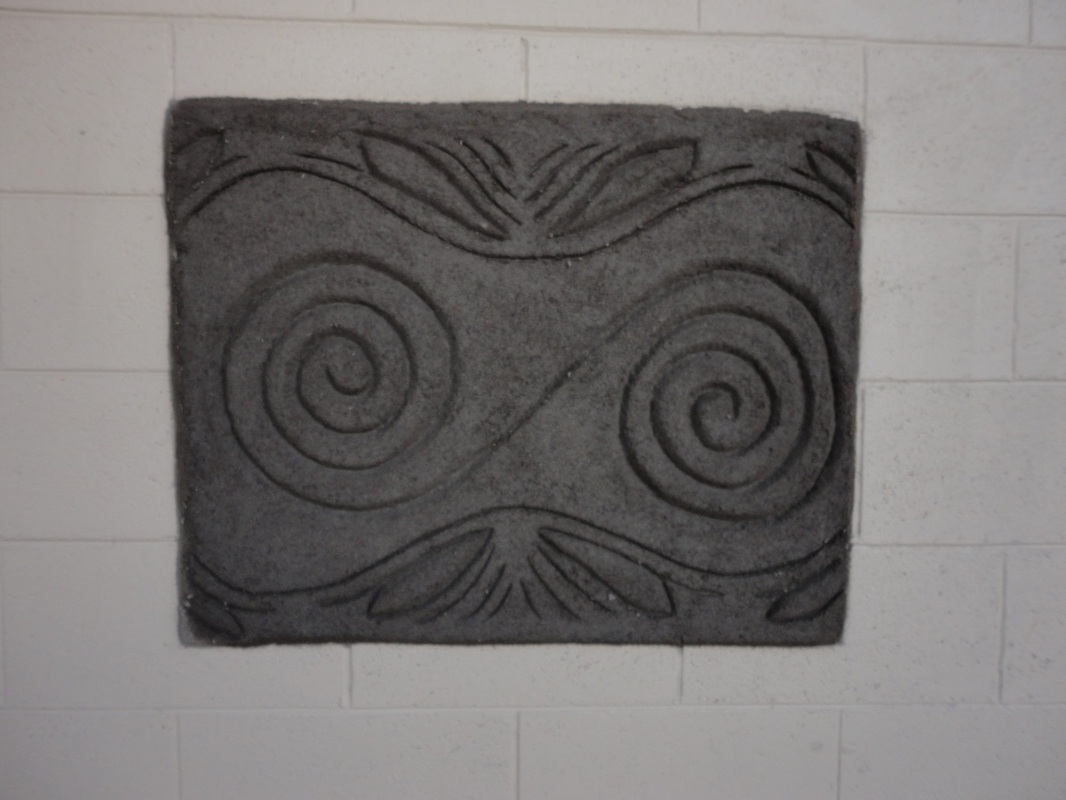
We made 13 murals. Here is a sampling.
|
|

|
|
Extra mud
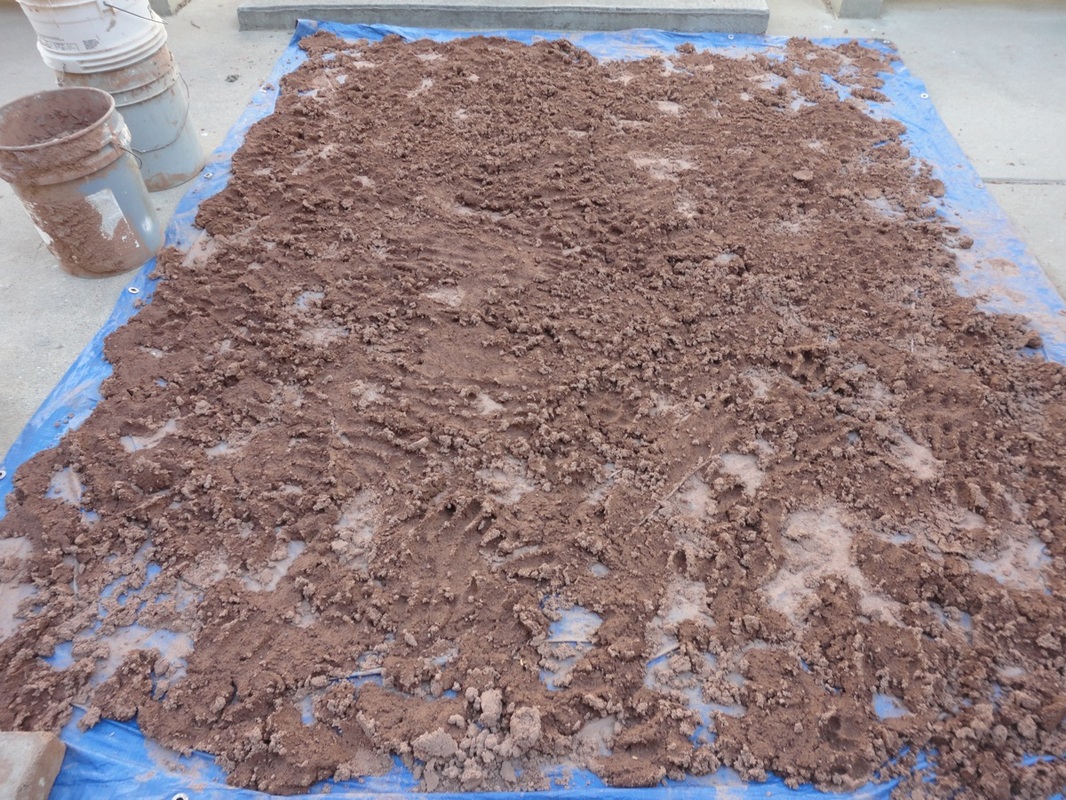
Extra mud can be dried, stored and re-wet for use. Here we spread out the extra mix which was put into buckets and stored.
Similarly, murals can be remade in part or whole, repaired, etc.
Similarly, murals can be remade in part or whole, repaired, etc.
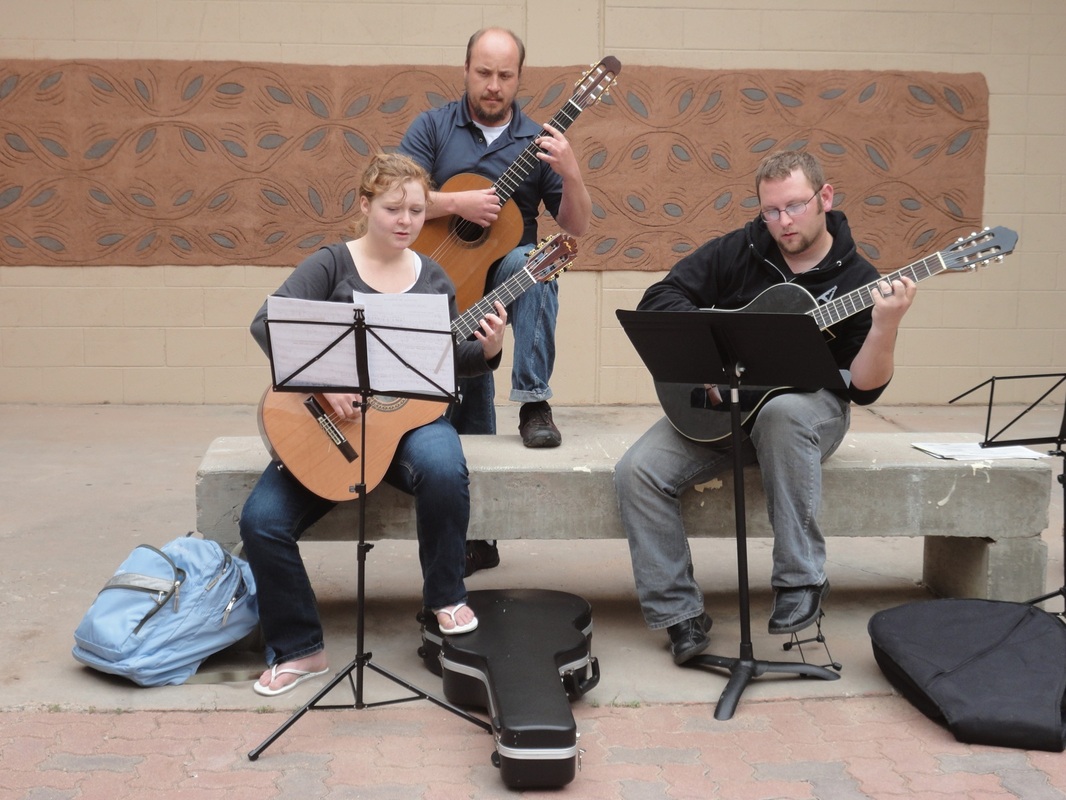
Student interest
The workshop was three days: Friday lecture and short meeting, Saturday designing, mixing mud and starting the murals, and Sunday only part of the day for finishing and clean-up.
The following Monday my painting class did an outside critique and witnessed that there was much interest and enthusiasm for the new human-friendly space. And it seems that there is interest in keeping the murals up.
The following Monday my painting class did an outside critique and witnessed that there was much interest and enthusiasm for the new human-friendly space. And it seems that there is interest in keeping the murals up.
|
|
Before/After
Thank you, Kiko.