June 22: Summer!
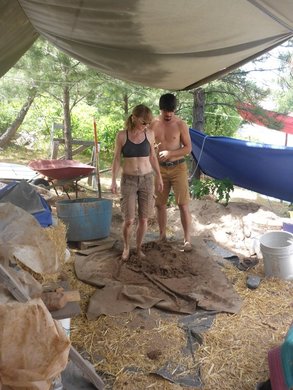
Last weekend friends Kate and Mike came and camped. Kate and I applied the first lime stucco (see last fall for mix info) to a small high portion of the east wall on Friday and on Saturday some cobbing was done. Mike is a very experienced cobber and interestingly, he makes his cob much sandier than I do and either makes balls of cob (instead of oblong ones) or just fills a bucket and takes it straight to the wall. Those heavy buckets are great for strong young men but less so for me. The cob dries very hard and makes a good wall, but I found that I prefer the more sculptable cob mixture I make. It does crack a bit more, but I think both are strong and have their uses.
Sunday was Father's day and Sid, who came once last summer, brought his two boys up for the day, Noah and Micah age 10 and 11. Micah was crazy for cobbing! He was a quick learner, enthusiastic, observant and wonderful! I helped him cob on the middle "tower" of the south wall.
Monday saw house guests in town and Tuesday was a needed rest day. The weather has been close to 100˚, so I tried to get an earlier start this week. Yesterday was the Summer Solstice. I went up well before noon and stomped five batches of cob before thunder threatened rain and I headed home (I drove up the hill, something I haven't done for weeks until we camped, but with the heat, I wanted to park under the shade tarp and avoid the sun; so I wanted to leave before the ground got wet.)
Today I put all of that cob on the wall. (It felt like slow motion due to the heat, though the thermometer inside the building said 78˚; weather site said 95˚ for Beulah.)
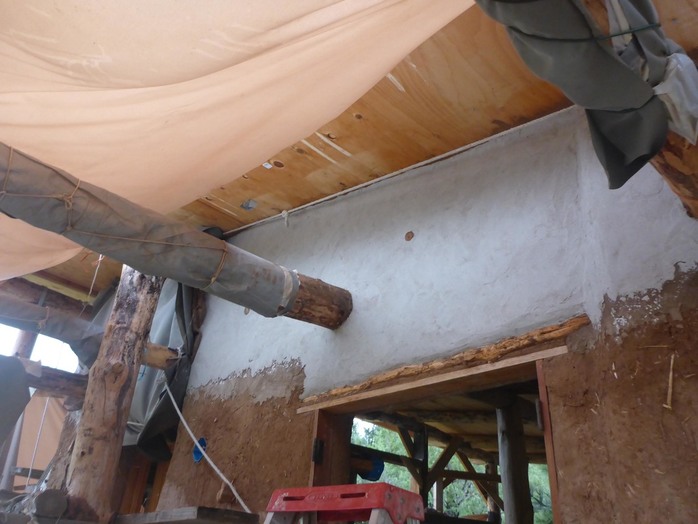
Below: I completed cob over the first south window. (The scaffolding plank is 8' above ground. Tarps block full photo.)
See July 11th for images of how lintels are set.
Sunday was Father's day and Sid, who came once last summer, brought his two boys up for the day, Noah and Micah age 10 and 11. Micah was crazy for cobbing! He was a quick learner, enthusiastic, observant and wonderful! I helped him cob on the middle "tower" of the south wall.
Monday saw house guests in town and Tuesday was a needed rest day. The weather has been close to 100˚, so I tried to get an earlier start this week. Yesterday was the Summer Solstice. I went up well before noon and stomped five batches of cob before thunder threatened rain and I headed home (I drove up the hill, something I haven't done for weeks until we camped, but with the heat, I wanted to park under the shade tarp and avoid the sun; so I wanted to leave before the ground got wet.)
Today I put all of that cob on the wall. (It felt like slow motion due to the heat, though the thermometer inside the building said 78˚; weather site said 95˚ for Beulah.)
Below: I completed cob over the first south window. (The scaffolding plank is 8' above ground. Tarps block full photo.)
See July 11th for images of how lintels are set.
|
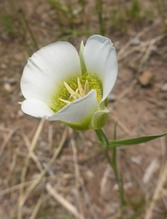
Sego Lillies are one of my favorite wildflowers. I saw my first one today, the first day of summer.
|
|
First help cobbing this season. I did a tally on the calendar and so far I've worked 46 days and made 44 batches of cob.
Kate and Mike made about four or five batches. |
|
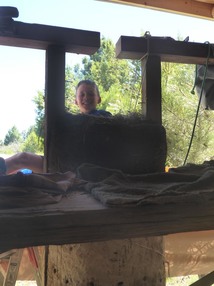
Micah Lane.
|
June 23
After blistering heat the weather shifted drastically to wet and cool, perfect for work on lime stucco as it needs to remain moist for days. I went up to work and should have worn wool socks! My toes were cold all day. But I finished the lime stucco above the porch rafters on the east wall.
|
Above: Look closely and you can see the earthen stucco over the cob wall and then the lime stucco over that.
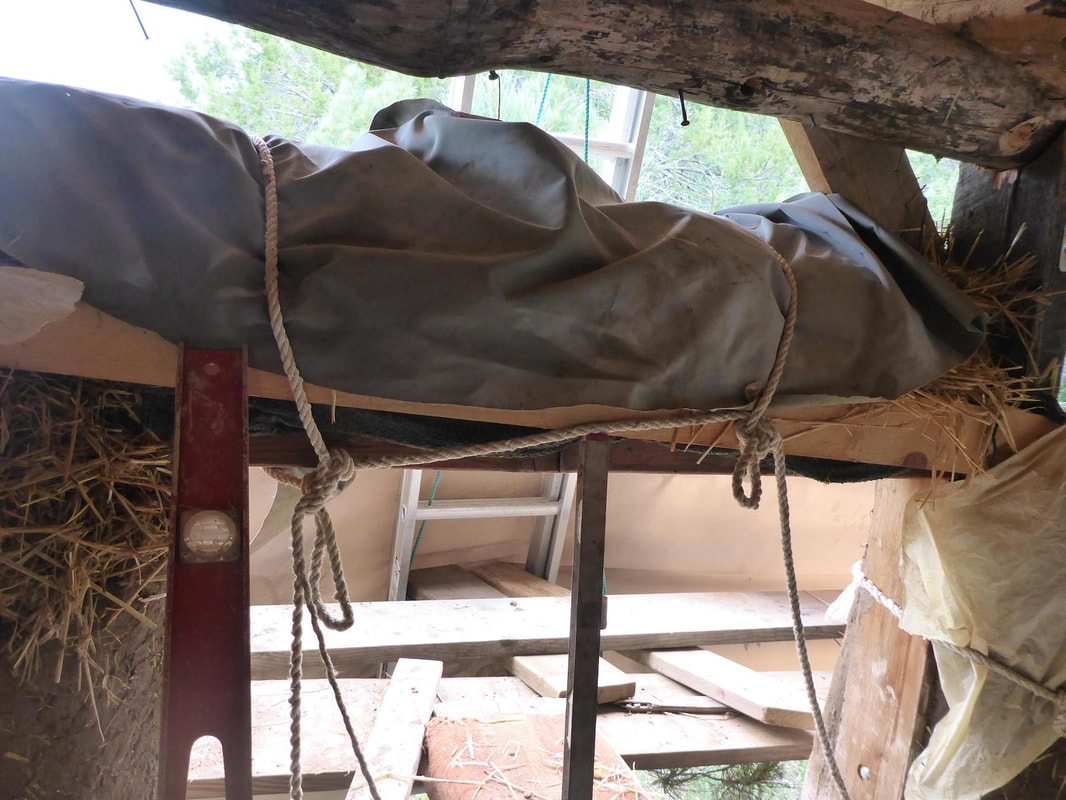
(The tiny circle on the wall is embedded wood to attach porch roof flashing.) Left: I have to go to Denver for a Memorial service tomorrow and can't spray the wall, so I strung a rope under the eaves, draped it with wet burlap clipped a tarp to it, then jimmy-rigged assorted ropes and boards to snug it up to the wall. Not pretty but effective. |
July 11: Setting lintels
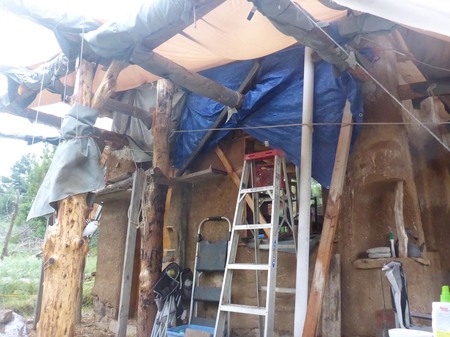
I have been cobbing for 8 solid days. With only four more weeks to work before teaching obligations, I counted how many batches of cob I've made this season: 50 plus three or four made by Kate and Mike. As of this writing, I'm about halfway through what needs to be done to FINISH THE BUILDING! Can I made 53 more batches in a month? Maybe... almost? We shall see. I can cob some once school starts, but only on weekends.
Heavy rain is expected for the next three or four days so I will rest some.
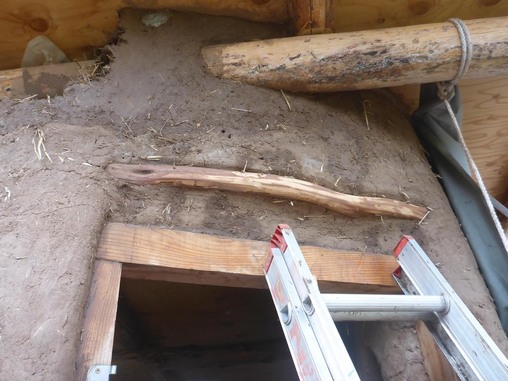
But today I documented setting lintels over the third big south window.
Heavy rain is expected for the next three or four days so I will rest some.
But today I documented setting lintels over the third big south window.
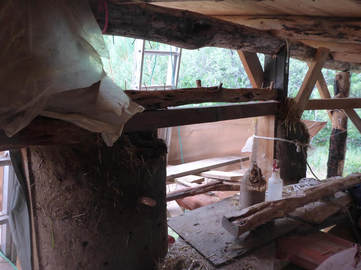
This is about ten feet off the ground. There's a ramp between inside and outside scaffolding so I can crawl back and forth. Lintel is in place to minimize weight of cob on top of window frame.
|
Some cob is put in place to begin to secure lintel.
|
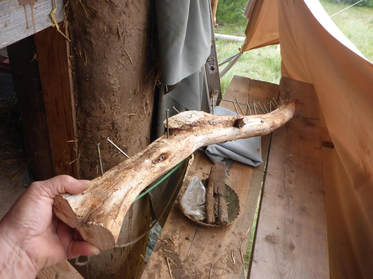
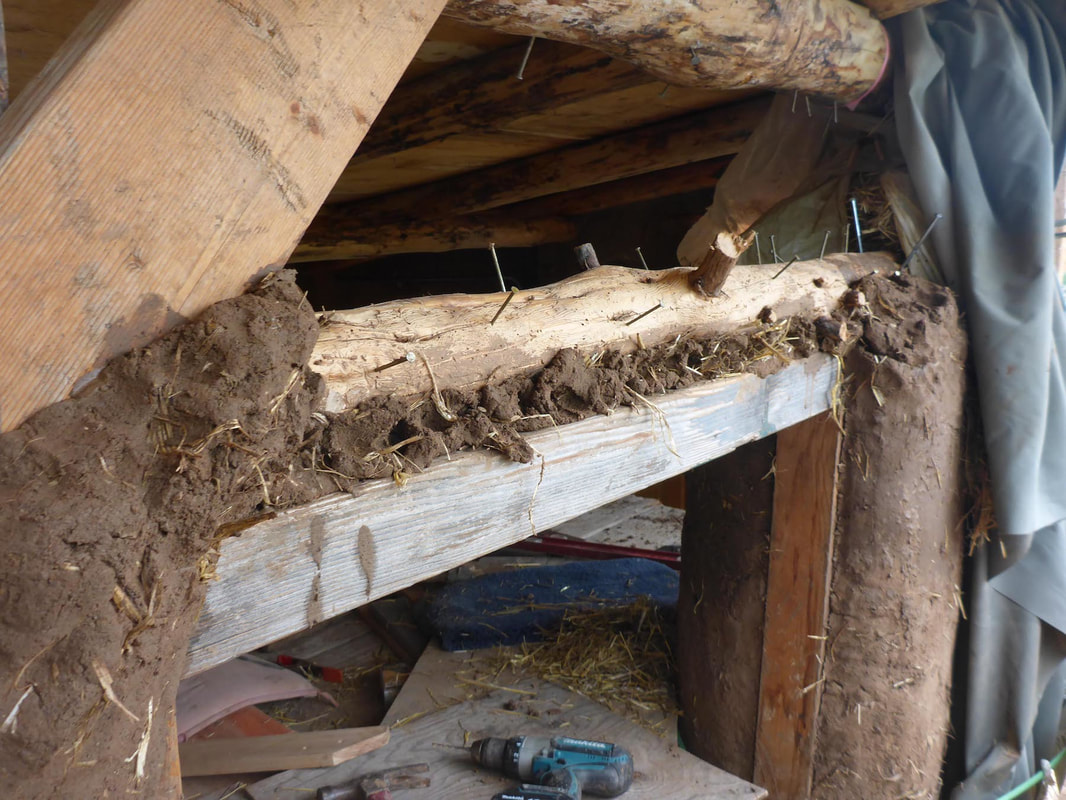
A second lintel goes outside to make the wall wider than the window frame (as wide as the base of the building). It has been selected for its curve, cut to length and put in place to make where to put nails for the cob to hold on to and to lock it into the wall.
|
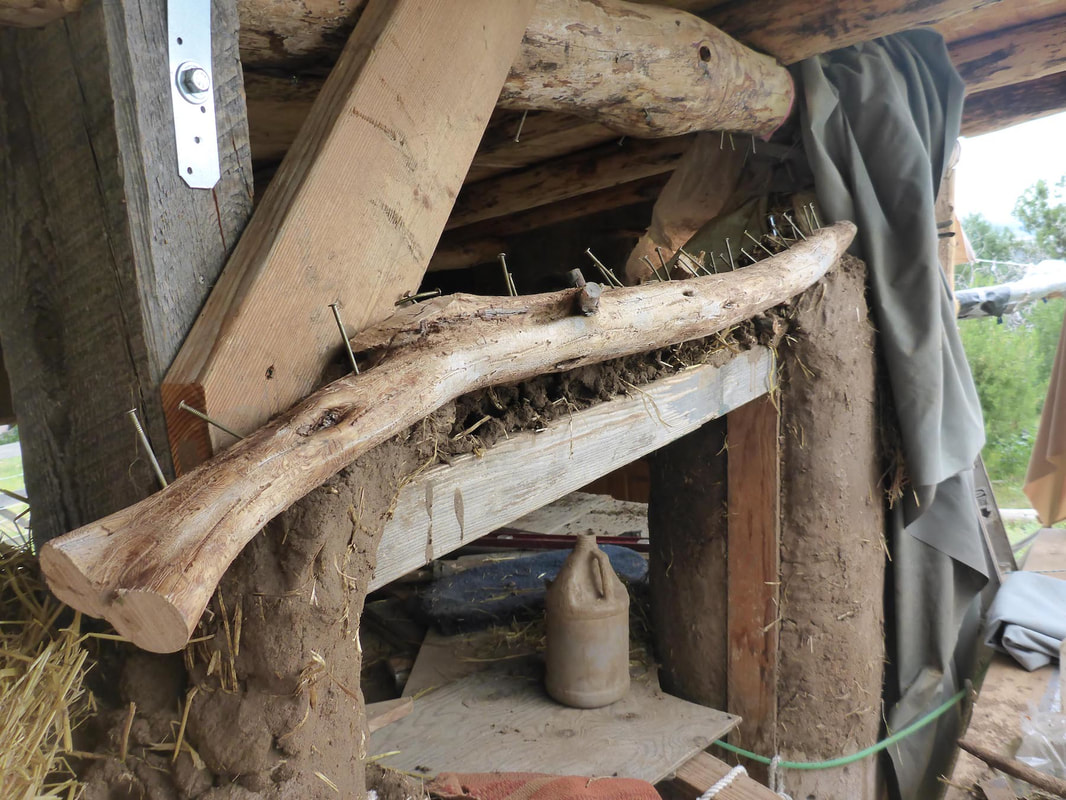
It is put in place. Note that cob on both sides has been brought up to the right height to support it.
|

Above: Sculpting cob over the outer lintel.
Right: Though cob from above is pushed down between lintels, there is still a gap to be filled below. So a cob is squished to the right shape, scored deeply with trowel and slathered with clay slurry. |
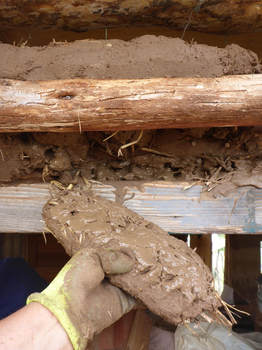
Pushed into place, it will stay despite weight and gravity.
|
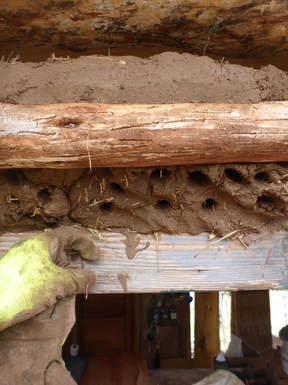
But the cobbers thumb pushes really sets the cob.
It pushes straw from the new cob into the layer above it. |
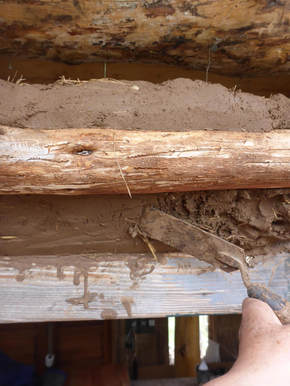
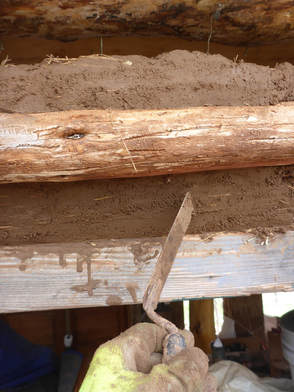
For detail work like this next to milled wood I like using a trowel to make the surface even.
But it's not good if it's too smooth, for stucco that will come later needs a little texture or "tooth" to hang on to. Below left: The tip of the trowel roughens the surface a little. |
|
Above: Another lintel was added on the inside to make the wall wider on the inside.
Wet straw, plastic and a tarp for extra measure will keep the cob soft and wet enough to work after a day or two of rest. |
