July 2020
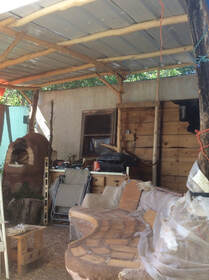
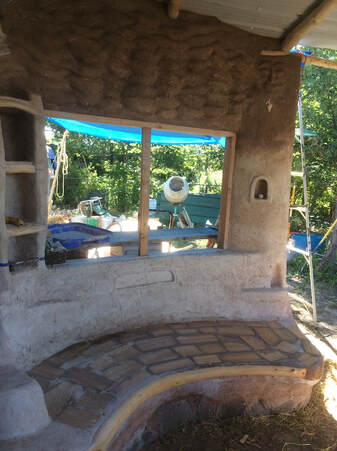
BELOW: Left/View showing oven, roof & bench in progress. Building wall will be a mud mural.
Right/Wall behind bench goes up with bookshelves & niches for coffee mugs & armrests. Big rectangular frame is for a window to give light to the greenhouse that will go behind this wall.
Right/Wall behind bench goes up with bookshelves & niches for coffee mugs & armrests. Big rectangular frame is for a window to give light to the greenhouse that will go behind this wall.
|
|
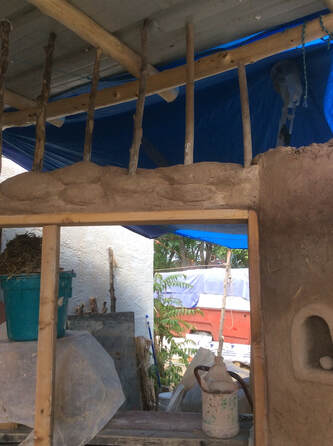
BELOW: Pajareque is a technique where cob is made using long straw embedded into long coils called "corbels" which are then woven in and out of vertical poles. Keeping the top moist between workdays is a challenge because you can't just throw a tarp over the top.
Note my less-than-perfect issue here:
My window frame has the lintel between side posts instead of on top, not the best physics. But I was using my only gifted 2x4's & am not the best at measuring things & I cut them wrong; this was the only solution. I figured all the nails on the top of the lintel would make it a massive whole with the cob above. But I likely might put an "L" bracket brace in the middle with a post anyway.
|
|
|
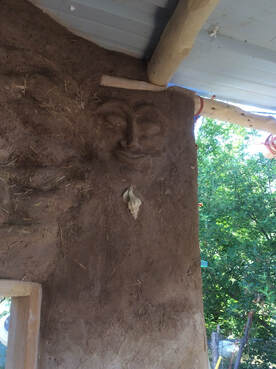
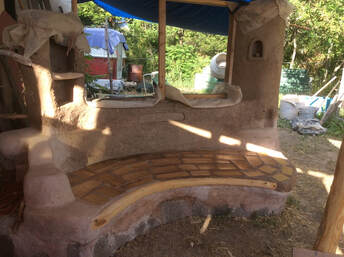
The wall behind the bench is complete. Detail of Sun God with sea shell to honor the cycle of water from mountain to sea & back again.
Yet to come: some earthen stucco, some lime stucco, linseed oil on the bench & a tiny fresco in the concave middle arch of the bench back. |
|
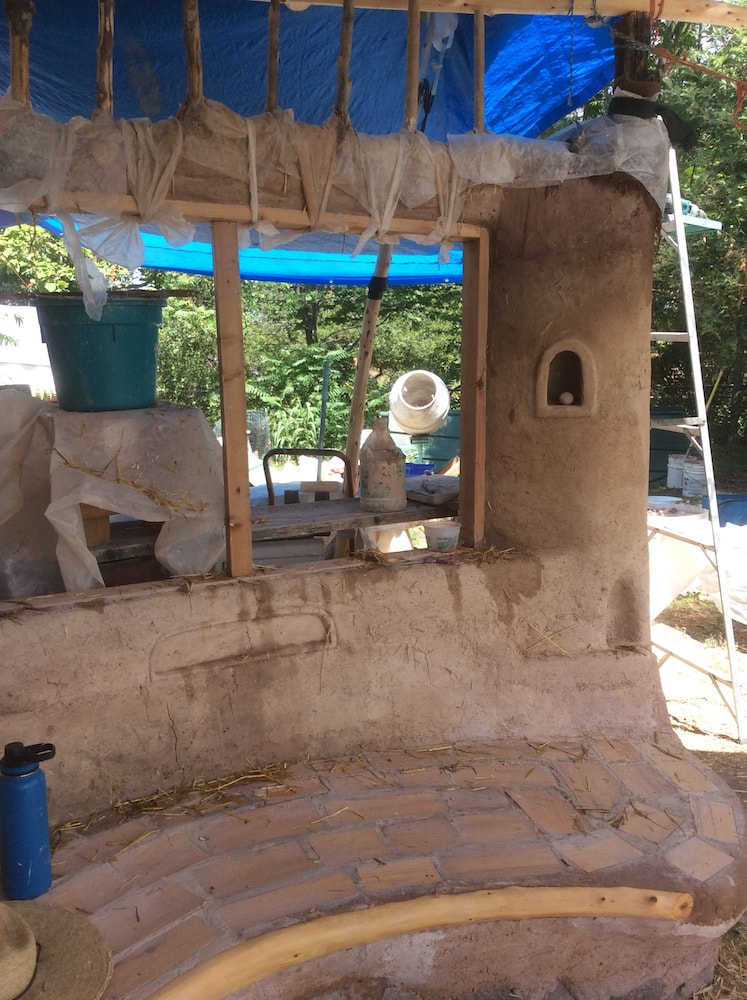
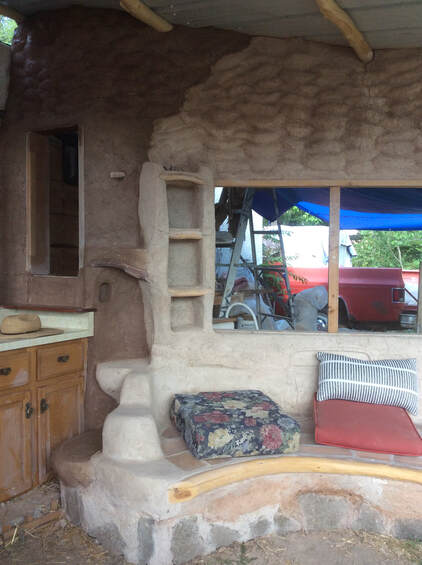
RIGHT: The darker part of the wall on the left is only dark because the clay isn't completely dry yet.
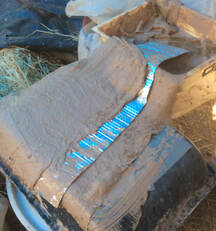
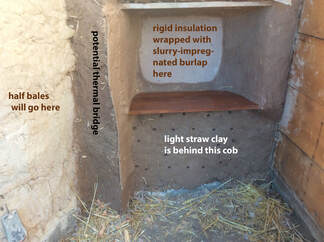
The backside of this wall will eventually be a greenhouse, thus the window. It will also have half-straw-bales attached for insulation. However, there were some sections on the left where there won't be room for half bales due to door opening that will be cut into the adjacent building. So, as I am wont to do, I experimented ...with attaching insulating bubble wrap to the wall. BELOW: I used a technique that will enable it to be plastered later with earthen plaster. This is to dip burlap into clay slurry that has some Elmers glue in it. When dry, everything adheres together. I also make little staples out of baling wire to hold it in place until it dries. I let the wall firm up some before attaching the burlap-wrapped insulation & then one day after attaching I poked a few holes in it with a knife to help with drying. (Note: A "thermal bridge" is a section of solid mass through which heat or cold can travel (ie. a radiant mass without insulation. Also "light straw clay is straw covered in clay slurry. If one uses less clay & does not compact it too much, it has insulating properties.) |
|
|
|

The left wall of the shelved cubby is the section with the burlap-covered bubble insulation. Holes at bottom help drying.
|
