Not just cob but stone and timber and whatever's around that can be used.
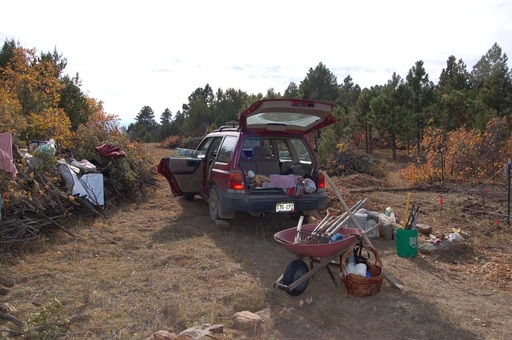
Whatever materials are around that can be used. We have a lot of industrial leftovers, hinges and hardware, tin for roofs, I've even used packing styrofoam to take the place inside cob. It makes me smile how often I need a paticular board or new tool, and that which I need is found in minutes among the few things I keep around. I just dumped two years of building trash...concrete dust, tarps, mousified rags....thee years trash from all my buildings did not even fill a curbside trash can. Cool, huh?
Tool shed

I had a year sabbatical in 2008 from the Colo. University granted to do a natural building. At the end of the fall as my sabbatical began, I felt like I had to get started on something. I'd cleared a site up the hill (weeks of dense oakbrush including root removal, a herculean task in terms of peristence) and good friends had come for a work day.
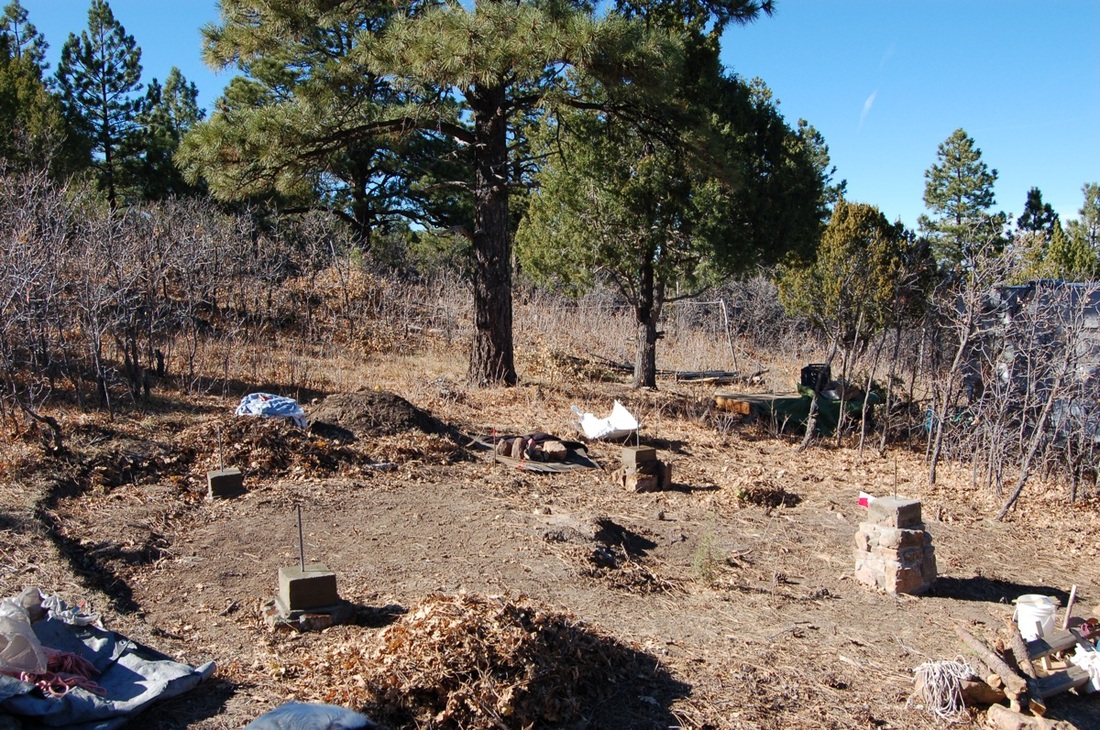
So just above my little trailer, in order to get something done (!) that fall I built these little stone piers to hold post shed posts.
The building at one point morphed into a fully-designed timber frame structure called the "Crow's Nest". I'll try to scan that sketch soon.
But the site for the main bulding changed...to just above this shed with the shed being right in front of the view to Pikes Peak from the porch.
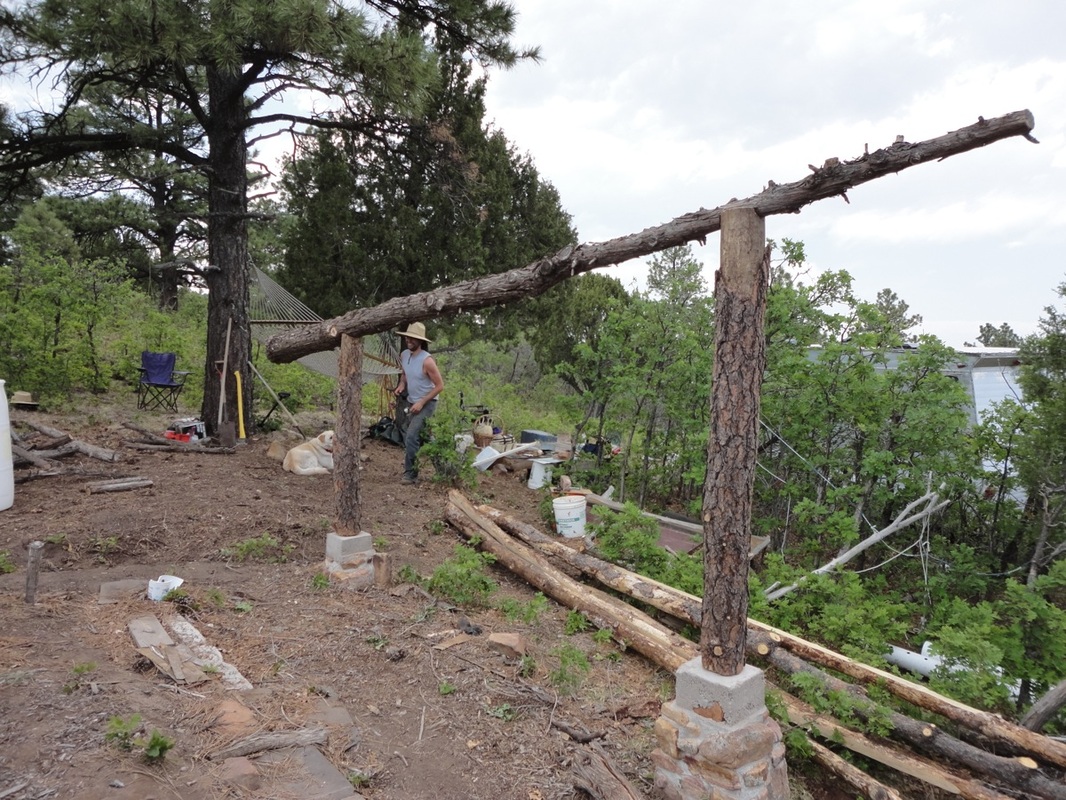
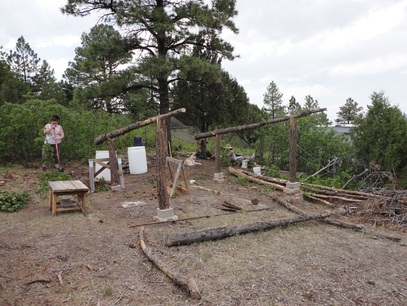
So the shec went up finally this summer. I had a drawing, Aaron and I hauled logs from the forest and he notched and assembled the timber the way I'd done the chicken coop for the most part. It still needs corner bracing, but we did get hurrican straps from timber to base.
Finally there is a little shelter to protect things in the winter. It is now full of things that were in a screen room by the building site. Piers go ~20" deep and footer was undercut by hand, but I think they'll stay put pretty well.
So just above my little trailer, in order to get something done (!) that fall I built these little stone piers to hold post shed posts.
The building at one point morphed into a fully-designed timber frame structure called the "Crow's Nest". I'll try to scan that sketch soon.
But the site for the main bulding changed...to just above this shed with the shed being right in front of the view to Pikes Peak from the porch.
So the shec went up finally this summer. I had a drawing, Aaron and I hauled logs from the forest and he notched and assembled the timber the way I'd done the chicken coop for the most part. It still needs corner bracing, but we did get hurrican straps from timber to base.
Finally there is a little shelter to protect things in the winter. It is now full of things that were in a screen room by the building site. Piers go ~20" deep and footer was undercut by hand, but I think they'll stay put pretty well.
Shed building sequence
On the left are piles of oak cleared from the shed site (to the right). The little basket has basics: water bottle, buy spray, tape measurer, markers, etc.
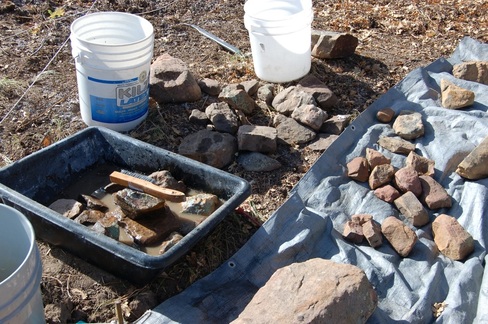
Stones must be washed before using in masonry.
Metal brush is what Charles McRaven says. The brush here was too stiff. I eventually found a set of brushes are Harbor Freight that includes brass and steel. The brass loses bristles too quickly, but the small steel ones are perfect.
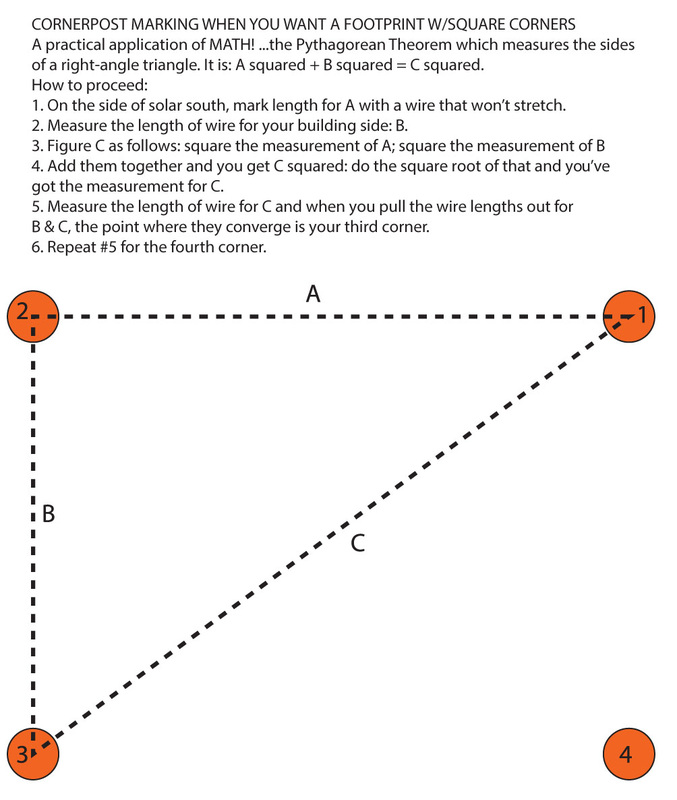
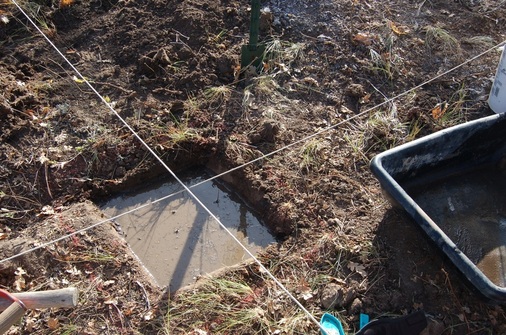
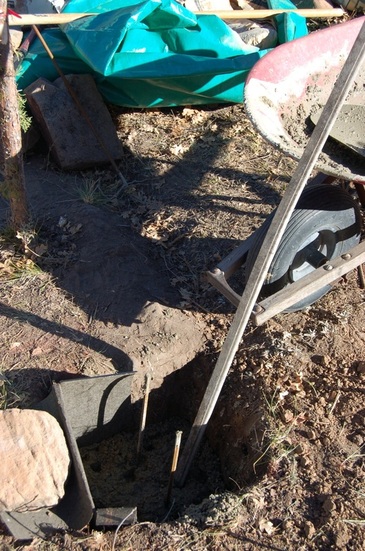
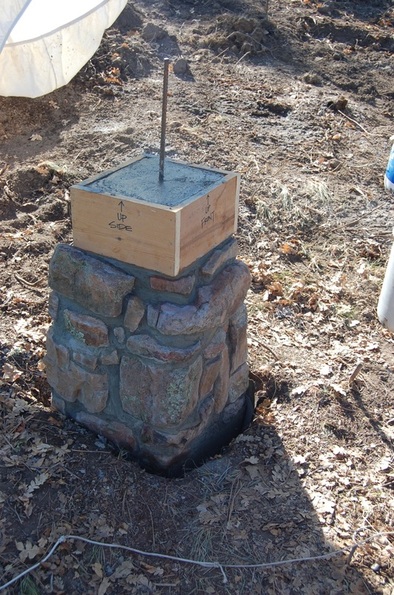
Marking for hole.
Outer line is the footer. Middle line is the pier. Smallest square in the middle is the top square.
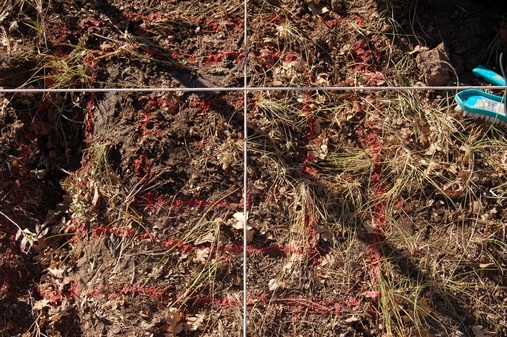
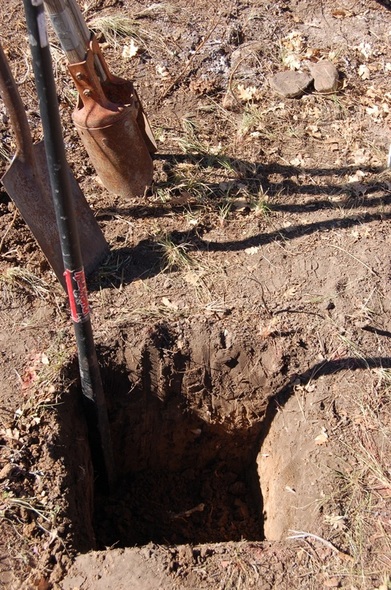
Digging the hole.
Ropes mark sides s/stakes outside the site. Initial hole was dug a few inches, then soaked with water overnight making digging much easier.
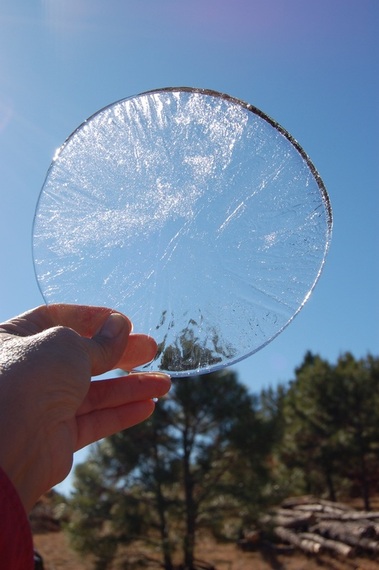
Prettiness
It was already getting cold.
Point crow bar.
This big bar has been indispensible. A thrust downward breaks up soil. I also use it to leverage up large stones from the stonefield to harvest them for building.
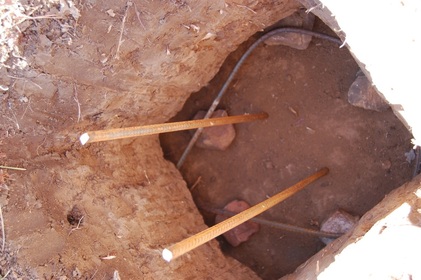
Rebar
Undercuttting the bottom of the hole for the footer is very unconventional and kind of a hassle., but I'd never made forms so I did it this way. For the piers for the building site, I figured out forms and dug the entire hole the size of the footer. This just shows rebar to reinforce the pier. Probably putting the rebar in the ground isn't the best idea...it's just a little shed, though!
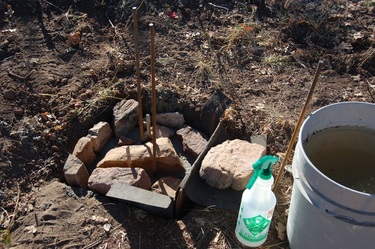
Concrete pour
There's a little piece of a form at the top to contain concrete where top of hole is rounded.
Stones
First course of stones is laid right on the concrete pour.
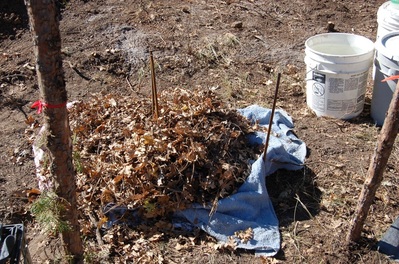
Insulation
Leaves were convenient insulation. Tarps and a couple blankets on top kept them from blowing away. Concrete cannot freeze while it's curing.
Stone
Local stone is so pretty.
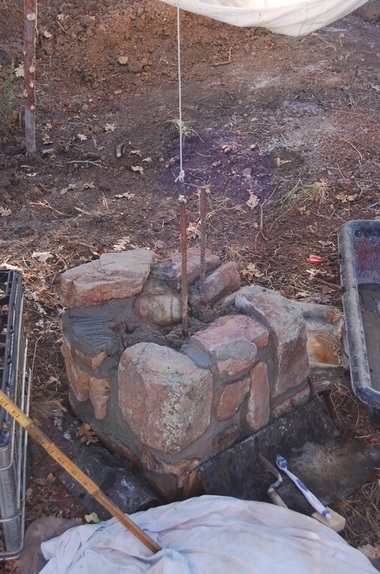
Four piers
To make these level to one another, I have a long plumbing pipe that was on my property in town. I use it with a level.
Three years later: shed rises
Using logs that we thinned in fire mitigate a few years earlier, the tiber frame arrises. I had a simple drawing that identified sizes and quantities of timbers; also that the girders on the side by Juniper because it is so strong.
Progress.
Complete.
Recycled tin: $120 found on Craig's list. Concrete probably less than $20. This could be a roof for a little cob building. We'll see how the sides evolve. We put hurricane straps to hold it down in high winds (photos forthcoming) and it still needs cornerbracing, but should be fine for the time being.

