May - June 2016
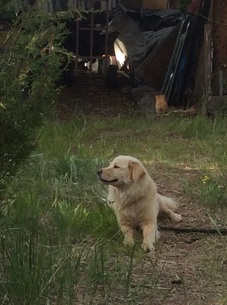
In January I'd found another dog on Craigslist: Elle. A dog is essential to me on site. She’s a tiny Golden Retriver/Great Pyranees. She’s good to have on site, but she wants to take off and hunt. Sweetie stayed and stood guard. But otherwise she’s great.
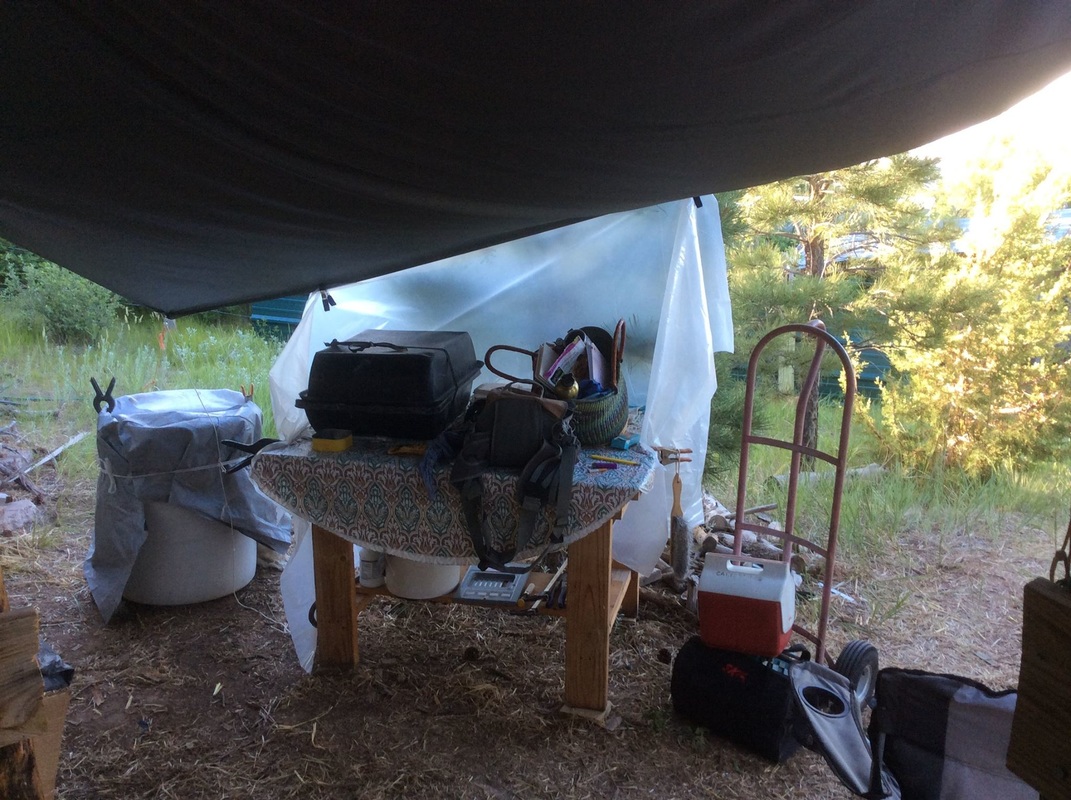
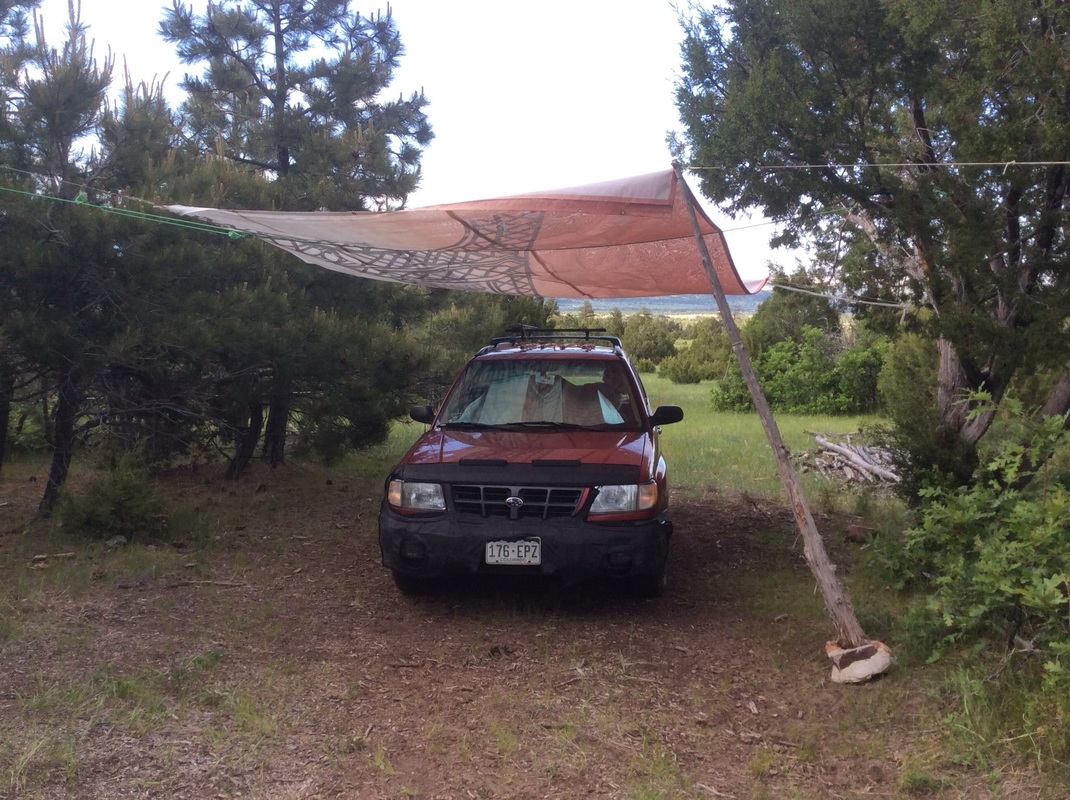
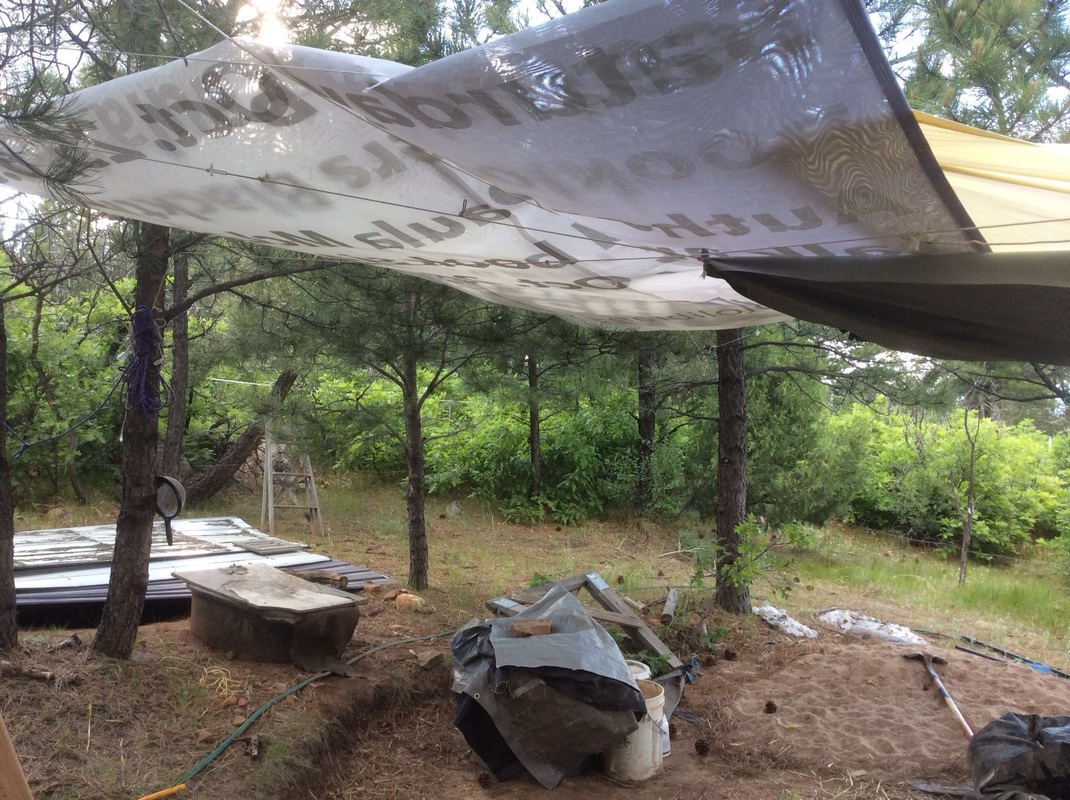
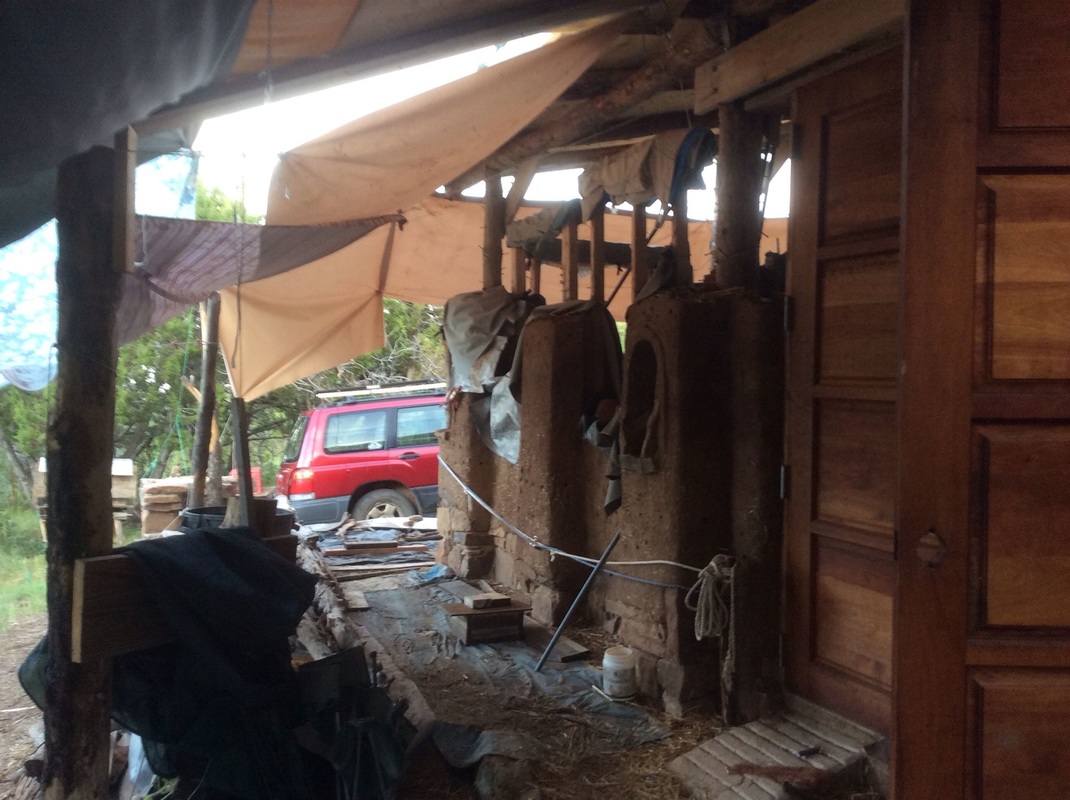
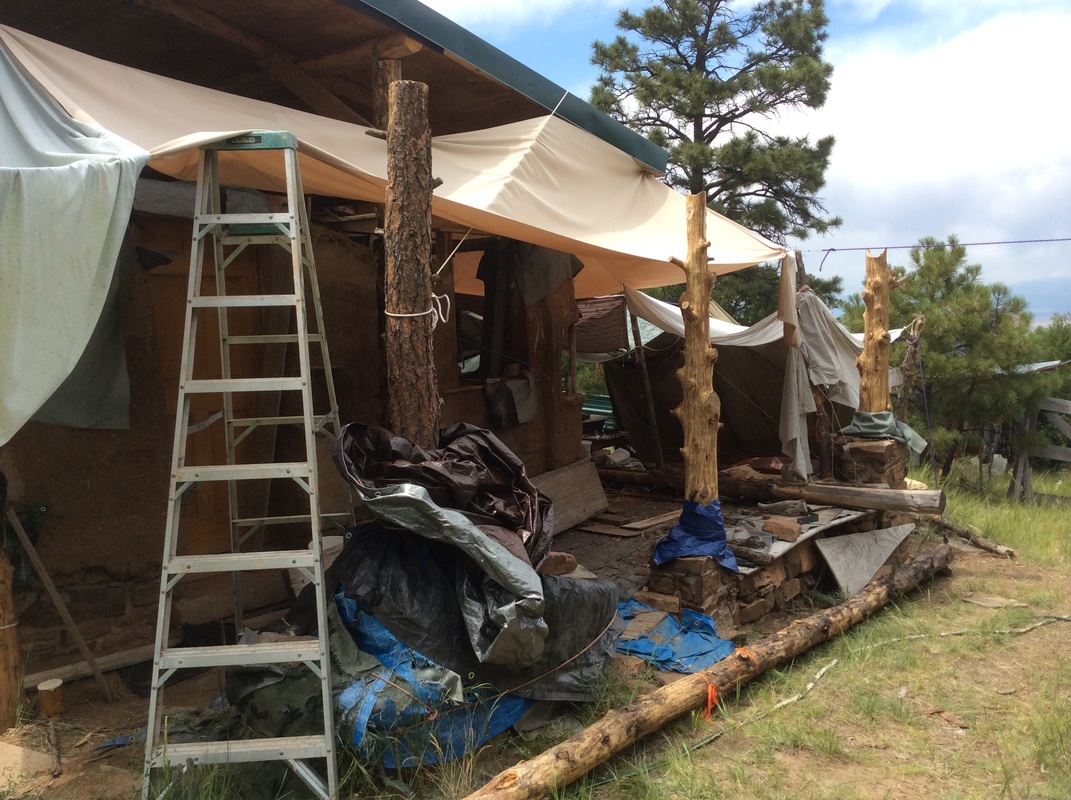
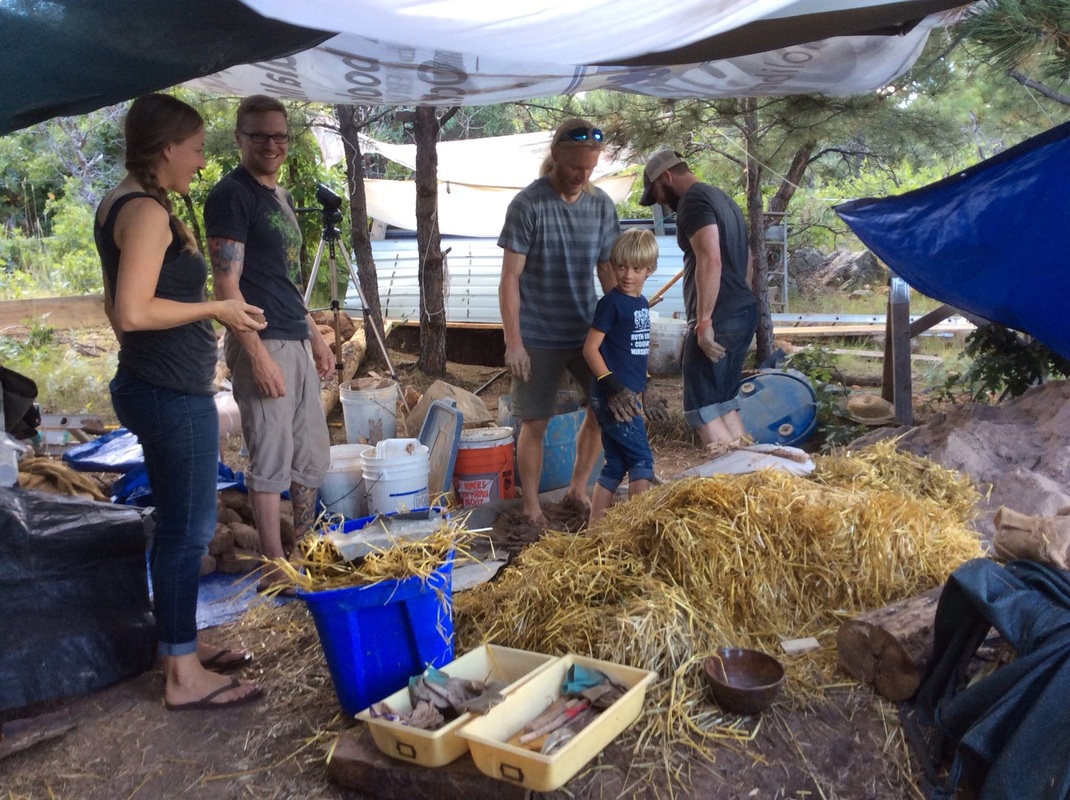
The whole site is different now because of the roof. Instead of starting from scratch there was already shade & shelter. Still, as always after winter, I found need to set up a workbench plus additional shade. The simplicity of the worksite is like an artform to me. Water catchment and a place for everything…including rest. Repurposed banners from the Library summer reading program make car and cobbing shade this year. (they have a giant student logo from my spring design class!).
It was easy to start cobbing because I’d made sure at the end of last season there was clay and sand.
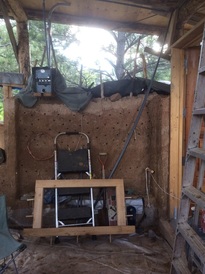
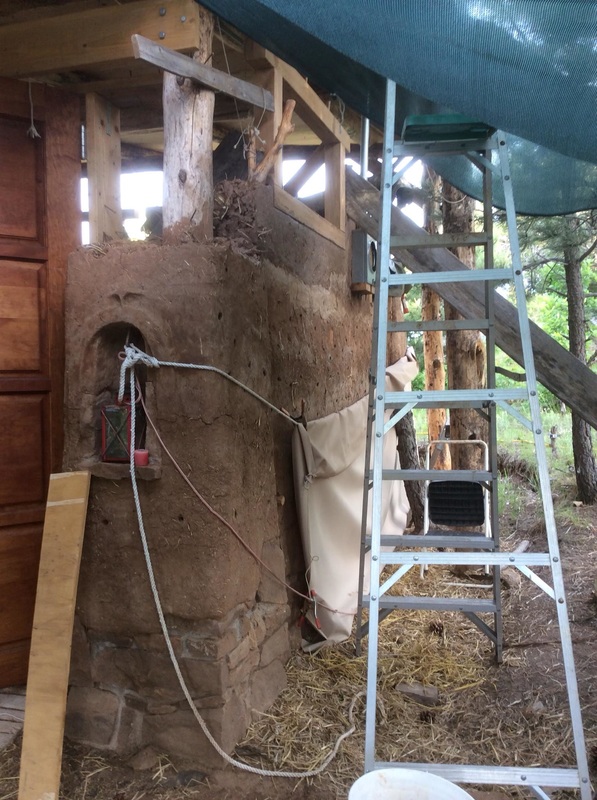
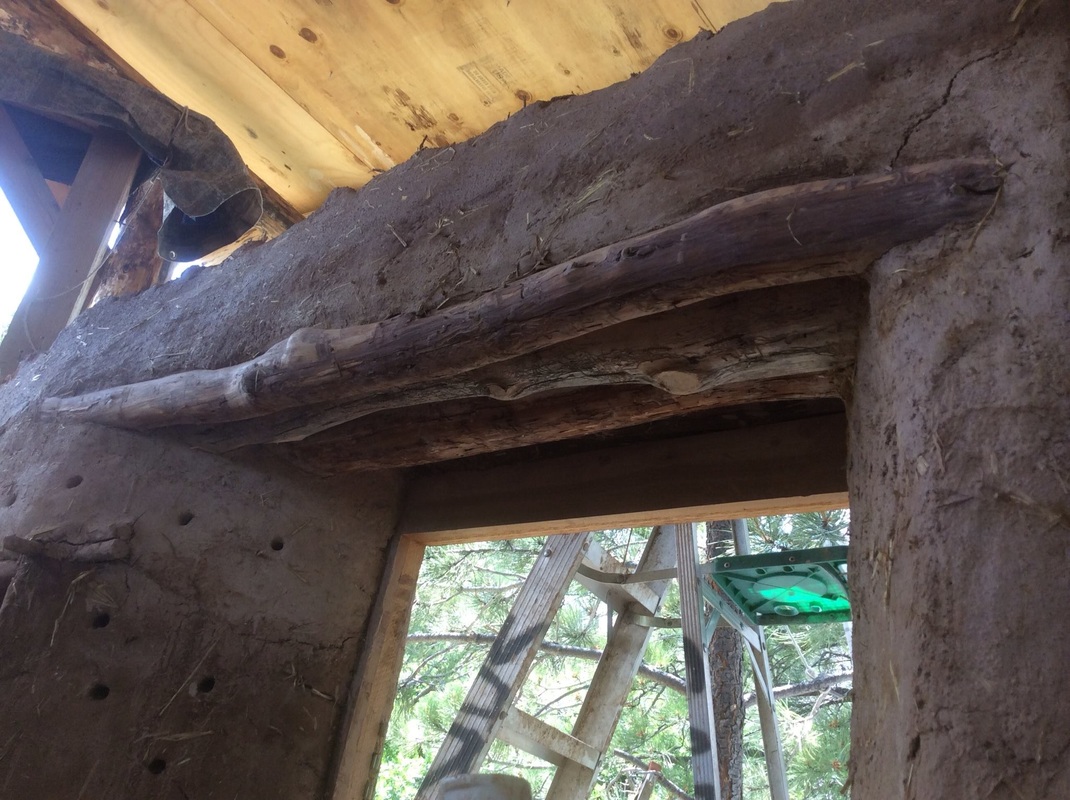
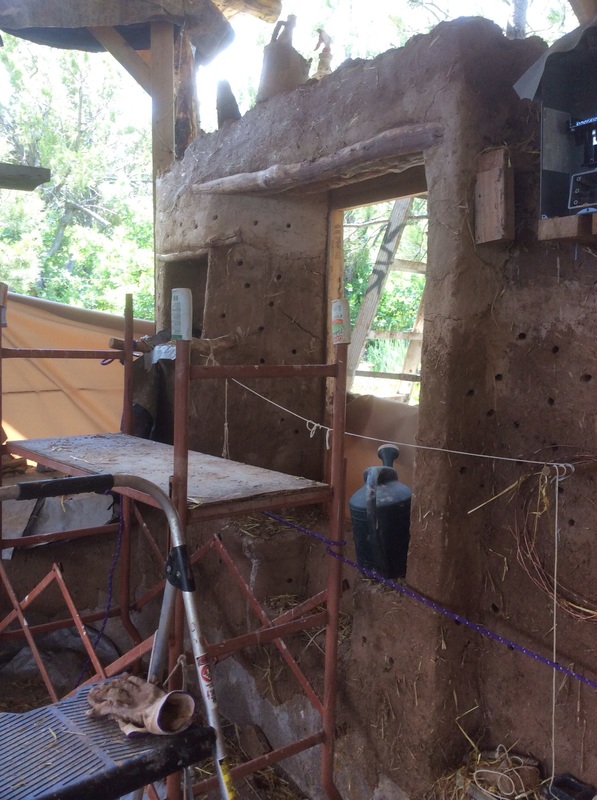
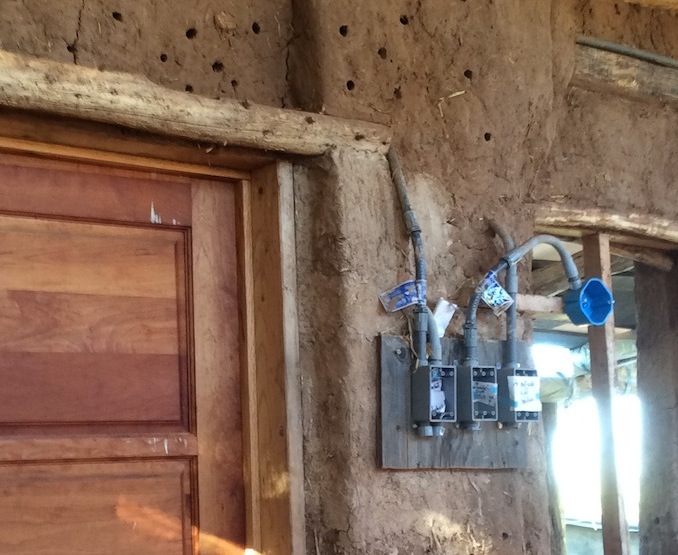
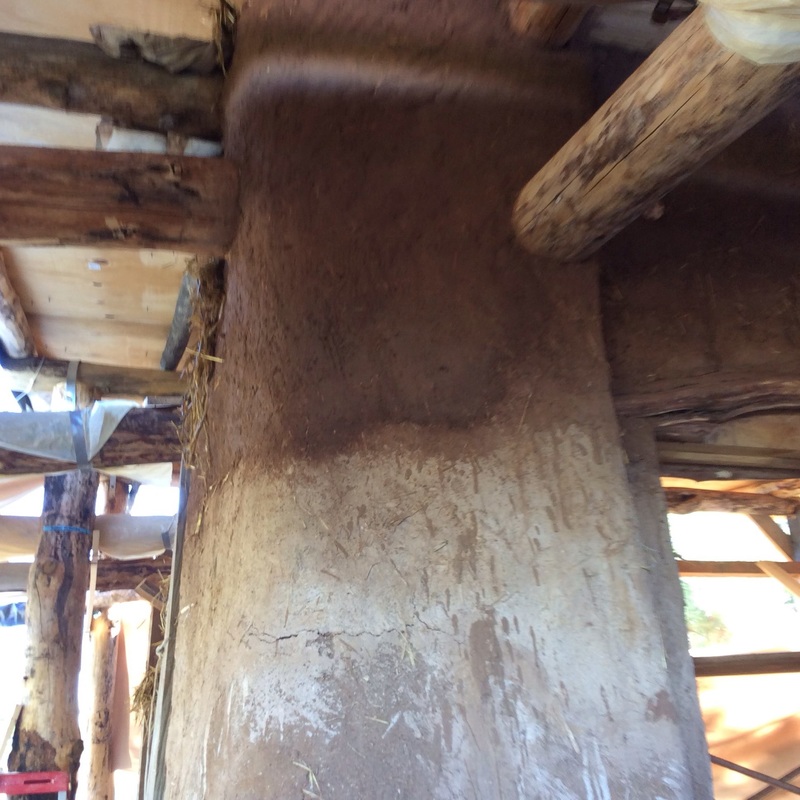
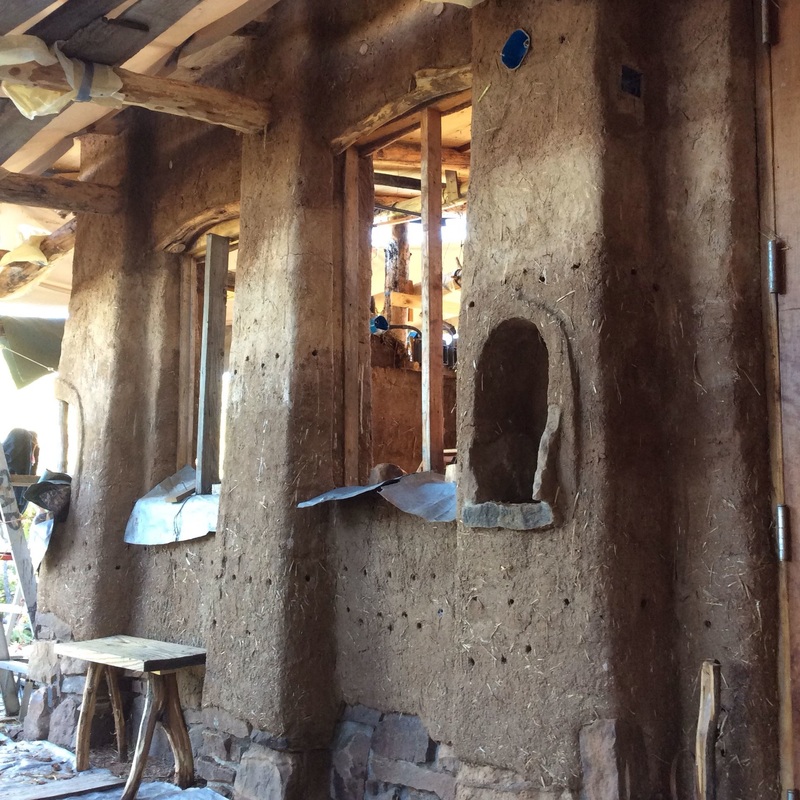
The first cob went up on the west wall embedding electric boxes for an eventual solar setup, then cobbing over my first lintel.
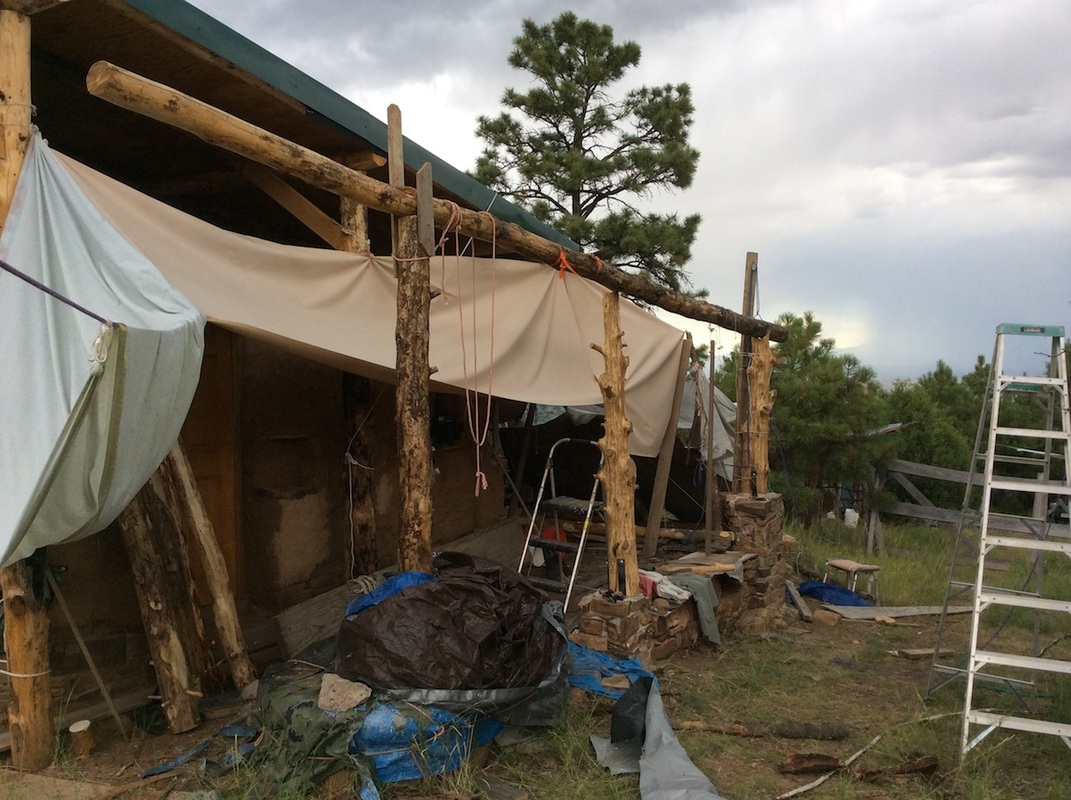
End of June and I moved to the North wall, lifting the tarp that wrapped the building to make shade and keep unplastered walls protected.
|
Right:
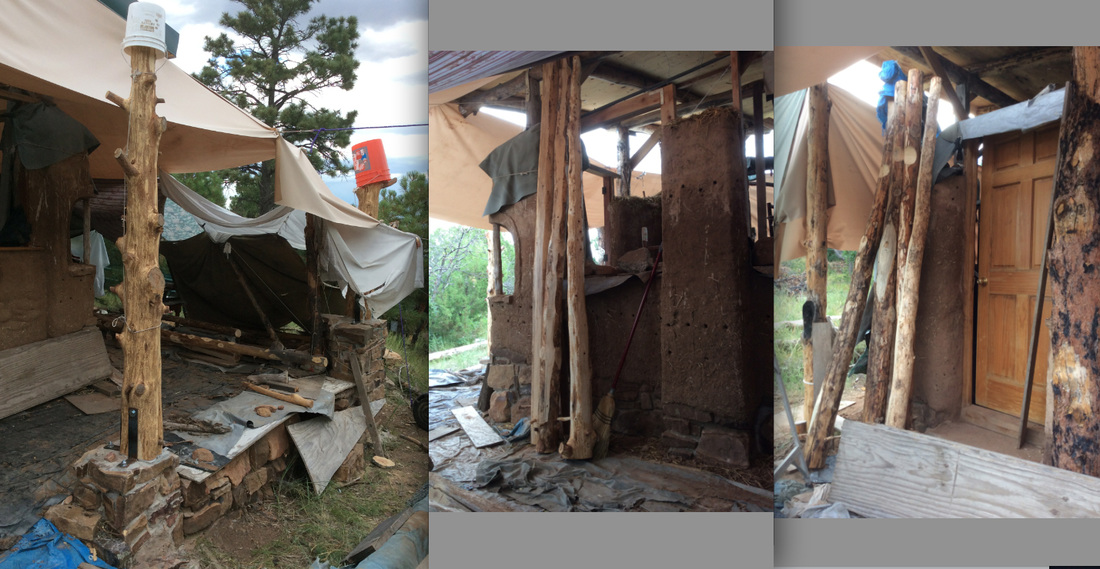
Electric boxes cobbed in on top of embedded cedar 2x4's (licensed Ellioutt guiding electric). On the ground is window frame made with 4x4 cedar fenceposts. It is for a stained glass window with dragonflies! Far right: The window has been set. After setting it plumb and level, it sure seems so straight up. But for the balecob straw on the inside, the wall does need to go straight up. |
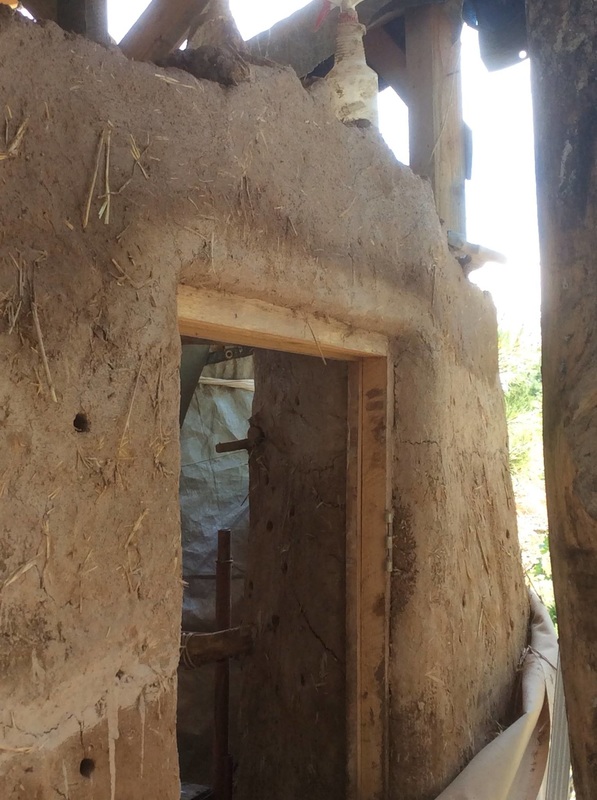
The first lintel
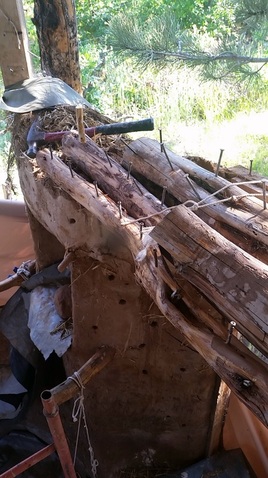
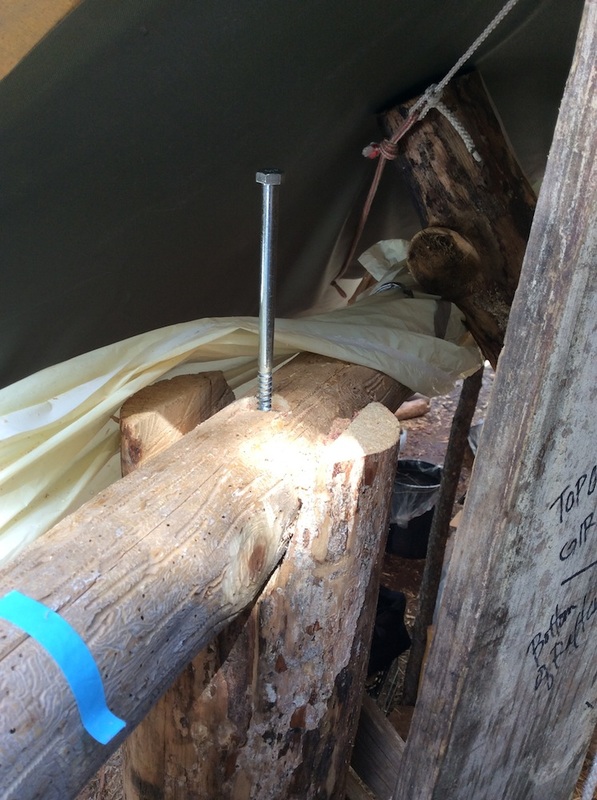
Jen came up and stomped cob for me and I was able to go over my first lintel. First, sturdy cedar branches were cut to length and screws put into the parts facing the cob. At first I was going to put the heaviest limb on the outer side facing to the inside of the building, but then I realized to serve function, it should be the middle lintel to support the central heaviest portion of the wall. We only got one photo this day as I forgot camera and phone and Jen's phone died. But at least there's one of the branches before the cob.
Tarp update:
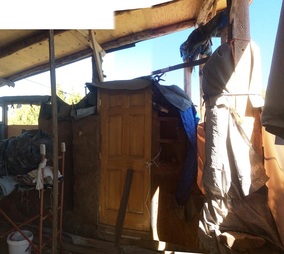
Though I really wanted to keep working over the lintel, walls should rise at an equal rate so it was time to move to the north wall. The left photo below is south wall but shows how the walls were still covered with 20 yard length of the outdoor fabric I discovered last summer.
I decided to just raise that long length up tarp up to make shade and it worked beautifully. Photo right below shows raised sandy colored tarp that is now protection from sun and rain. I'd recommend this to cobbers from the start. Buy a long length and raise it up, then down. This fabric also works great for stomping cob.
A similar thing has held true for a very large tarp I'd bought to cover the whole site after just making the foundation. Though it has been trimmed on the edges, it has covered the floor since I laid it down the first time.
Cobbing on the north wall:
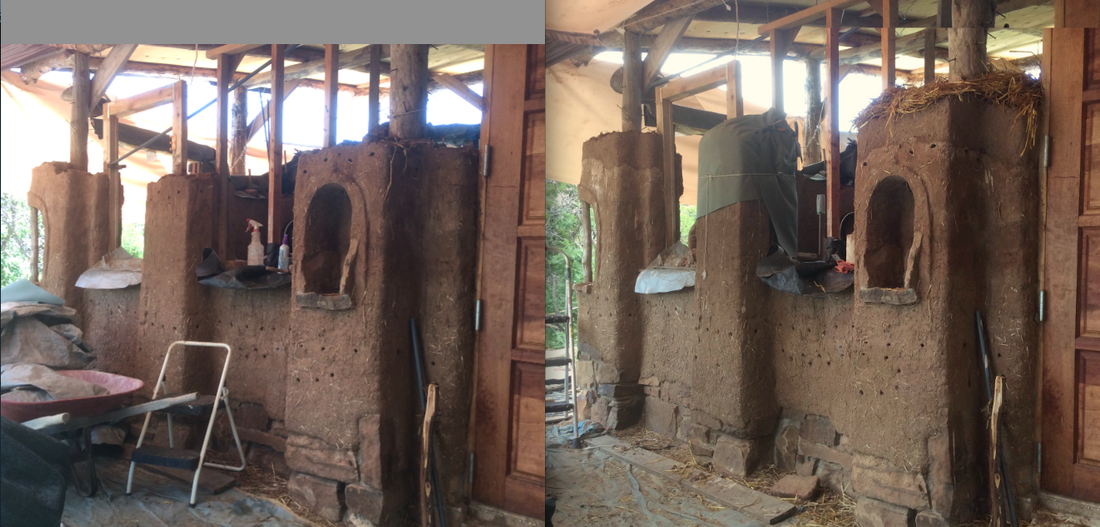
Above: June 26 before and after picture for the day. You can see the rise.
June 29: Though I added a few more inches, I came home feeling like it's going slowly, thought I can see the top of the walls getting closer. Then I thought:
9 a.m., arrive and wheelbarrow 850# of sand off the truck
...then jump in the clay pit which is deeper than I am tall and dig four buckets of clay which I've decided to blend with the pottery studio clay for cob
...then stomp two batches of cob and have lunch.
It's no wonder I can only build a few inches on a day like this! But Jen says she's going to come stomp cob which will be wonderful...then I can BUILD!
Loft
The next sequence will be around the east wall with the single door.
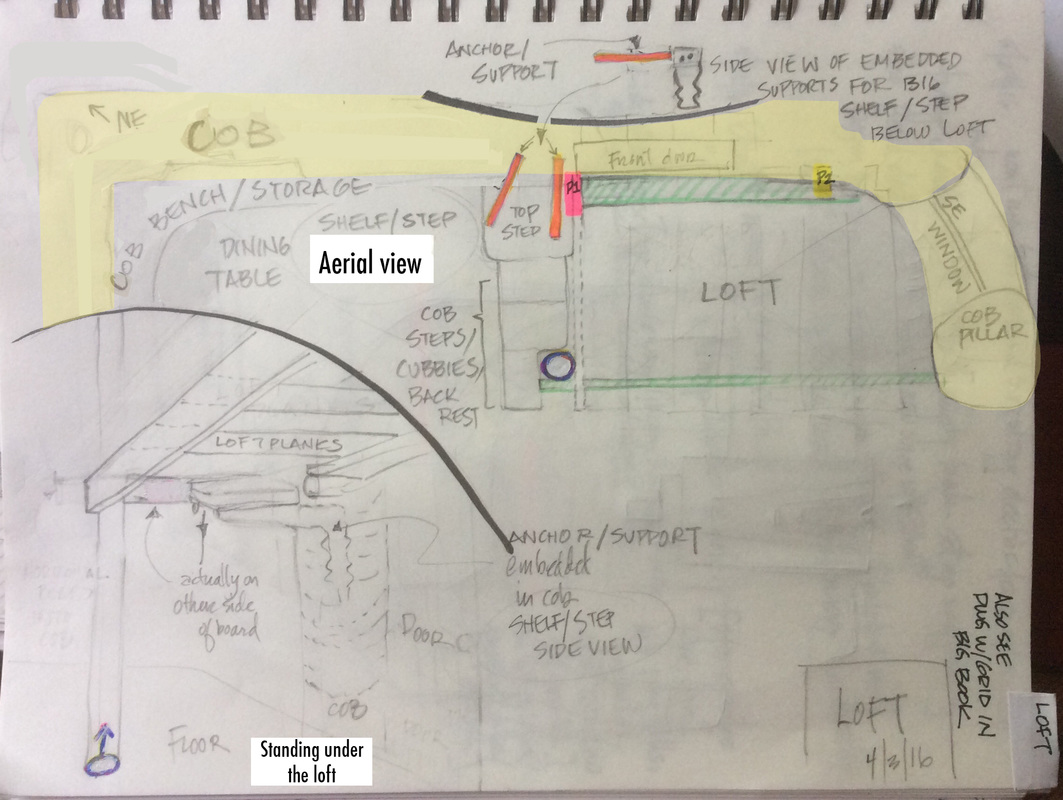
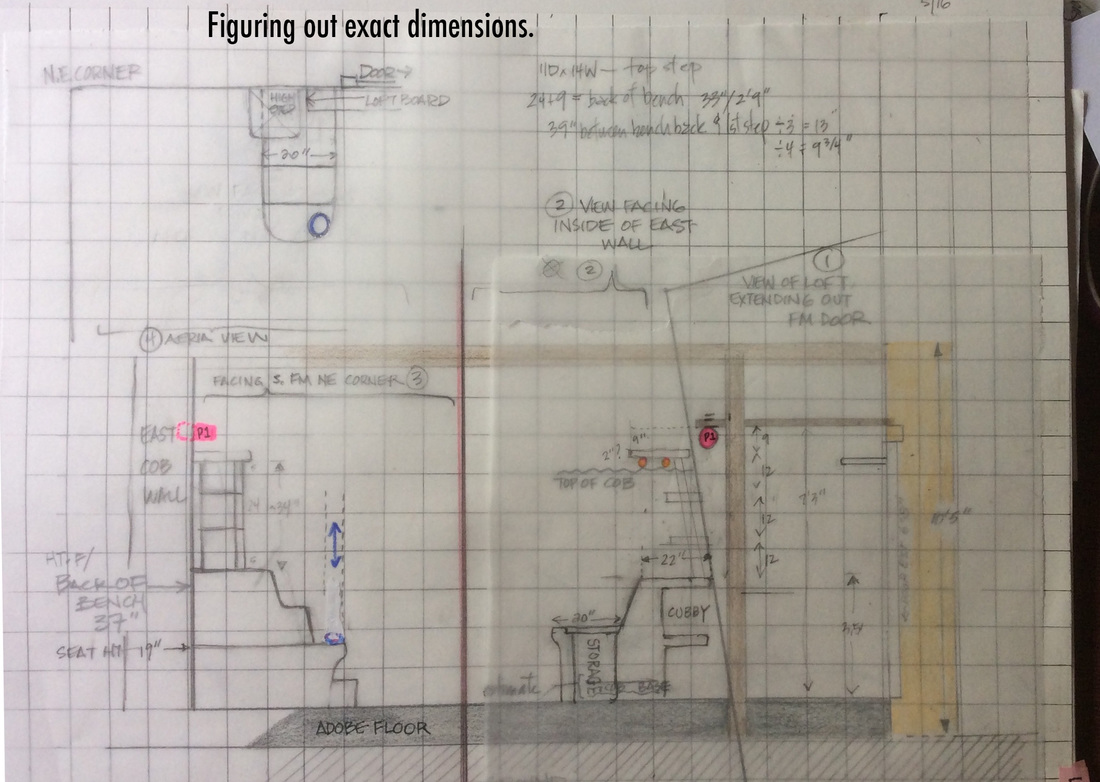
Below left: inside photo of the southeast corner where there is just enough room for a little double sleeping loft above the door, figured out after measuring everything. The board going from the floor to the rafter indicates where the corner of the loft will be. Because supports ideally are embedded in the wall, it's best to figure out dimensions, placement, etc, so...
There are several drawings figuring out the plan.
July 12, 2016
I realized I want the rest of the cob on top of the building walls by the porch to be a solid cohesive mass, ie. to not dry between passages. Which means the porch rafters must be readied and the porch built. I resigned myself to a few weeks of no cobbing.
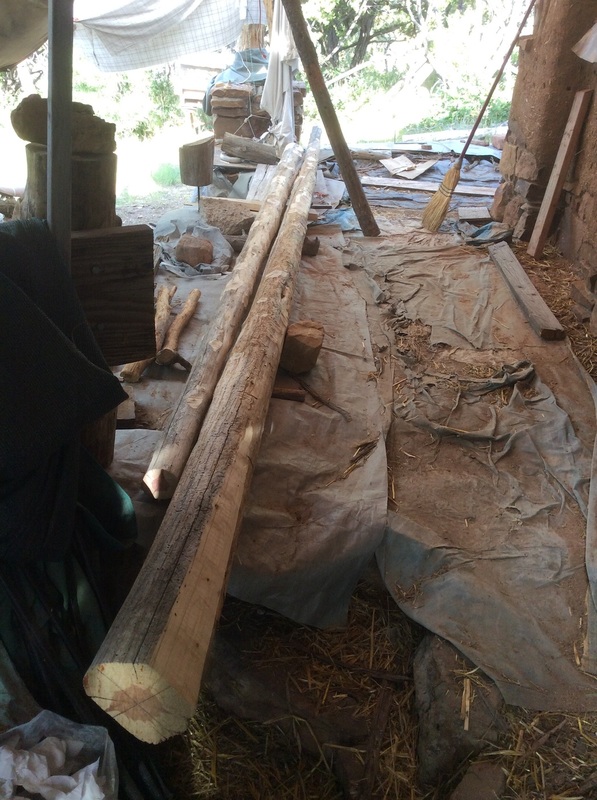
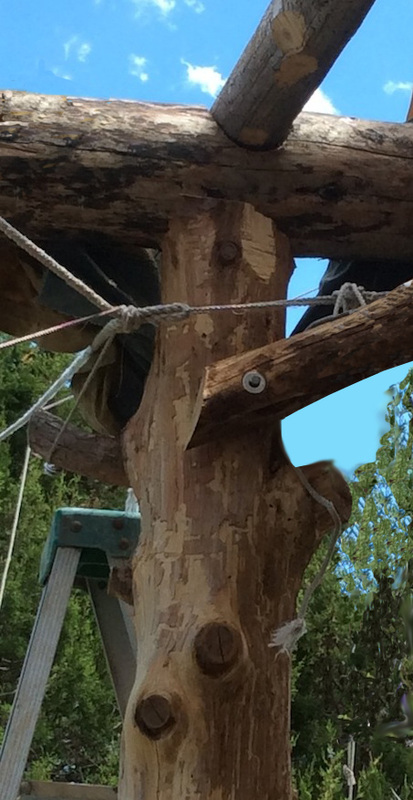
First I spent a day uncovering and sorting logs from what was left after roofing. They were covered all winter with tin from Linda and John's re-roofing in Minturn. I picked a girder and used the dolly and a skateboard to move it down hill :-) I also hauled a few logs (cut to 9' long on site last year) from fire mitigation in the forest here from storage in the shed. Two sturdy Junipers were peeled, drilled at the base to accept rebar and were placed for Northeast and East porch piers. They'll need saddles cut in the top for the girder.
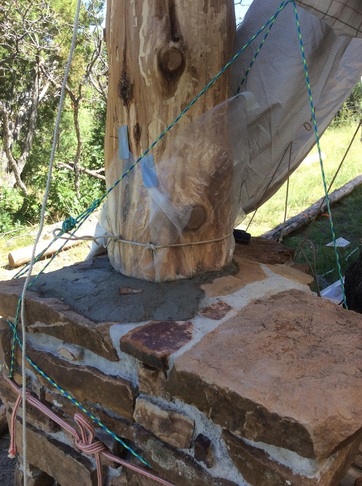
So several days were spent peeling rafters (chips put on roadpath)....and thinking about the fact the logs aren't a tight fit on their stone base. I decided I could tuck mortar under them, also making a very flat pad for the "L" brackets. First I used a crowbar to lift the post an inch, tucking one or two stones under to hold it up. Moisture barrier was then tucked under and a sheet of plastic wrapped up the sides to hold the moisture barrier in place. Then mortar was mixed and tucked under the posts with a wood point tuck tool I made from wood since I forgot masonry tools at home (extra trowels on site–whew!).
End of day I decided to mark the first saddle notch on the post coming out of the lizard bench and when I climbed the ladder, I saw the three east porch posts weren't in a perfect line, and the girder is pretty straight. So I adjusted the middle pier putting a stone and some fresh mortar under one side to push it a little into line.
This day isn't very "cobby" or very glamorous, but solving these problems is excellent.
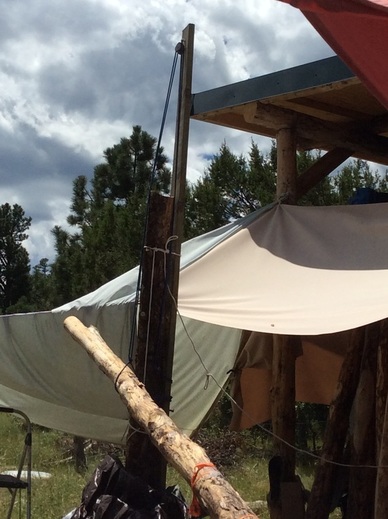
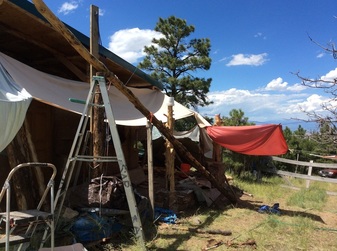
Below: ignore all the stripey ropes...they're holding shade et al in place.
Porch timber framing
|
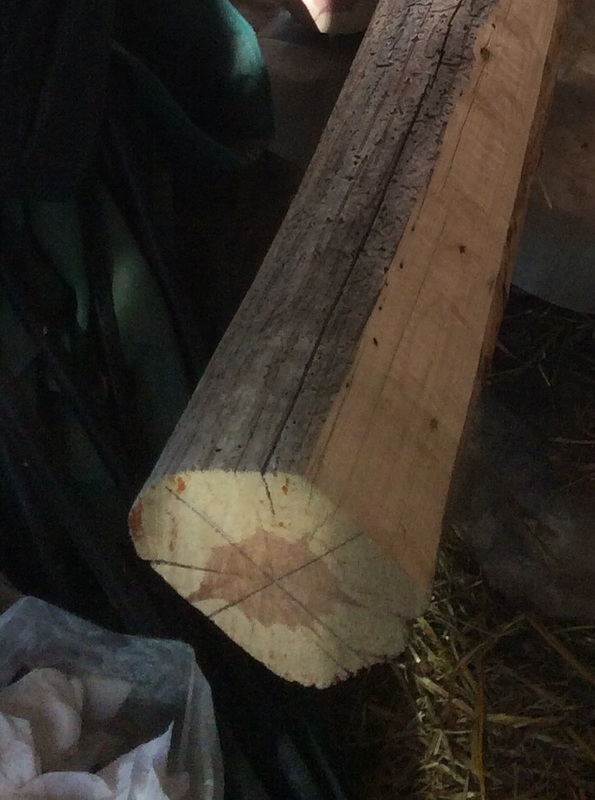
,The north side will be two girders with butt ends connected above a middle post. Two straight Japanese Junipers are perfect. They were stored/used over winter under temporary rain gutter and ladder. After peeling and scrubbing with a steel brush:
1. Branch stumps removed with cordless sawzall & chisel with wooden mallet. 2. Best side for top selected and marked "top" (smoothest with any curve arching up). 3. End marked with vertical line then parallel lines on the side to chisel flat sides to accept iron strap that will connect the two girders. In synchronicity, the widths of both butt ends are exactly 5 3/8". July 16th:
|
|
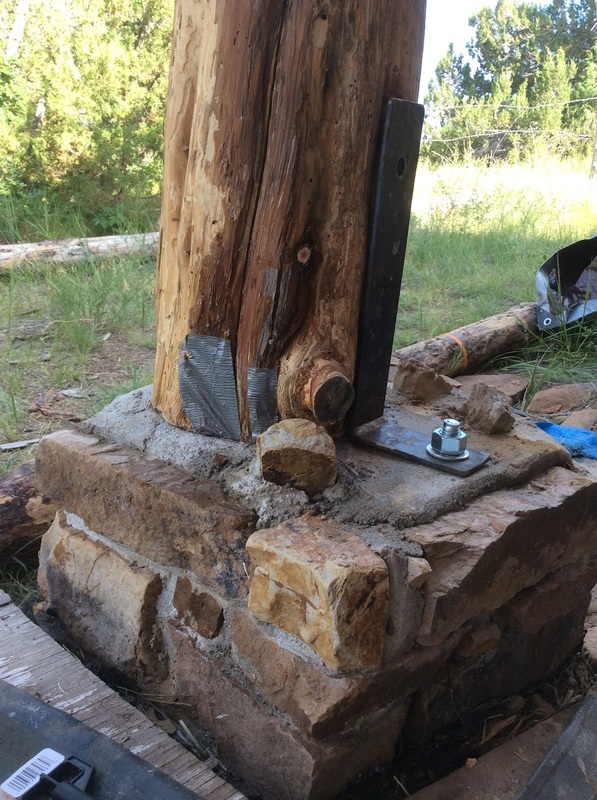
This image is the culmination of years of work. • The stone piers (with vertical rebar in the middle) were completed in 2011.
• The Junipers were harvested at some point in the interim in forest fire mitigation and stored in the shed. • The "L" bracket I had custom-made by a blacksmith to my specifications. • The bolt is a special type (redhead) that splays in the hole when hammered. The hole requires a hammer drill (cordless) loaned to me by my cousin in New Mexico. So the Juniper was peeled, cut to the right height, the top was notched with saddle to hold girder, and finally the bolts are set with a wee bit of anchoring concrete. There will be cob over all of this up a couple of feet to add weight because the winds on the hill can be intense. I'm thinking maybe a little cob seat facing inside? When I had to stop cobbing a week or two ago I was kind of bummed. (As mentioned, the porch rafters must be embedded in the cob, so the porch must be done and rafters ready to embed in cob). But I'm stoked now to see it coming together and all the plans I made for this working out. I remeasured to the wall of the building and from the center of these posts it's exactly 6', as designed. With 2' eaves, that's perfect for a sheet of plywood...though I'm thinking of using cedar fence boards...must price them. |
It has been close to 100˚ in town out on the prairie, but the interior of the building has stayed around 75˚, even with the walls several feet short of the roof, allowing exterior air in. This is due to the radiant mass of the cob which holds the cool night temperatures.
|
July 18th
Now that I know what timbers will be used for girders, I went up to the Black Forest salvaged log pile left after roofing and cut three more porch rafters, then recovered remaining timbers with tin from Linda & John's re-roofing.
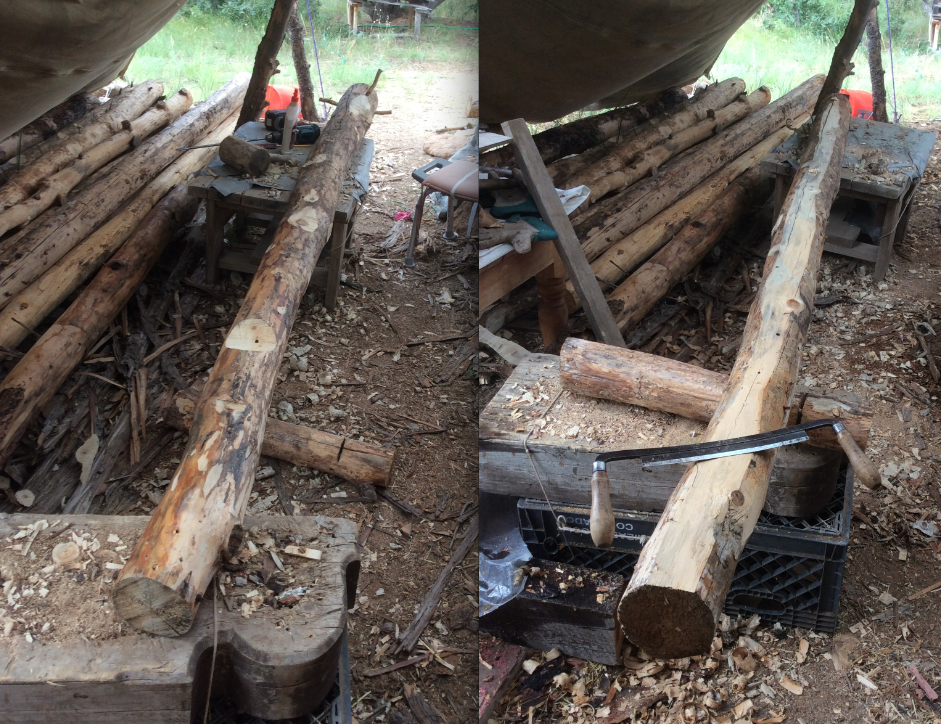
Below left: bottom of rafter...the nearest light spot on the log is a notch for the rafter to sit on the porch girder (other light spots are where I recently removed branch stubs). Stubs on end were added to anchor rafter in cob wall of building.
Below right: top of the rafter, flattened slightly with drawknife to accept roofing.
|
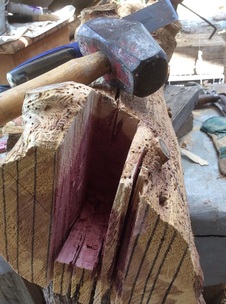
Right: I continue to drill holes for "L" braces on porch posts ("L" brace in top left of photo). This one required some removal of stone with stone chisel & mallet and removal of some wood from post with wood chisel and wood mallet (homemade). Cardboard was tucked under post so wood chisel wouldn't hit concrete & be dulled.
|
July 20, 2016
Porch rafters almost ready, stacked on east and north sides waiting for girders to be put up.
July 23rd: raising a big-ass girder solo
The long girder for the east side was brought down next to where it be put on the porch. Porch posts and rafters prepped (seen in above photos).
I planned a method for raising the girder. It had to be done solo mostly because friends are coming to work next weekend and I think it best use of time to make cob...but rafters must be embeeded in cob, therefore the porch much be done.
The method I used solo is seen in the photo below. Lag bolts used for attaching all elements.
1) Attach pulley to the top of a long board
2) which is then bolted to the uphill post of the porch (which is also embedded in the lizard bench).
3) Use that climbing rope I was compelled to purchase to raise girder.
4) Ladder or step stool were put on other side of girder from me. Mostly I made a triagle with my arm and put one end of the 2x4 in it...then used thighs to raise 2x4 which then raised girder. At the same time, with my other arm I'd reach a scoot a board under the girder to hold it at the new height. The slack in the pulley ropes was re-cleated.
It was inches at a time...but finally, the girder swung on to it's seat at the top of the post with a satisfying little thunk.
A storm was coming, so up on the ladder I quickly covered the girder.
The old body did it, but I need much rest the day after.
|
Below left:
Pulley mechanism for raising girder. Pulley bolted to end of 2x8 board then that board bolted to porch post. Several lag bolts allowed rope to be cinched until it wouldn't slip. |
Above right: The uphill end of the girder has been raised to sit on the first post.
The pulley and board were thent moved to the far post to raise the other end of the girder. In the photo below you can see the board and pulley in place in the other corner. I didn't have time before the storm to add temporary securing boards like the two on the foreground post in the photo below; or to dismantle the pulley setup. Perhaps it should stay to life the north girder, though it is in two pieces and won't be as heavy. Below: girder up!!! Again, you may notice middle post not quite under girder. There's enough give in the long log and the post that a little pry with the crowbar and it slipped right into place. |
At the end of every page, my postings from 2014 attached themselves. So, below you see the raising of the first girder, which was smaller. It took me and two men. We did it in much less time than it took me alone, though!
end of July to August 7:
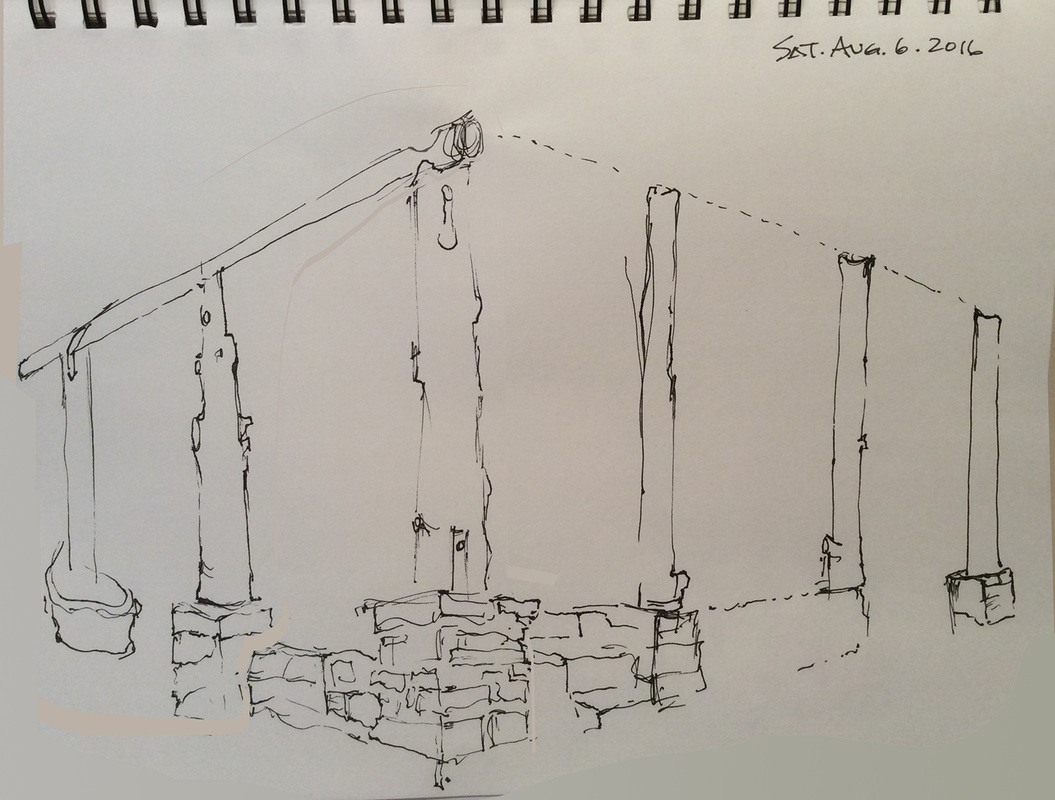
As work shifted to the north porch, I had to spend a day re-doing shade which was in the way of aligning north porch posts. But as of August 7th, I got all north porch posts in place with "L" brackets ready to bolt down. I strung a cable from the corner to a far tree to align posts. I forgot a camera or even my phone, so I drew a picture. The dotted line indicates cable.
Aug. 7
Left below: I lifted the remaining three porch rafters into place. Right below: They are suspended above awaiting cob.
Notice short stumps added to end to anchor in cob.
Also note the board they rest on will be removed as there is also
rope tied/suspending rafters from board above.
Left below: I lifted the remaining three porch rafters into place. Right below: They are suspended above awaiting cob.
Notice short stumps added to end to anchor in cob.
Also note the board they rest on will be removed as there is also
rope tied/suspending rafters from board above.
August 9: north girder going up
While the east girder is one long Ponderosa log, the north is two Japanese Junipers. It is a very hard wood.
ALMOST TIME TO COB AGAIN!!! ....when all porch rafters are in place they will be cobbed into the wall.
August 10: still working on rafters on the north porch
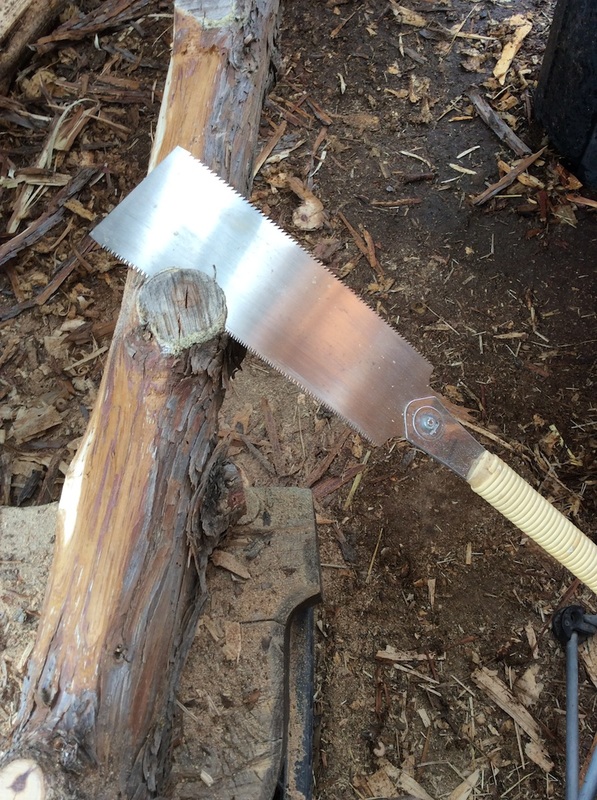
Above left: lag bolt attaching girder to post. Above right: for door lintel Japanese saw makes clean cut.
September 3: electrical conduit
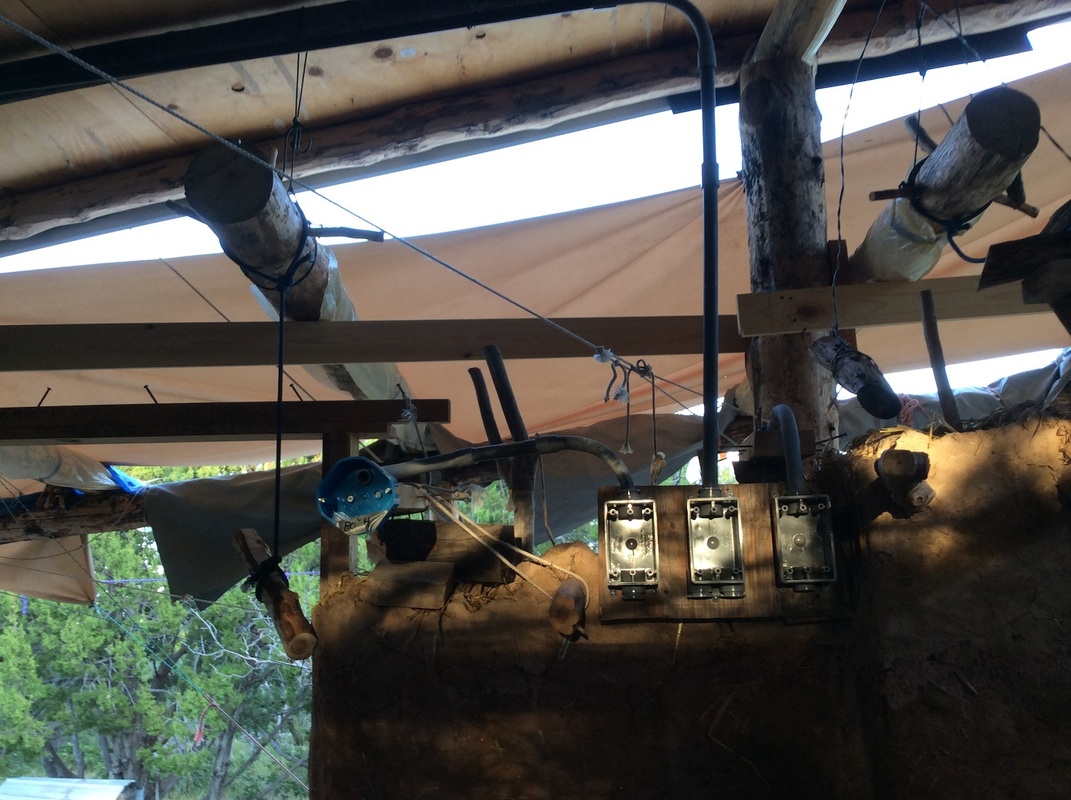
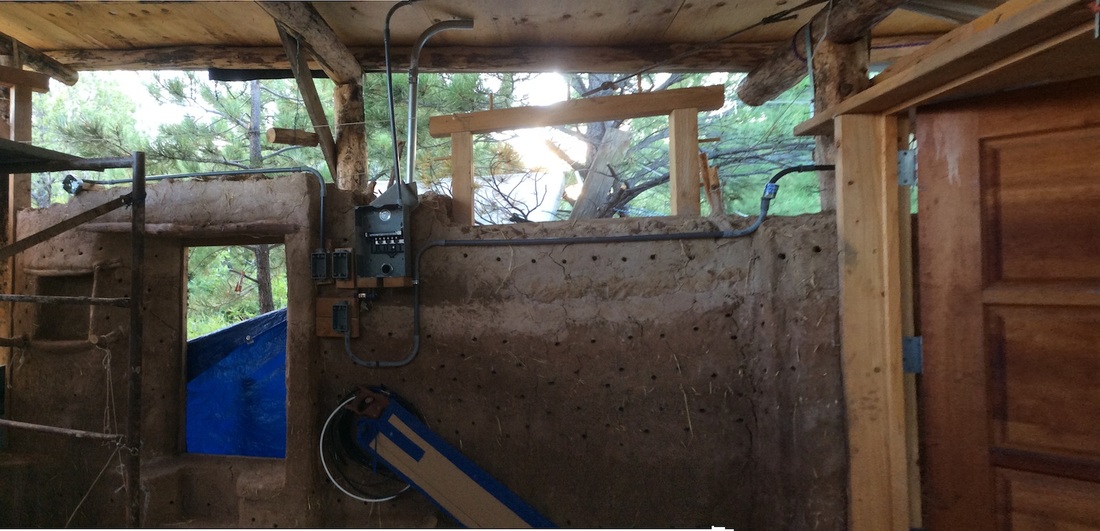
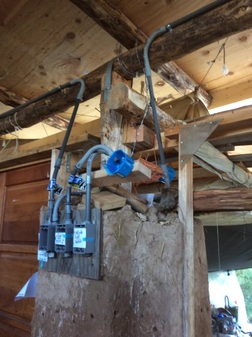
After two months work, I completed the timber porch and with the advisement of electrician Ellioutt, I placed and secured all elements for electrical wiring through conduit to three interior outlets, one exterior outlet, three interior lights and two exterior lights. This is not very poetic, but had to be done before cobbing could proceed if there was ever to be electric in the building. The plan is to eventually get solar cells, but for now, the setup is there. Received Ellioutt's stamp of approval.
|
Above is east wall.
One too many curves in the conduit on the west wall, but it won't be cobbed in as this is the half bale part of a bale-cob wall, so we can fix it before bales go in.
|
North wall. Hexagonal boxes for light fixtures are attached to a 2x4 that will be embedded in cob. Below, after it's all cobbed in.
|
September 4 - 24
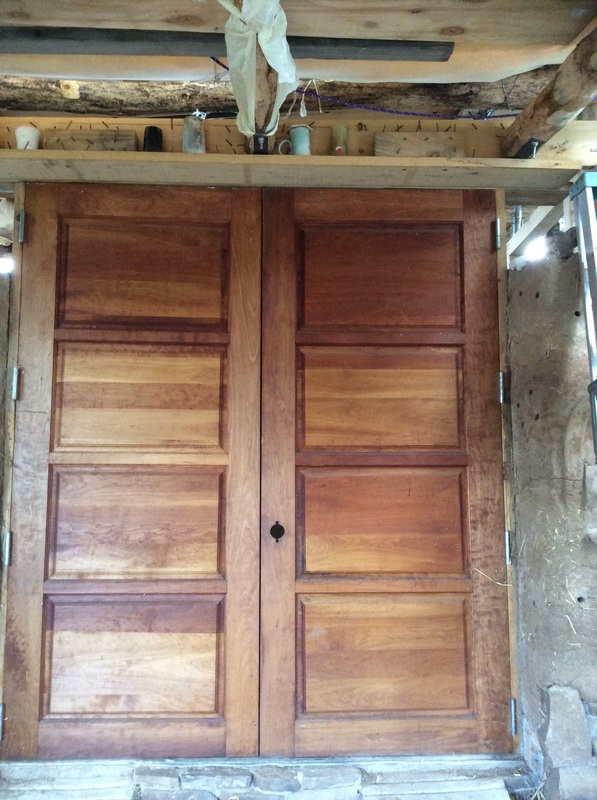
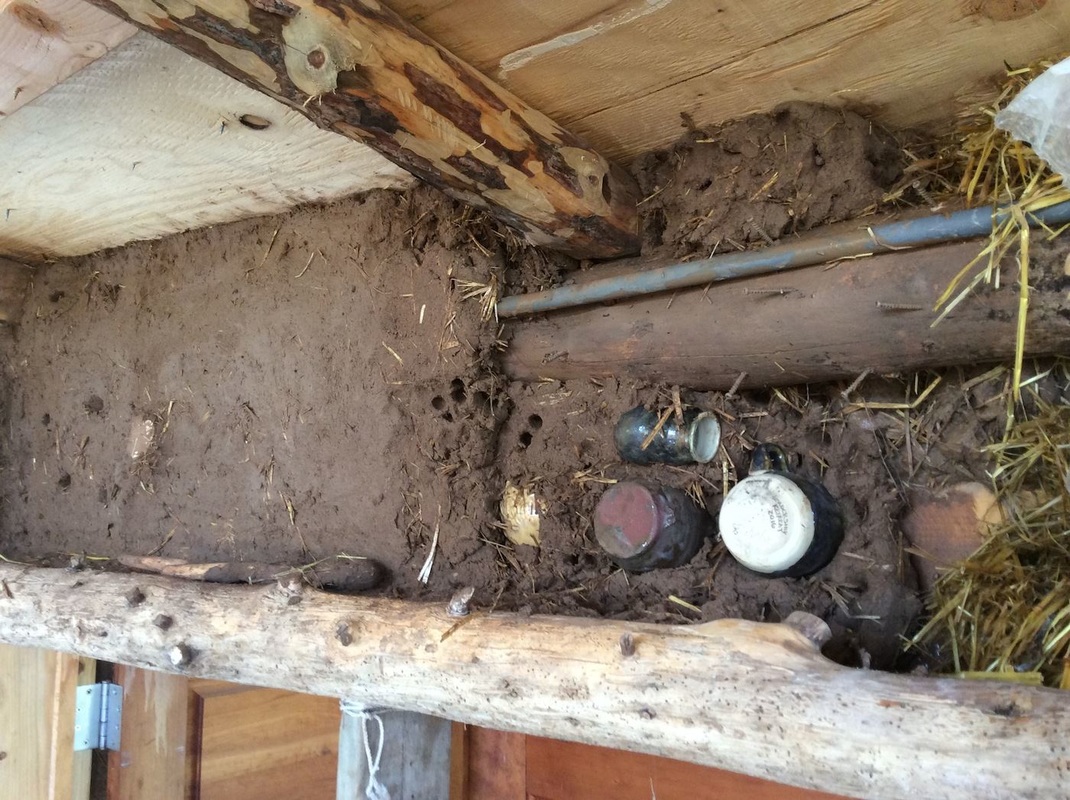
Above the door I put a lot of pottery rejects from local studios to displace weight of the cob. Because there is a roof girder, a header and a lintel, I wasn't too worried about the cob being a super continuous mass. I learned this from an article on Roman concrete which said they embedded "amphorae" high up in their domes.
September 25
It took sixteen days to cob the remainder of the north wall. I had two days help this past weekend. Kate has visited since I bought the land. She is a former student and is like family now to me and my grown kids. From a South Dakota ranching family, she is an amazing "do it" gal. She figures out what needs to be done and does it, from covering things with tarps, putting away tools, hauling water...you name it! ...including making me a sandwich before leaving Sunday.
Thank you, Kate!
Her beau Tim is a large scale construction project manager and wants to develop a community of tiny homes with a shared cob building, so he's super curious, very helpful and totally appreciates the concept and design. They're the best!!!!
Thank you, Kate!
Her beau Tim is a large scale construction project manager and wants to develop a community of tiny homes with a shared cob building, so he's super curious, very helpful and totally appreciates the concept and design. They're the best!!!!
