THE STORY
All of the "ATV" shed pages on my blogg show the sequence of making a building just under 200 sq.' without any utilities on site nor heavy equipment used.
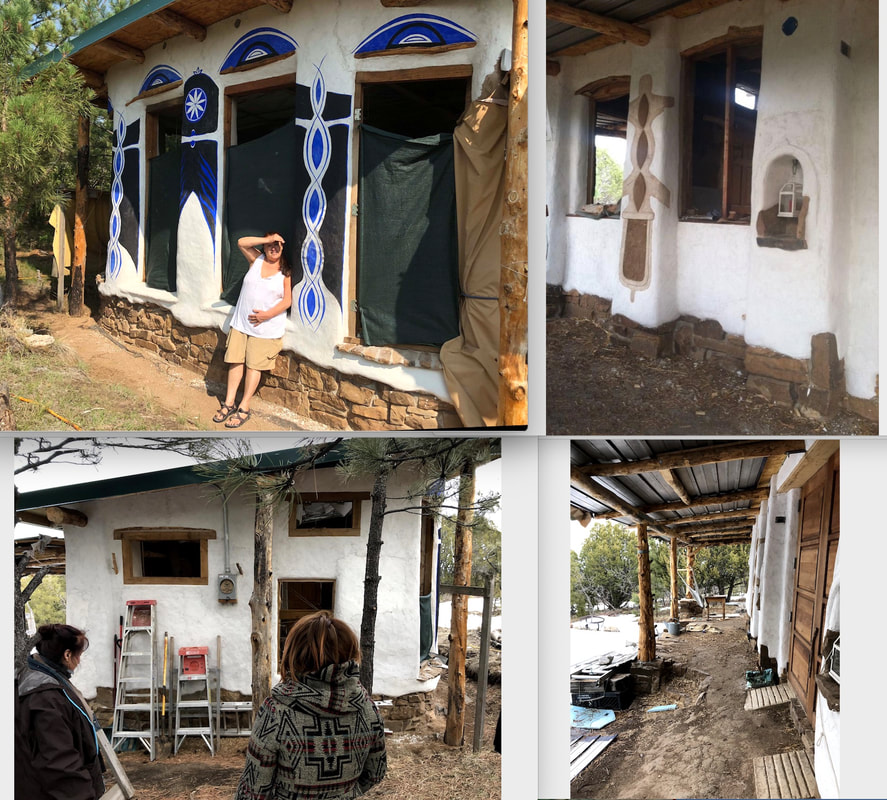
I share so many details of the process (ATV shed I. through XXI.) it might be hard to work one's way through, but in summary, the building as of 2021 is nearly done; it just needs interior finishing. This is what it looks like.
And here it the story:
I share so many details of the process (ATV shed I. through XXI.) it might be hard to work one's way through, but in summary, the building as of 2021 is nearly done; it just needs interior finishing. This is what it looks like.
And here it the story:
SITE
After purchasing 35 rural acres, I found that 50 yrs. of fire suppression has led to a buildup of fuels on the forest floor. A state forester taught me how to thin the forest and the timbers have since been used in building.
My intention on the land is to make a place for people to dwell harmoniously in nature.
So first, how do you decide where to build?
I spent the first year walking around in every season to observe where the sun lasts longest in the winter, where the best shade is in summer, where views are good and where there might be water underground. Many buildings were drawn for various sites, but I eventually settled on a site and design for a a balecob building. For the relatively new concept of balecob, thinner cob walls are built adjacent to half a straw bale cut lengthwise for insulation.
Things considered in design were:
• most importantly, orientation of building along an east/west axis with windows to solar south
• being close enough to the main road for access but far enough away for privacy while keeping the of the bulk of the wild
• a less rocky spot that could be hand dug
• shade from trees during afternoon summer heat
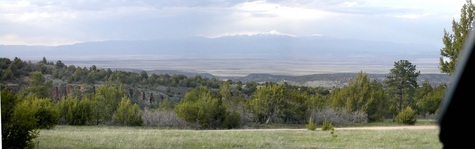
• a covered porch along the north side to keep that side snow and slippery-free, also for dining in the shade in the summer with views to the north to Pikes Peak
• a porch along the east side as well that is a tunnel view up the upper meadow upon approach
• a place on the south side of the building to sit in the afternoon winter sun sheltered from snowfall
• high windows to function like wind towers for cooling breezes
• insulation bales on the north
• a window cold box for refrigeration
• slope of the roof to gather water from rain
• just under 200 efficient beautiful square feet.
My intention on the land is to make a place for people to dwell harmoniously in nature.
So first, how do you decide where to build?
I spent the first year walking around in every season to observe where the sun lasts longest in the winter, where the best shade is in summer, where views are good and where there might be water underground. Many buildings were drawn for various sites, but I eventually settled on a site and design for a a balecob building. For the relatively new concept of balecob, thinner cob walls are built adjacent to half a straw bale cut lengthwise for insulation.
Things considered in design were:
• most importantly, orientation of building along an east/west axis with windows to solar south
• being close enough to the main road for access but far enough away for privacy while keeping the of the bulk of the wild
• a less rocky spot that could be hand dug
• shade from trees during afternoon summer heat
• a covered porch along the north side to keep that side snow and slippery-free, also for dining in the shade in the summer with views to the north to Pikes Peak
• a porch along the east side as well that is a tunnel view up the upper meadow upon approach
• a place on the south side of the building to sit in the afternoon winter sun sheltered from snowfall
• high windows to function like wind towers for cooling breezes
• insulation bales on the north
• a window cold box for refrigeration
• slope of the roof to gather water from rain
• just under 200 efficient beautiful square feet.
BUILDING FOOTPRINT AND DRAWINGS
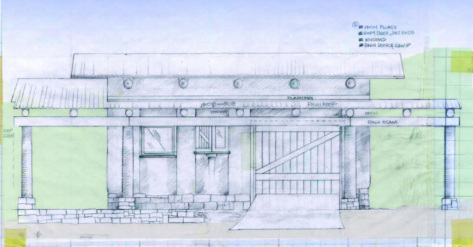
My first drawing for the site was an aerial view of the footprint. I used tracing paper to overlay the roof girders and rafters on the footprint, so it doesn't scan well. But that drawing and one of the side view to figure roof height dictated the appearance of the exterior.
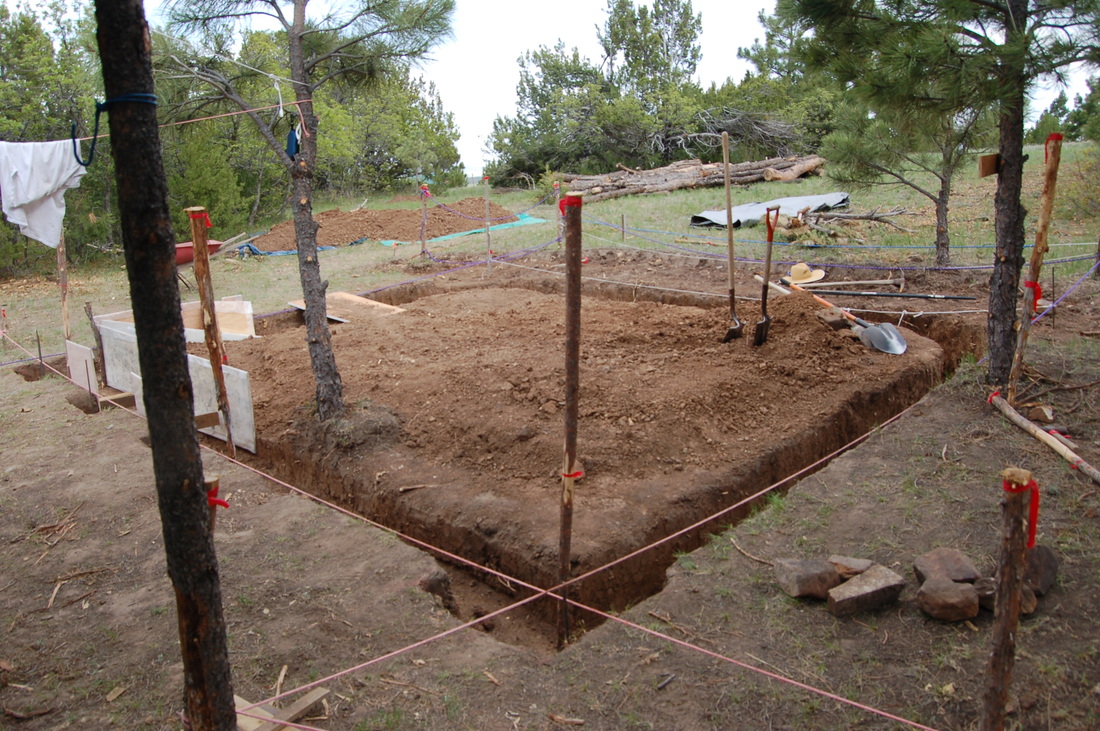
LAYING OUT THE BUILDING
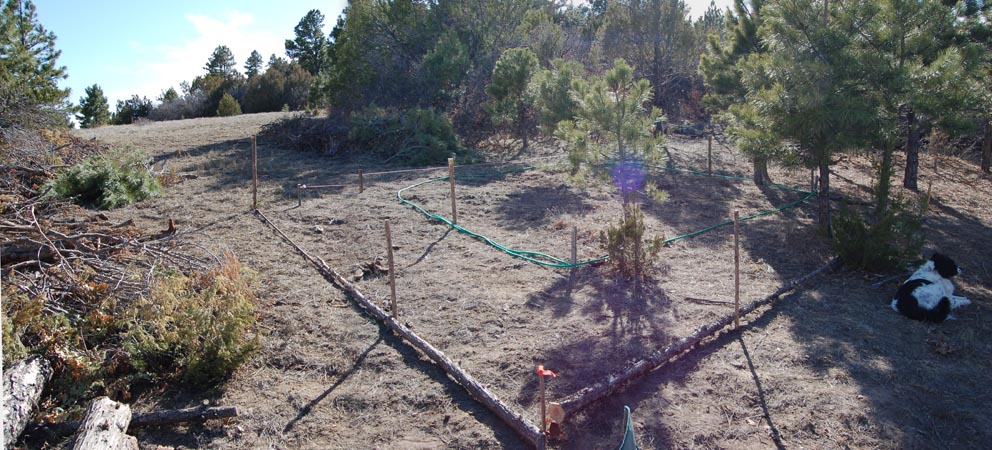
Stakes marked solar south (see magnetic declination) and a hose was laid to mark building footprint. Poles mark porch edges. (bldg. dimensions were based in part on layout of roof raters & sheathing, so sides needed to be perpendicular: use Pythagorean theorm f/layout)
BREAKING GROUND
Wildflowers and one little Ponderosa Pine were removed and saved. Topsoil was removed and used to make a little flat terrace next to the site.
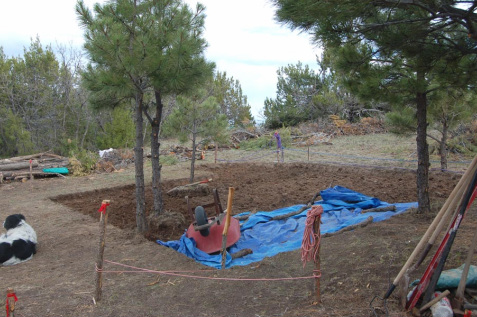
FOUNDATION
Mother's day, my two grown kids started the foundation trench. Stakes are made from juniper thinned in fire mitigation. Putting them outside the footprint allows you to work to corners.
TAMPING SOIL
Because of the slope, I backfilled the downhill side using forms to maintain foundation trench. Soil must be tamped every 3". The topsoil is about 6-8" deep, then it's pure clay which had to be moist to attach new soil; but if too wet it got sticky.

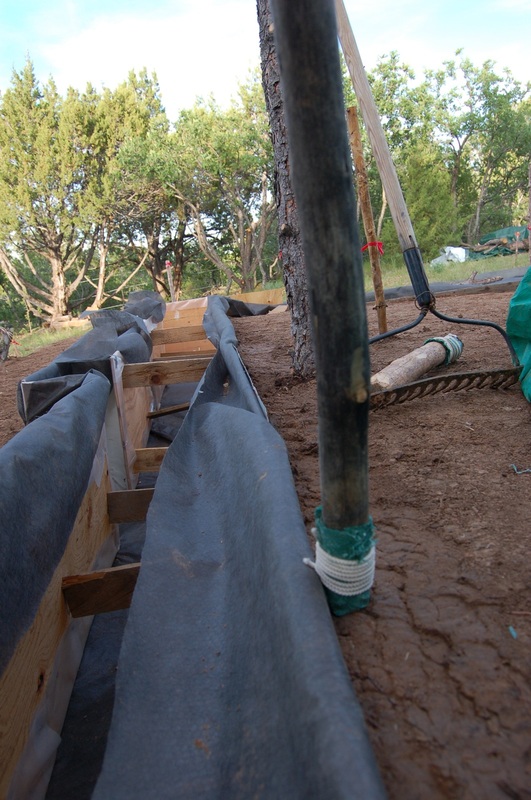
THE RUBBLE TRENCH FOUNDATION
..Frank Lloyd Wright brought the rubble trench foundation to the U.S.
1. Trench to frostline
2. Line w/landscape cloth
3. Perforated drain in the bottom draining away from site
4. Rubble to 6" below surface
5. Concrete w/rebar top 6"
1. Trench to frostline
2. Line w/landscape cloth
3. Perforated drain in the bottom draining away from site
4. Rubble to 6" below surface
5. Concrete w/rebar top 6"
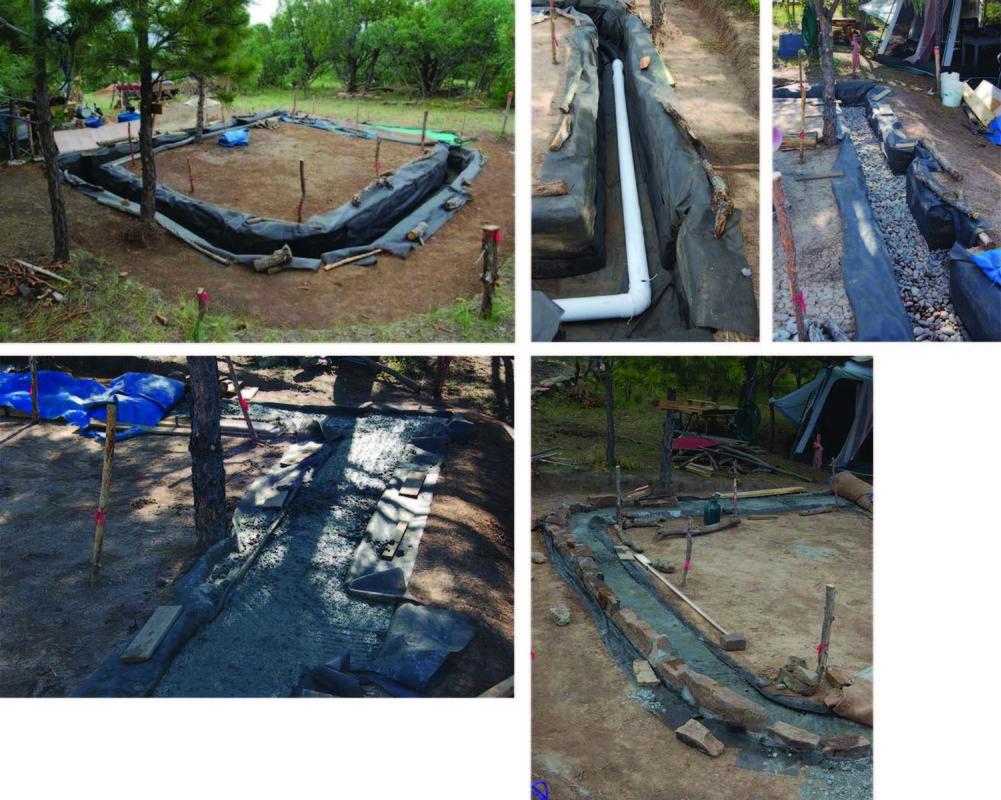
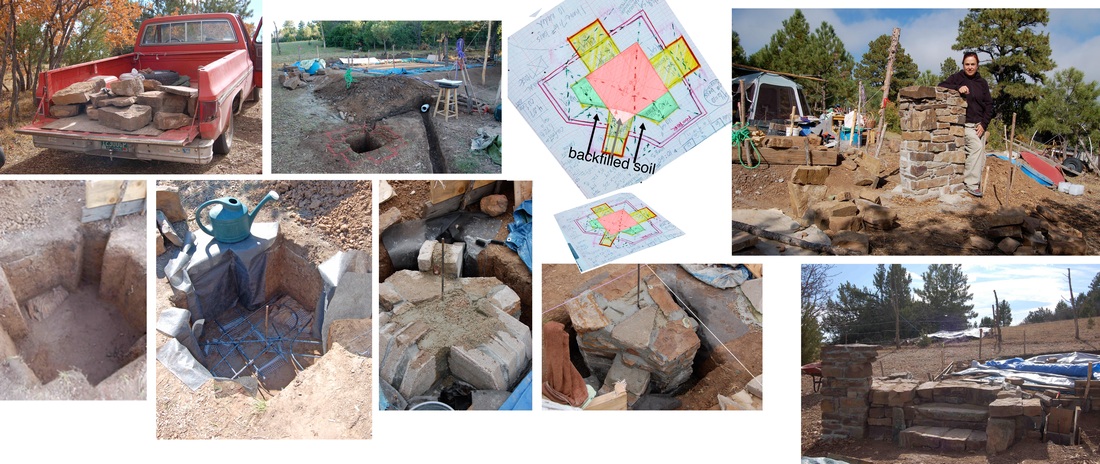
THE IMPORTANCE OF FOUNDATION
Cobbing is so much fun, but the foundation are roof are very important. Colorado's cold climate requires a deep foundation; if water gets under and freezes, it can heave the whole wall up and, in theory, break it.
The last thing I completed summer '08 was a masonry corner pier for the porch seen below. I developed a new design w/underground buttresses and a flat face towards the backfill to better hold the soil. The only massive stone uncovered that summer was at the bottom of the pier foundation hole...a perfect thing for it anchors the pier on the hill. Many syncronous things like this have happened.
All stone I haul from my neighbors (we traded grass seed for stone). I use a dolly and a board ramp onto my truck then push them off the truck and dolly them to where I need them. For short distances, I "walk" the big stones on end. Underground, I use "urbanite", broken sidewalk with some cement.
This work this far was done in 2008. I did over 95% of it myself at age 57. I want to show that if I can do this at my age, most anyone can. The summer of 2009, I built a cob chicken coop which I thought would take a couple of weeks. I was frustrated with this foundation waiting for walls, but learned at Christmas that in August my neighbor had shot an errant mountain lion who wandered the hill the summer I was absent.
In all of this, I continually learn that things happen for a reason...the right length or board is there when I need it, someone helps and digs too small of a hole into which extra concrete is poured, which makes me rethink my whole design, causing me to come up with a much better idea. It's collaboration with materials, the earth, time and synchronicity.
In all of this, I continually learn that things happen for a reason...the right length or board is there when I need it, someone helps and digs too small of a hole into which extra concrete is poured, which makes me rethink my whole design, causing me to come up with a much better idea. It's collaboration with materials, the earth, time and synchronicity.
CONTINUED ON NEXT PAGE: Porch posts, etc. 2011
 RSS Feed
